
BESTILE S.L., founded in 1992 in l’Alcora (Castellón), a region known for its ceramic tradition.
Since its beginnings, the company has focused on innovation and the production of high-quality ceramic tiles. Our mission is to be leaders in the ceramic sector, providing products of QUALITY and innovative design. We are committed to offering exceptional service, focused on customer satisfaction.
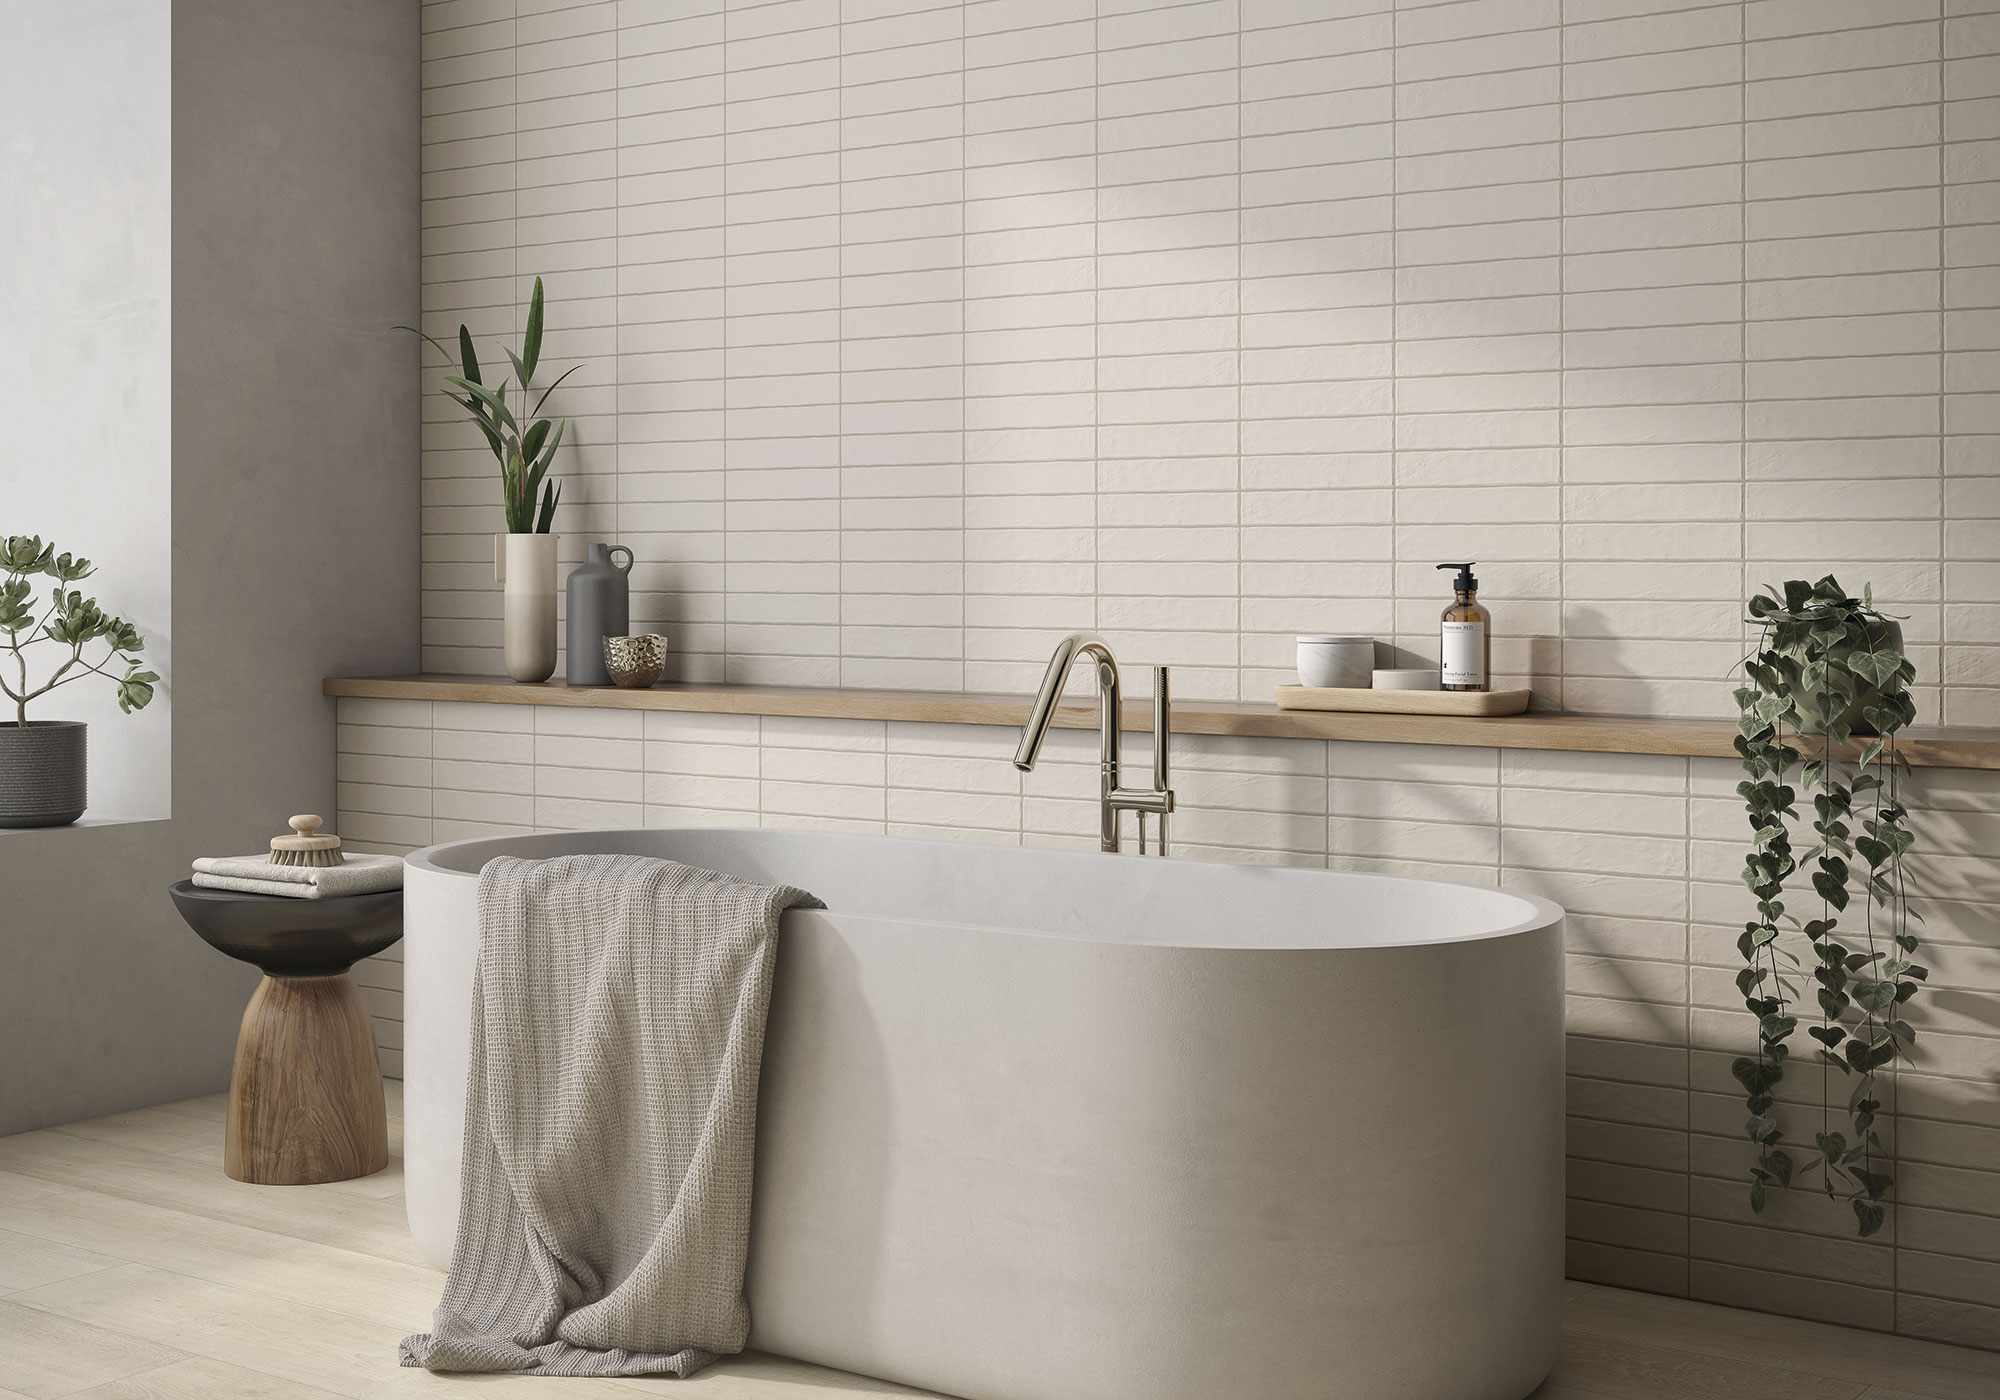
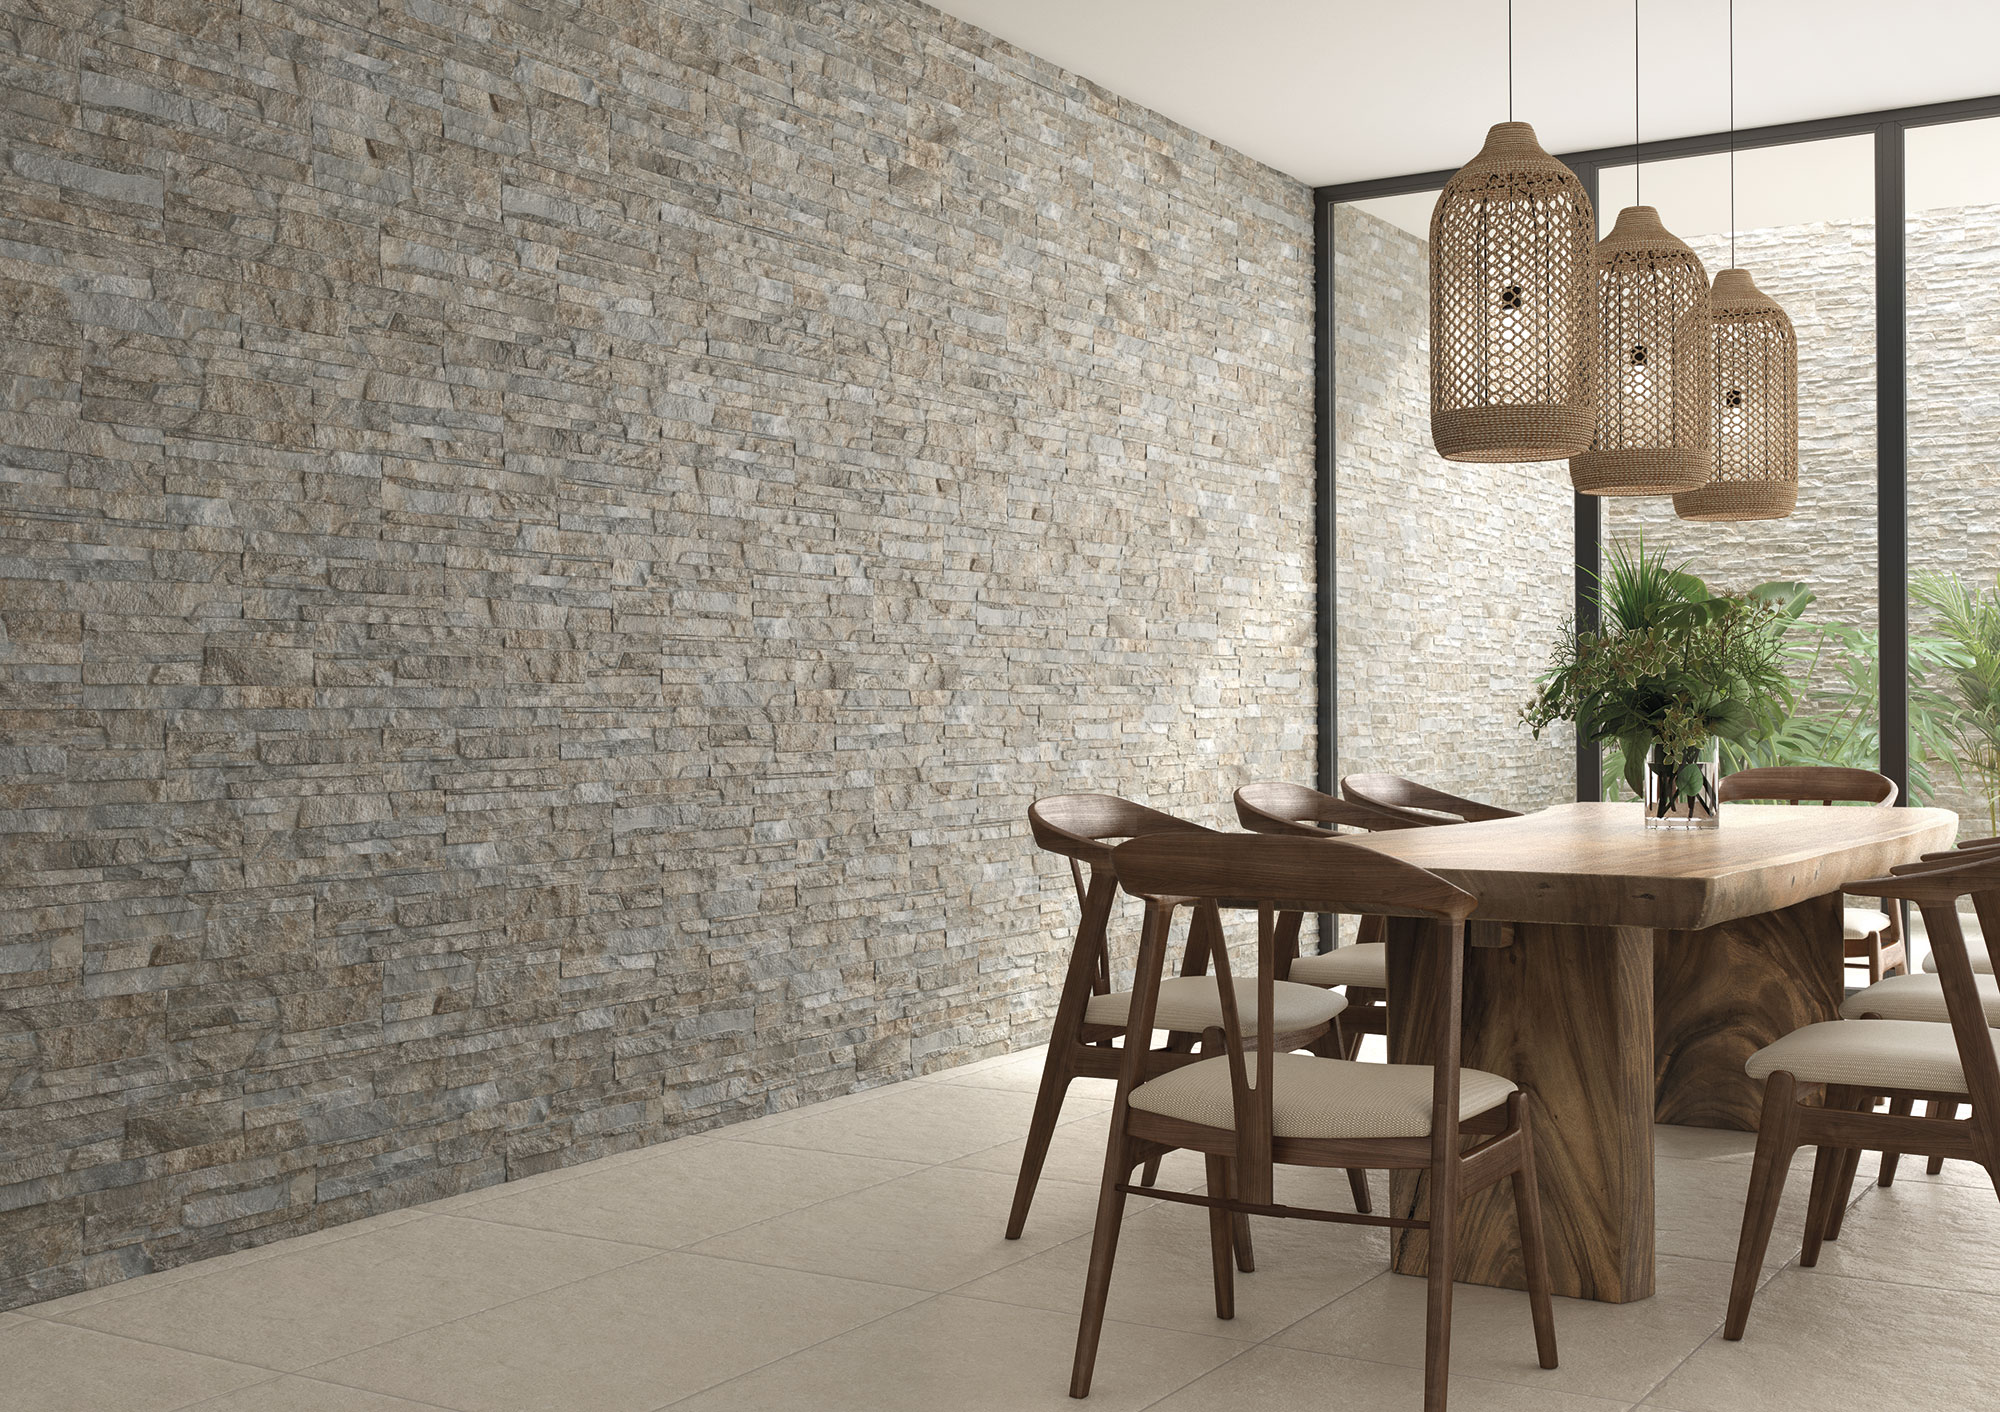
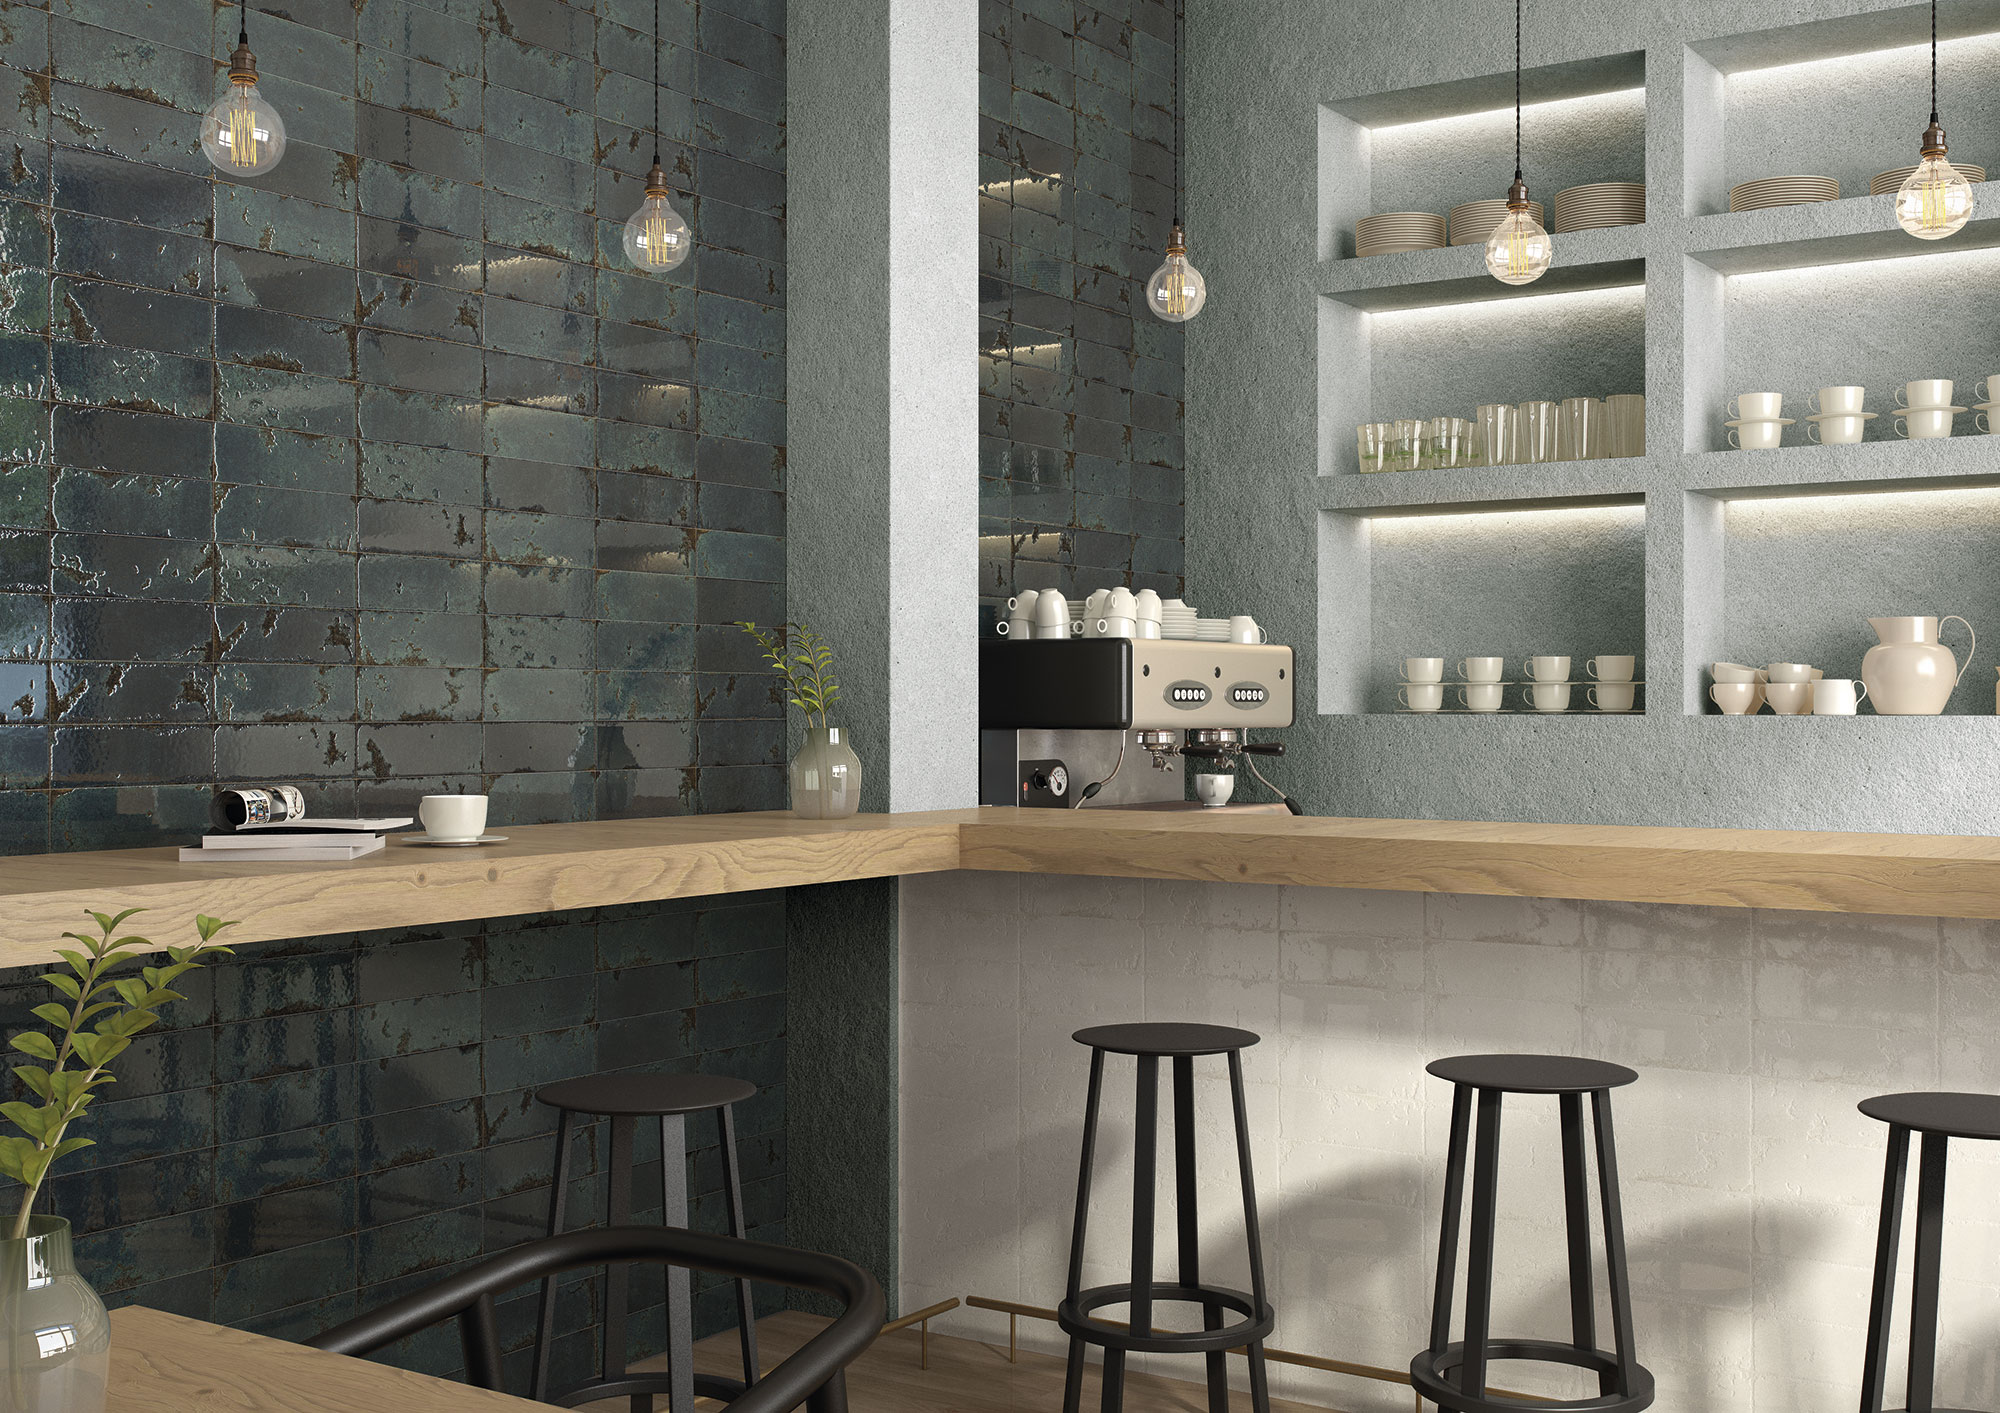
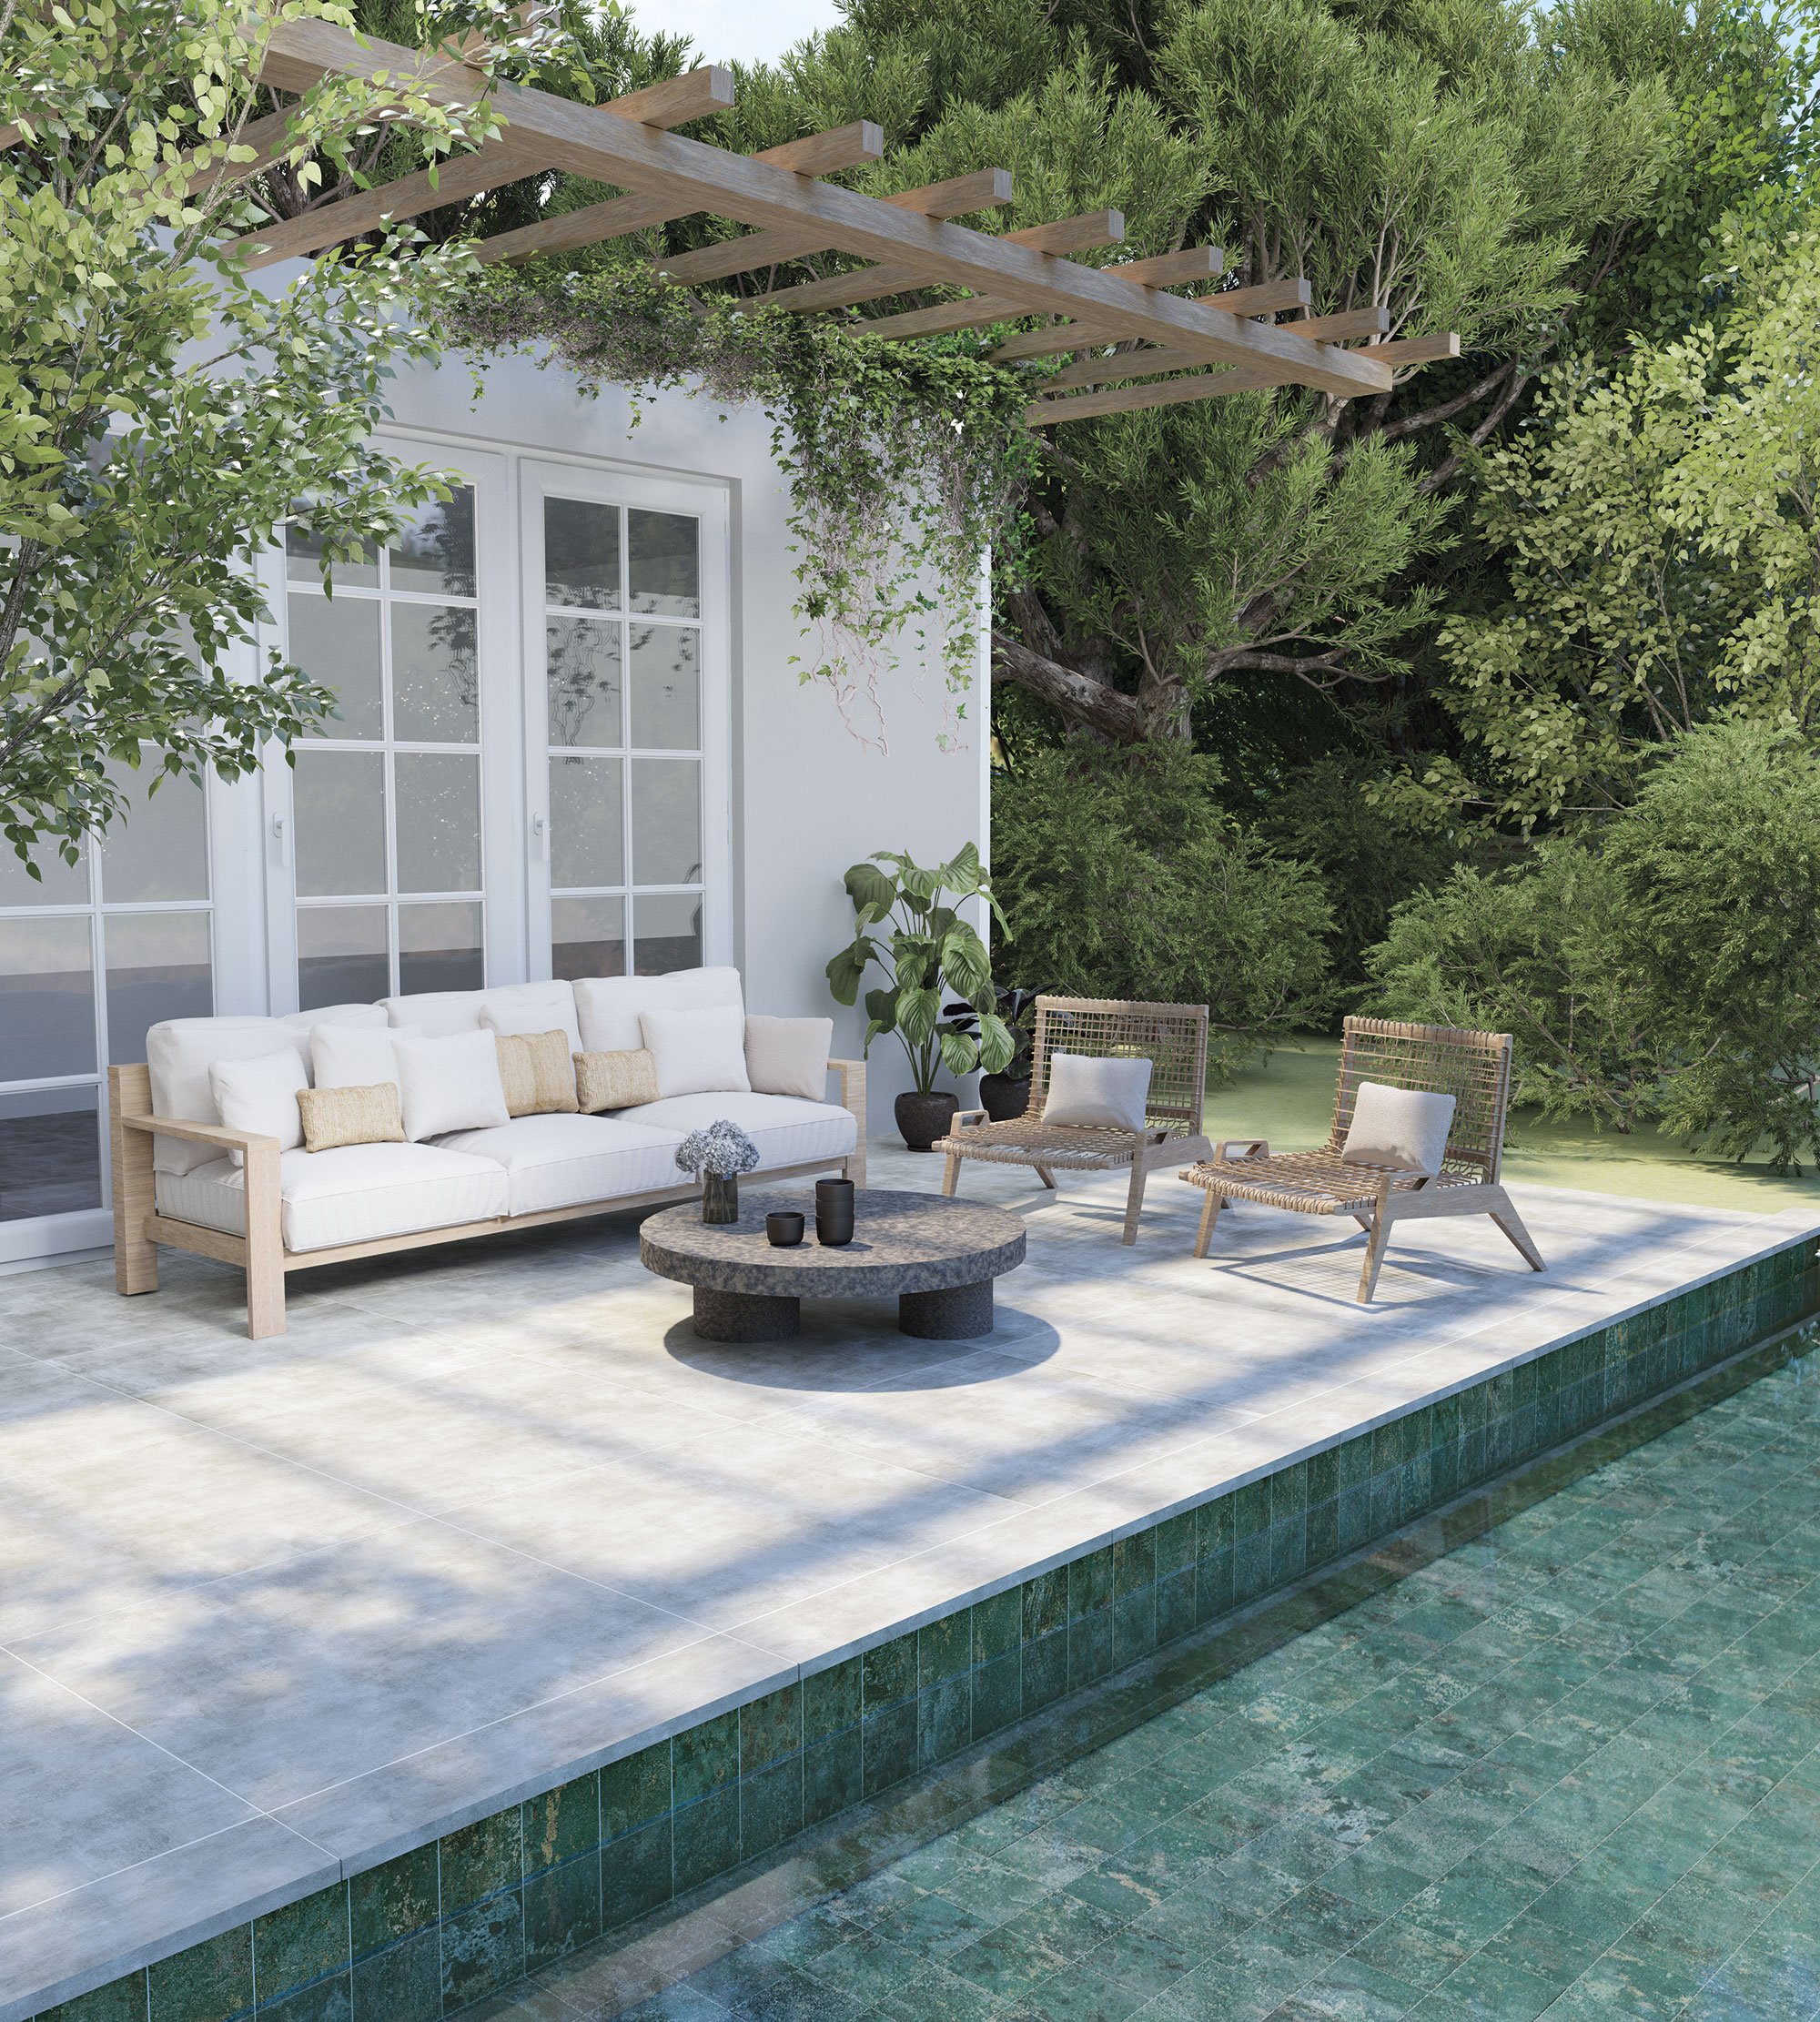
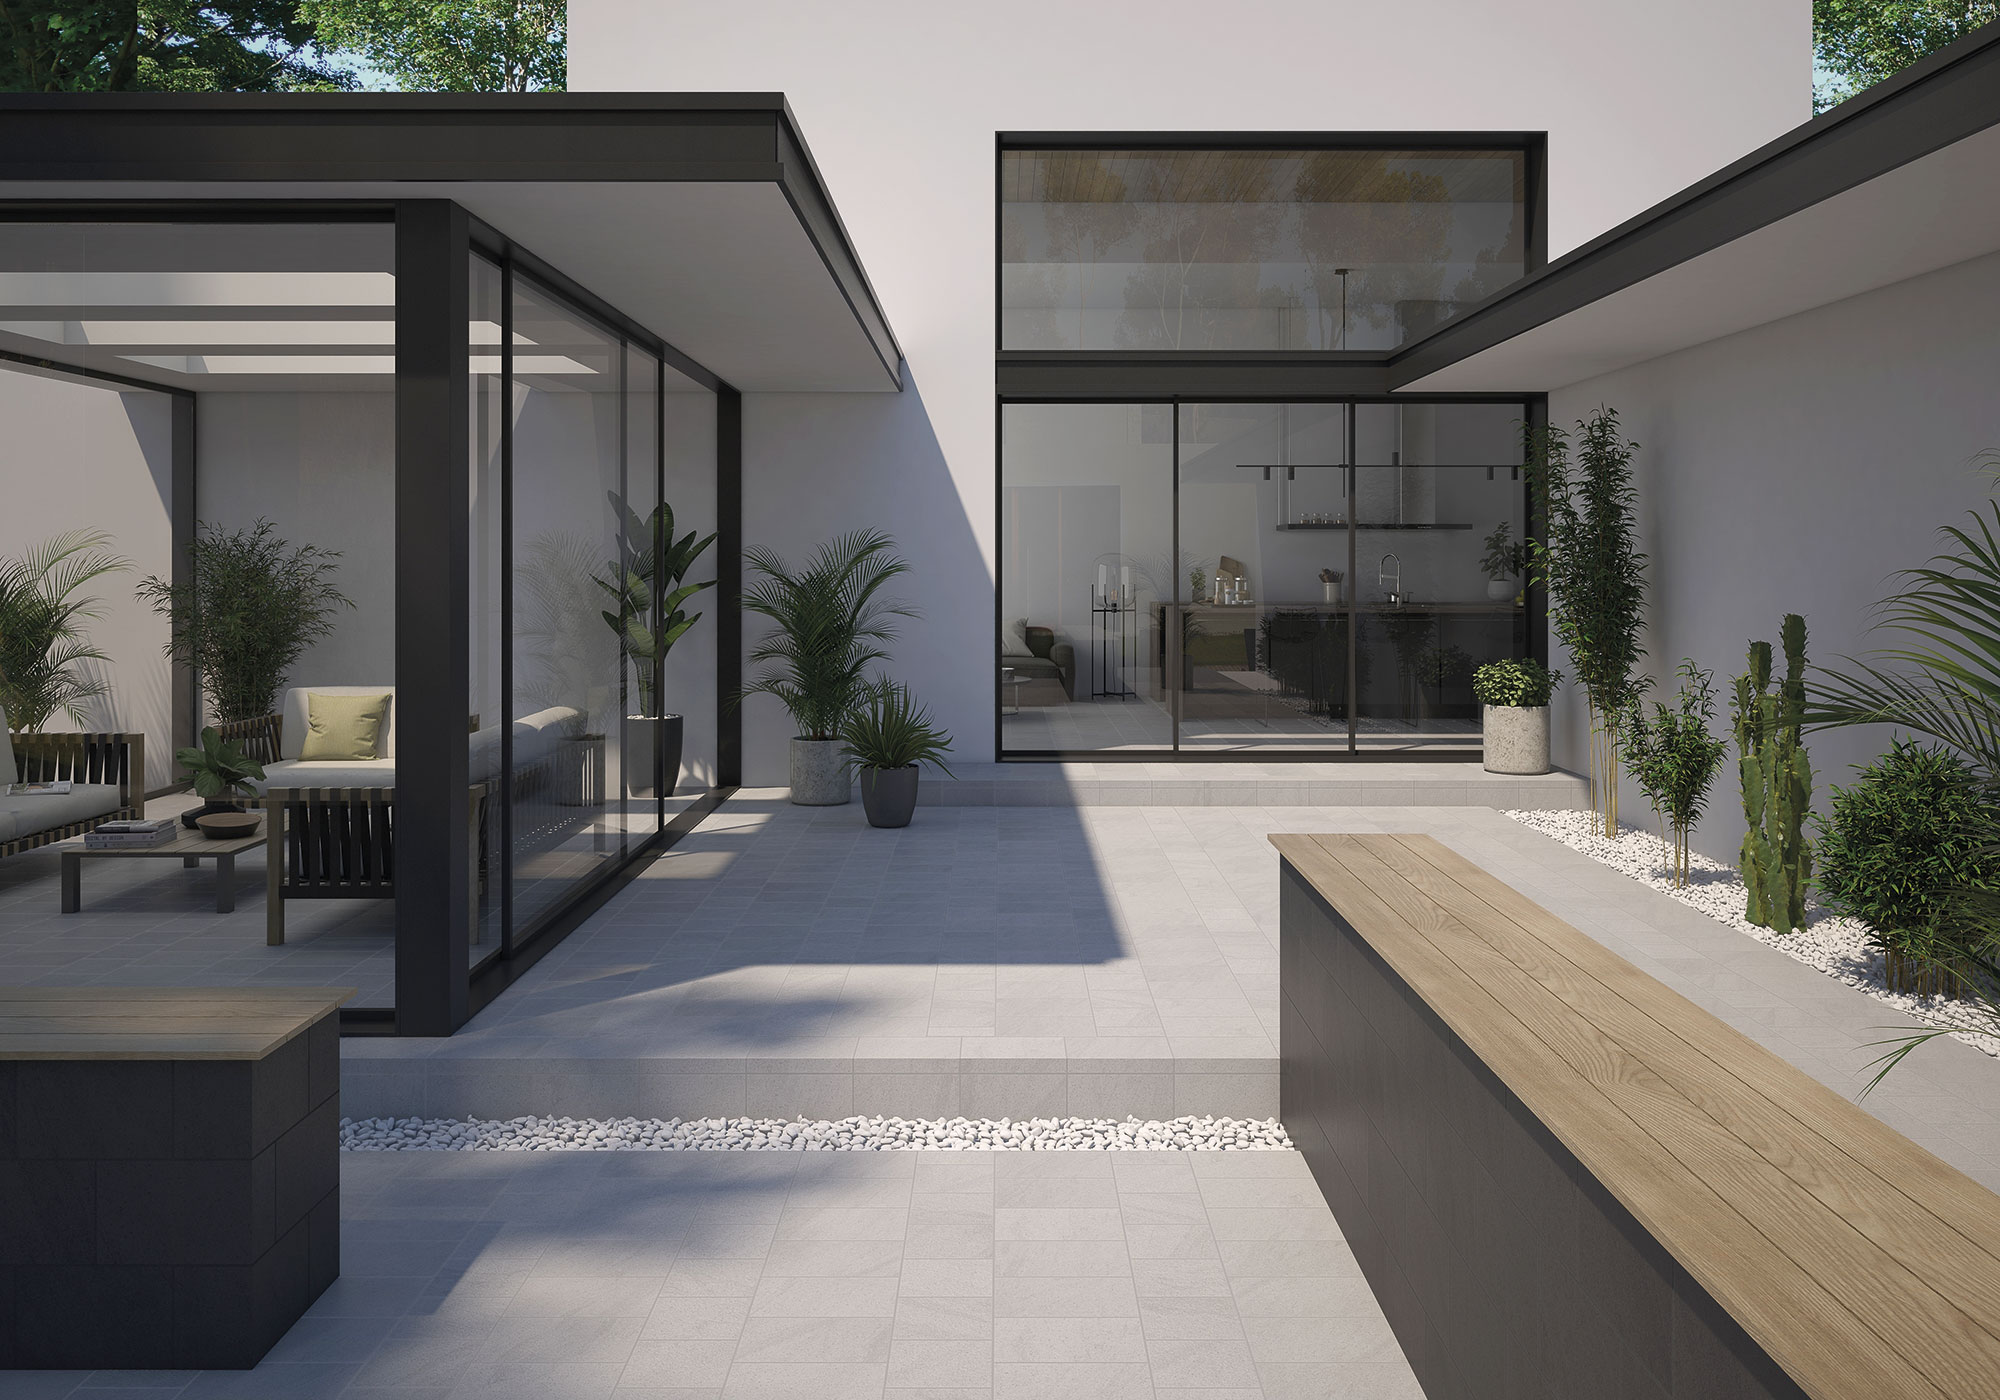
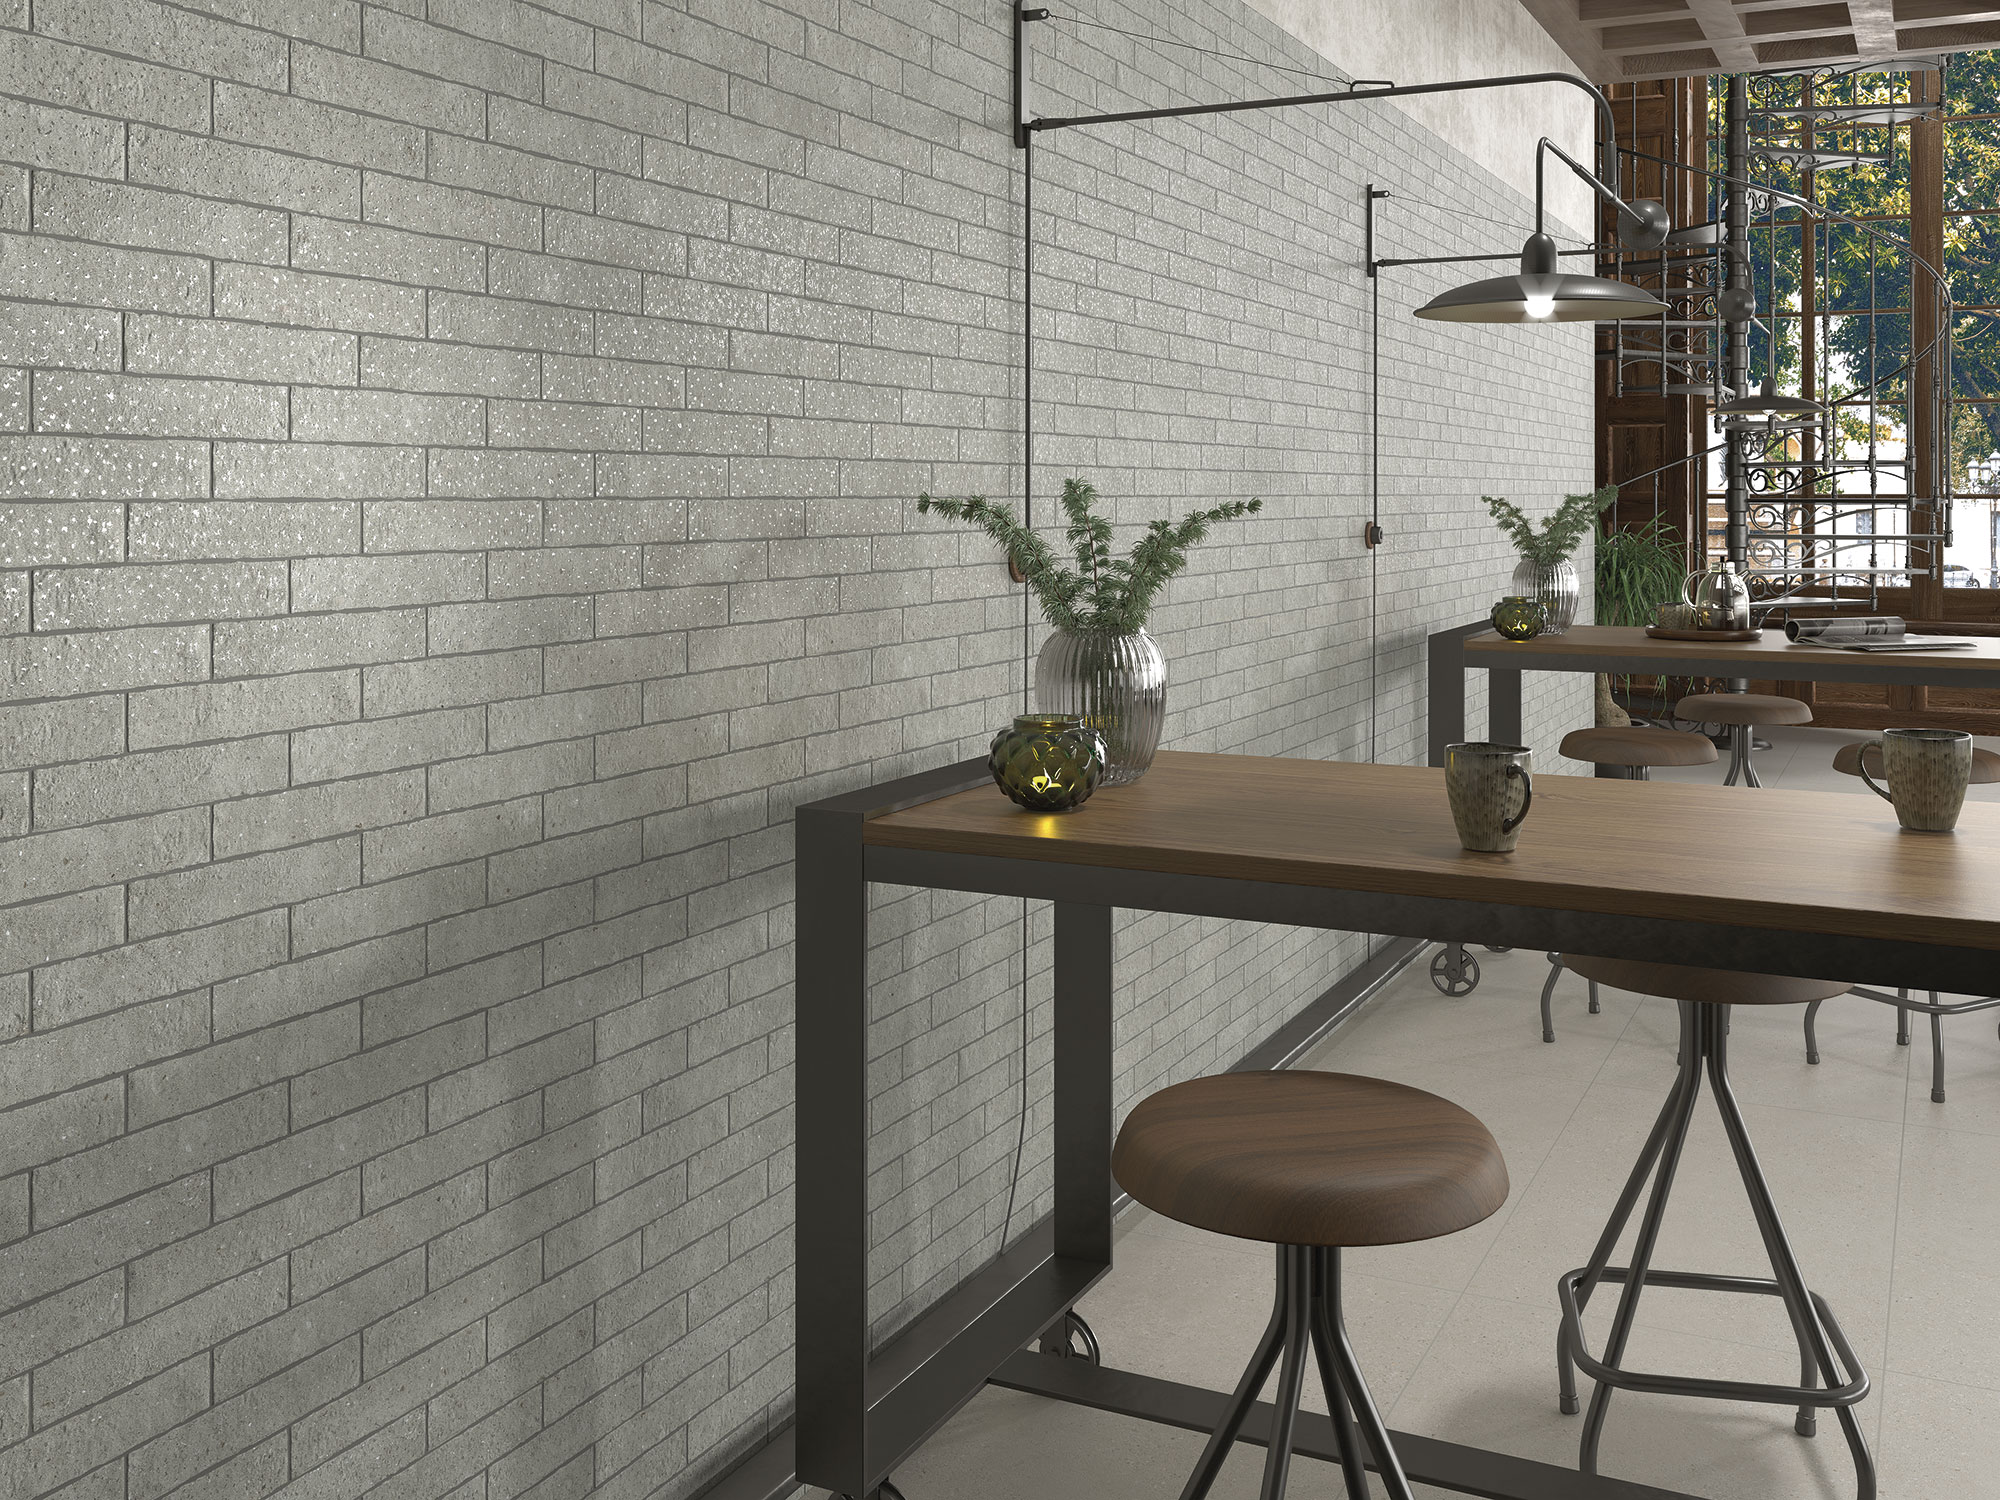
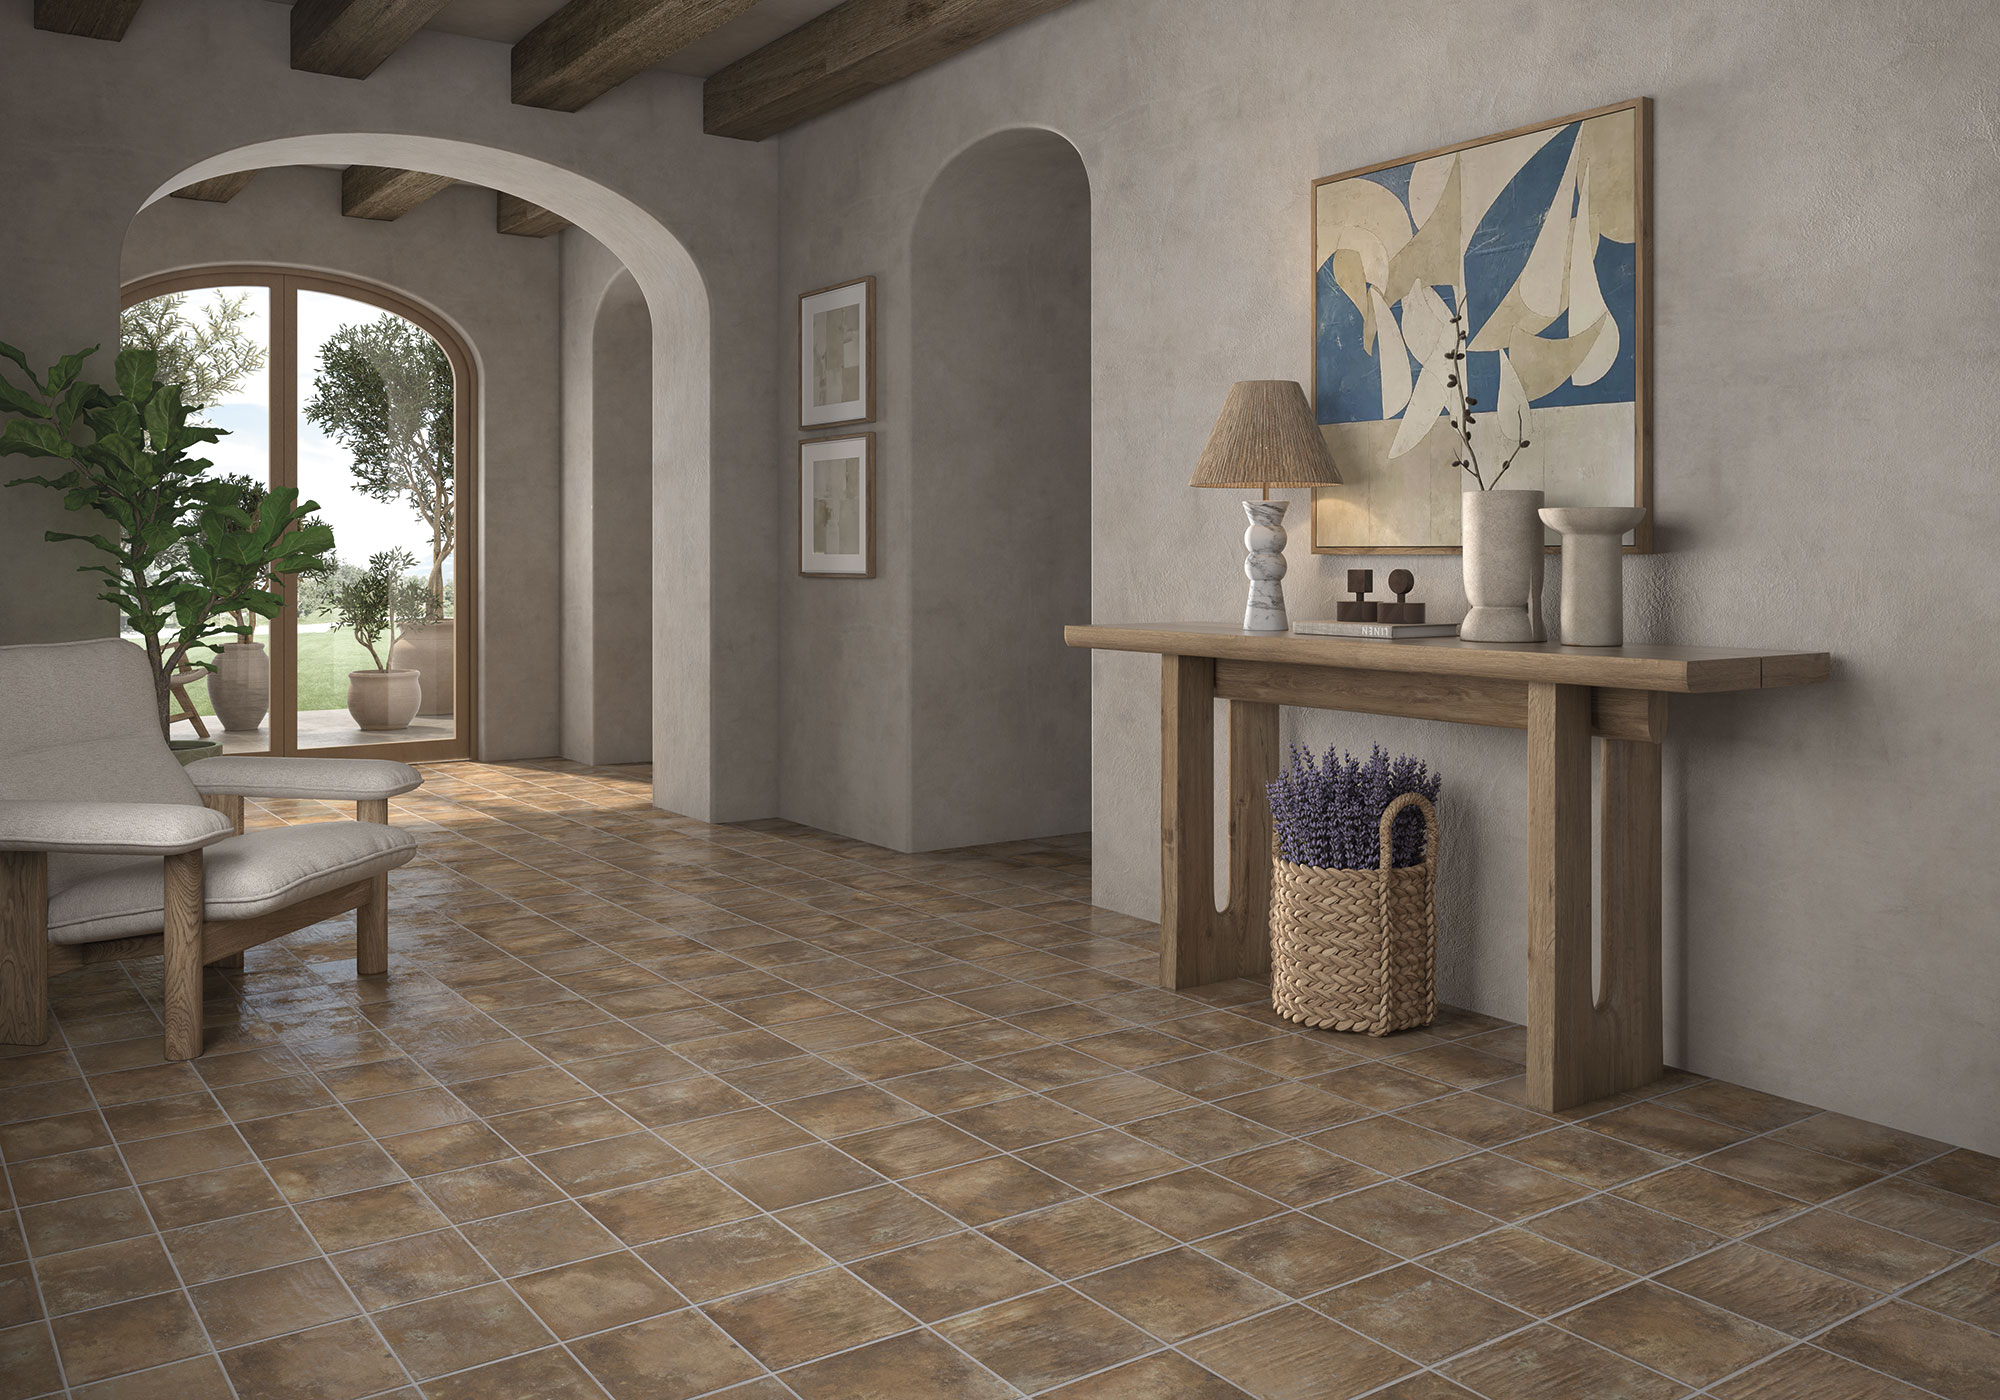
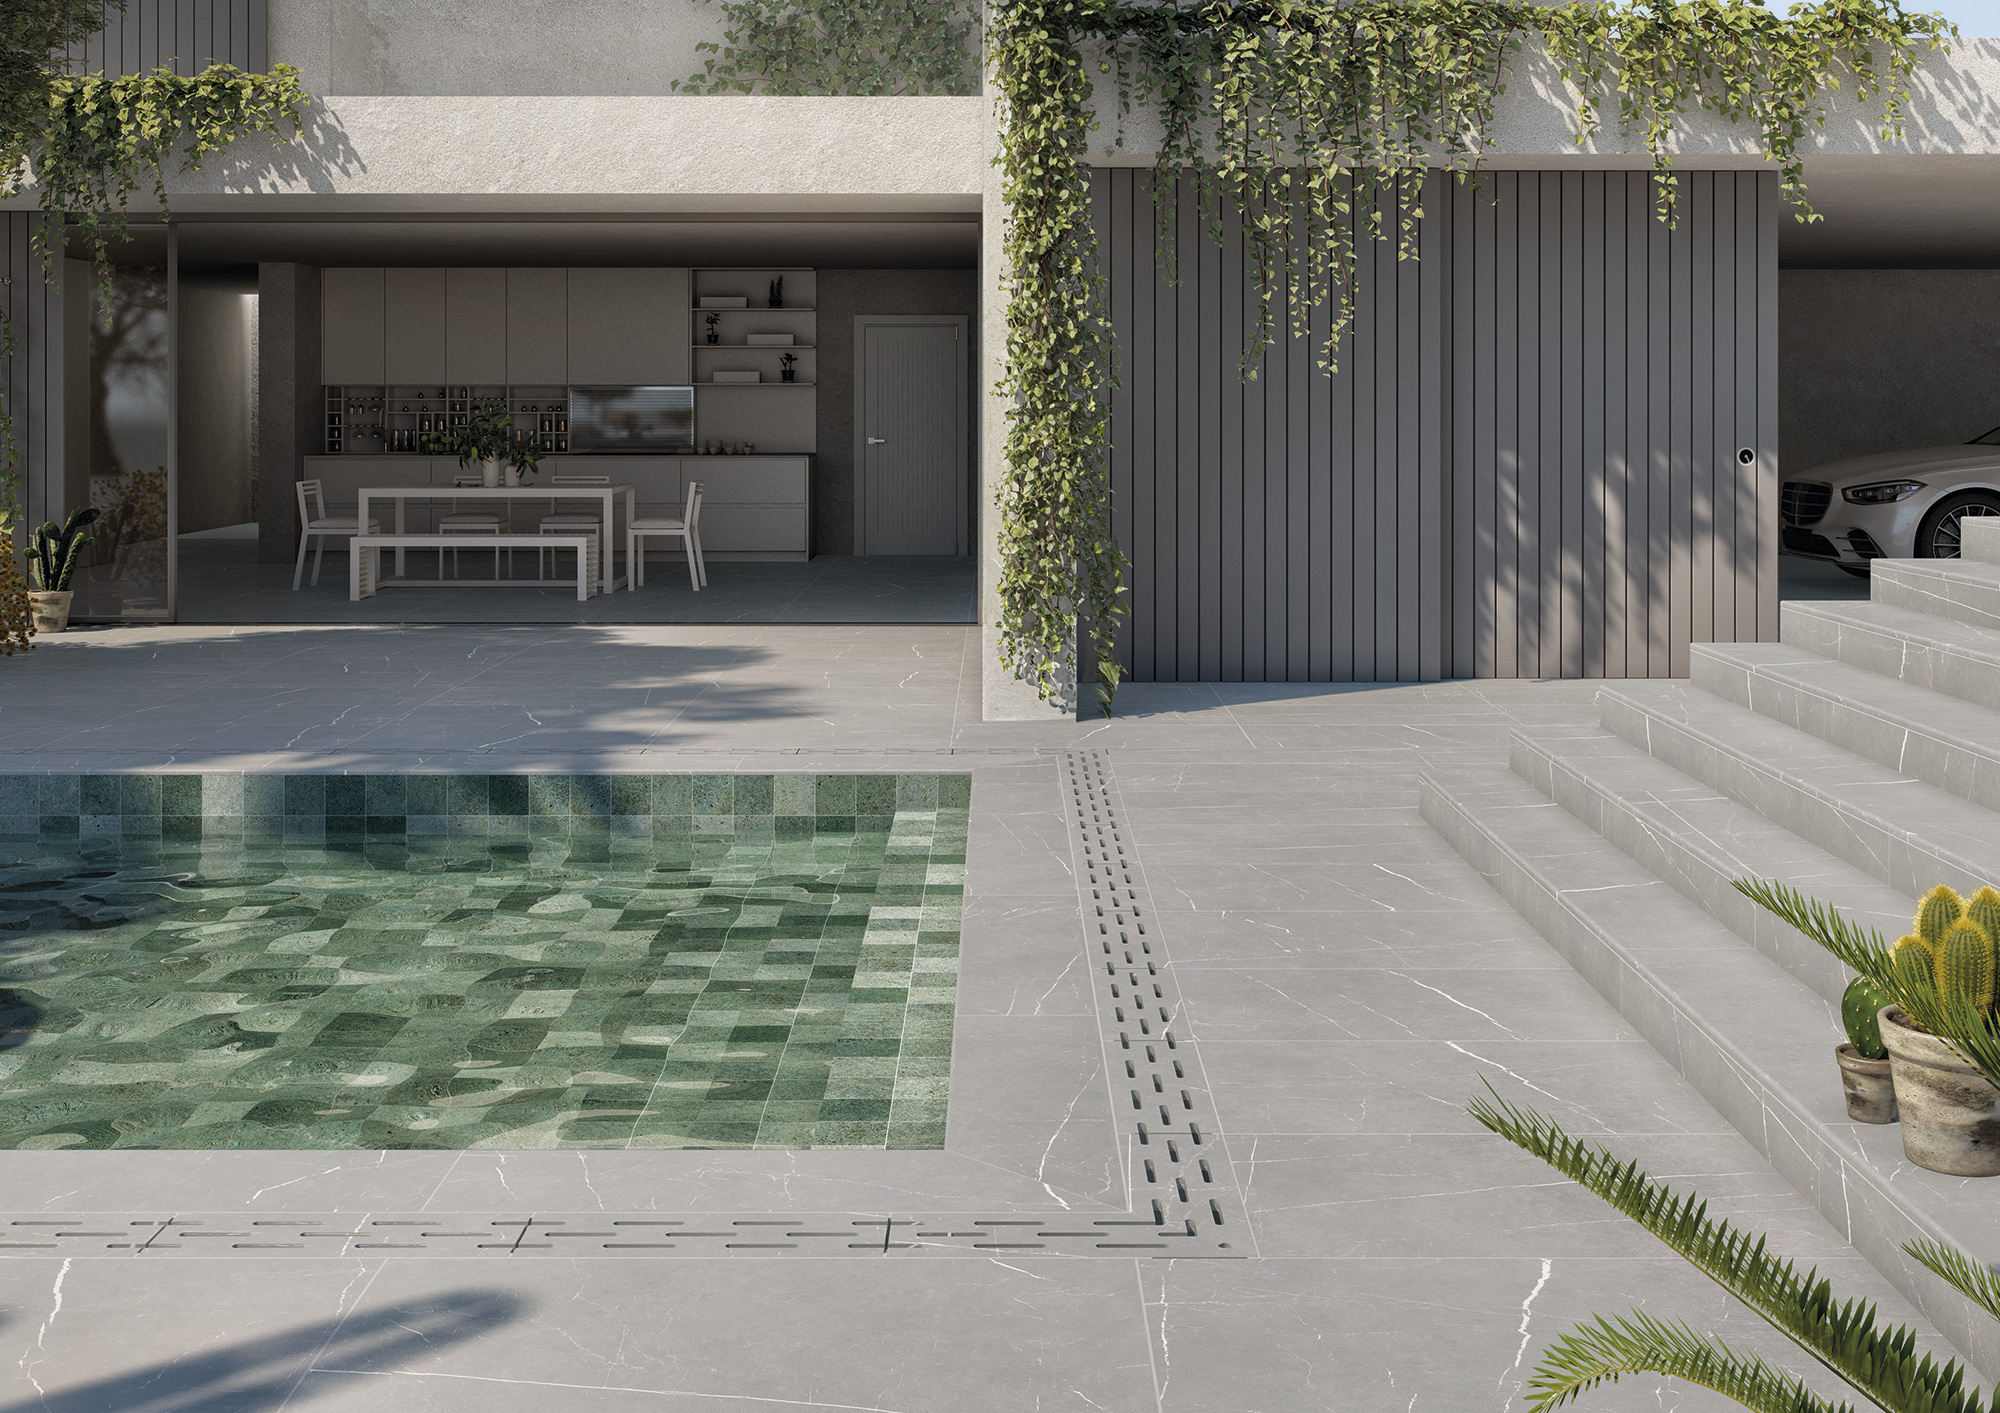
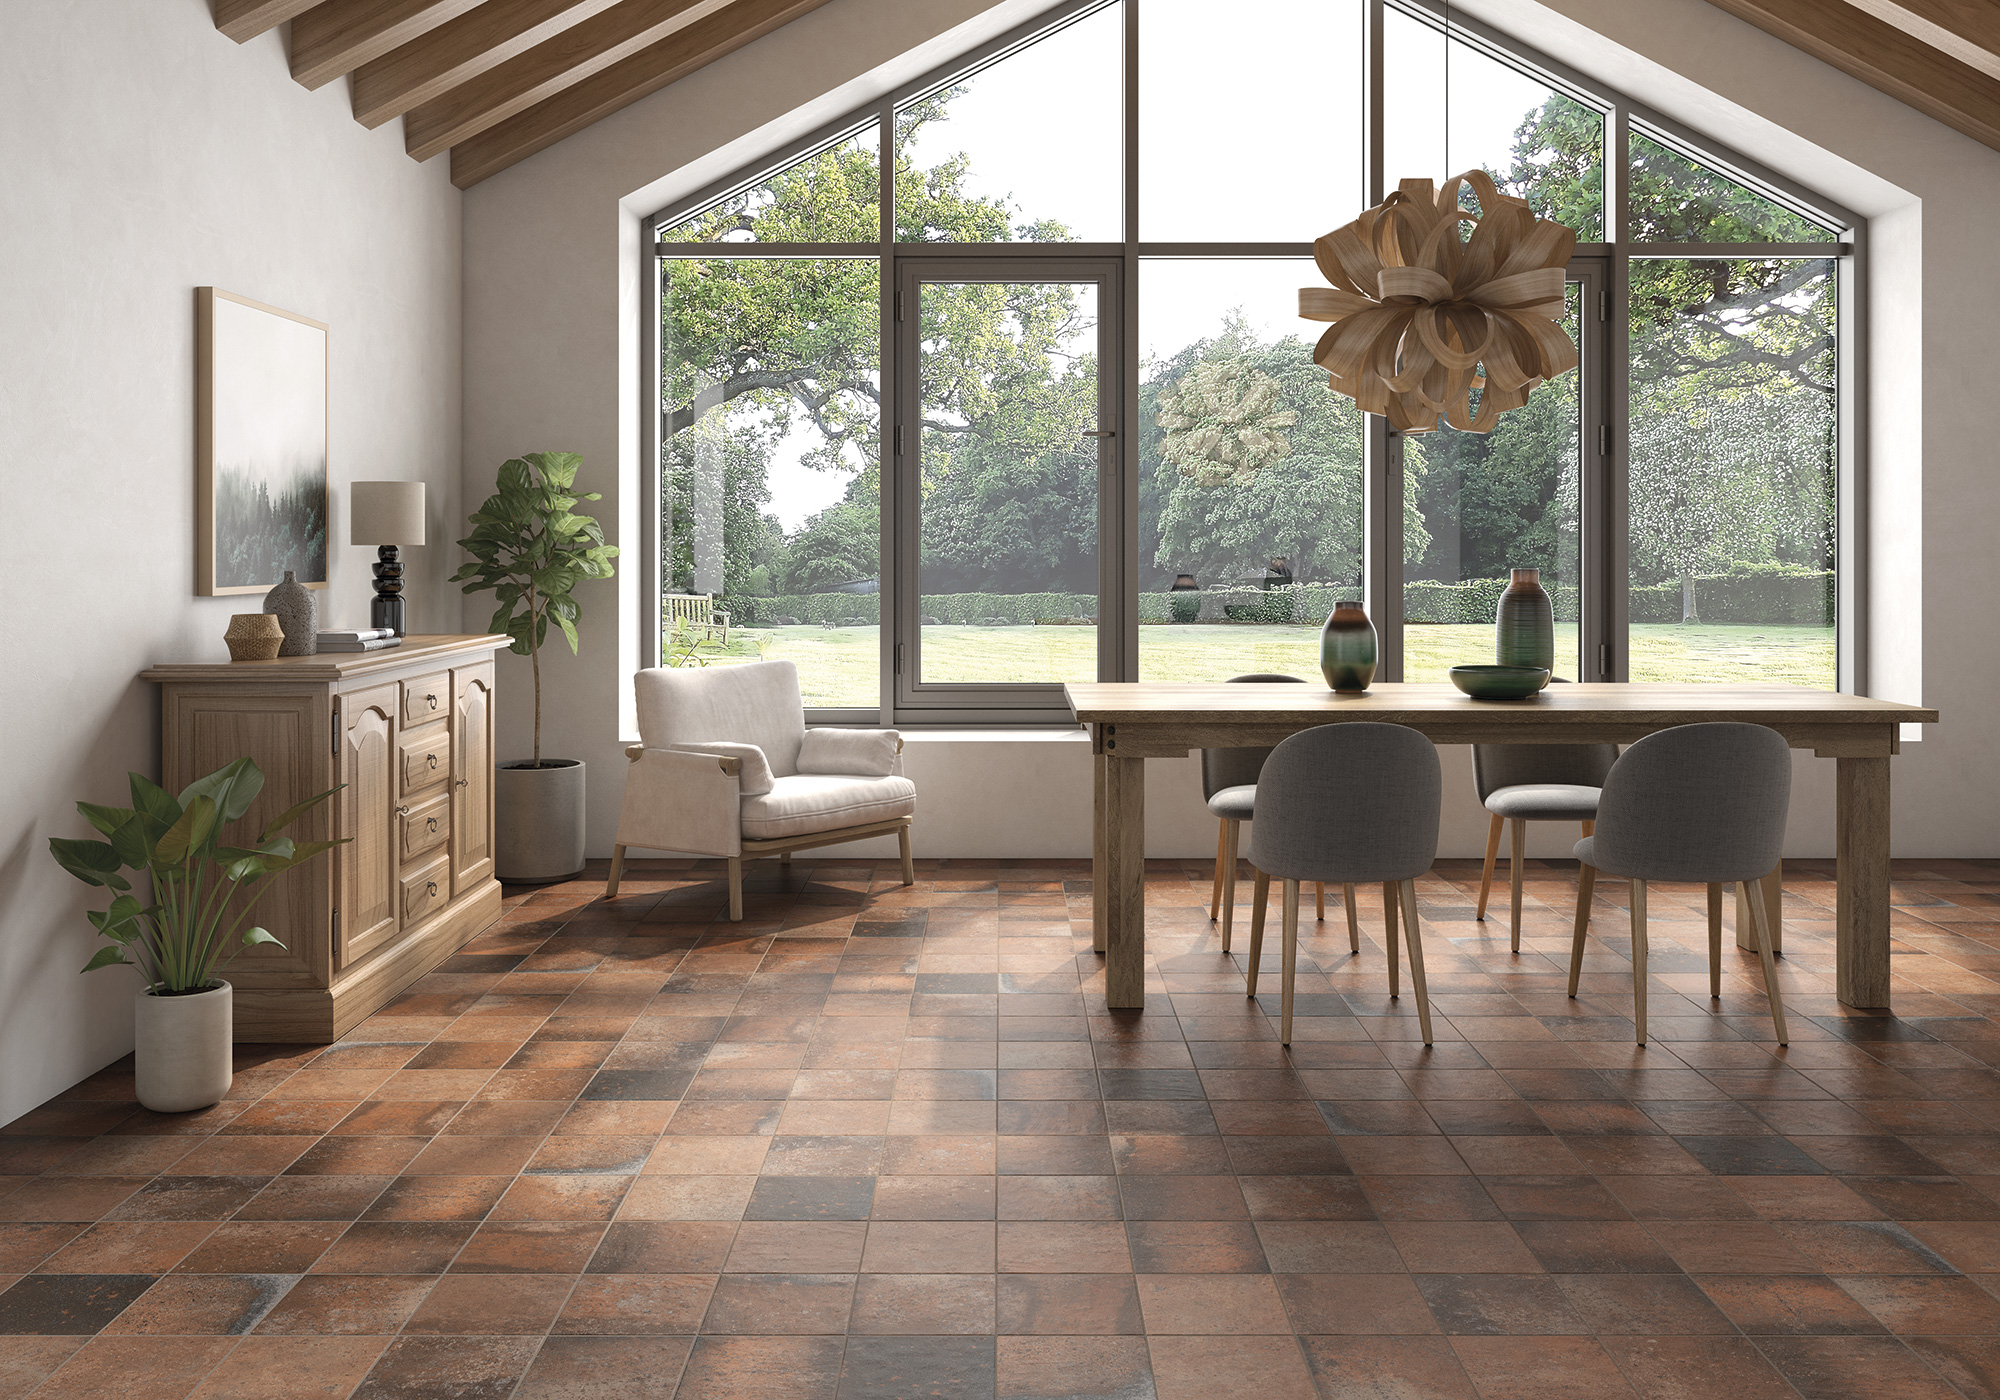
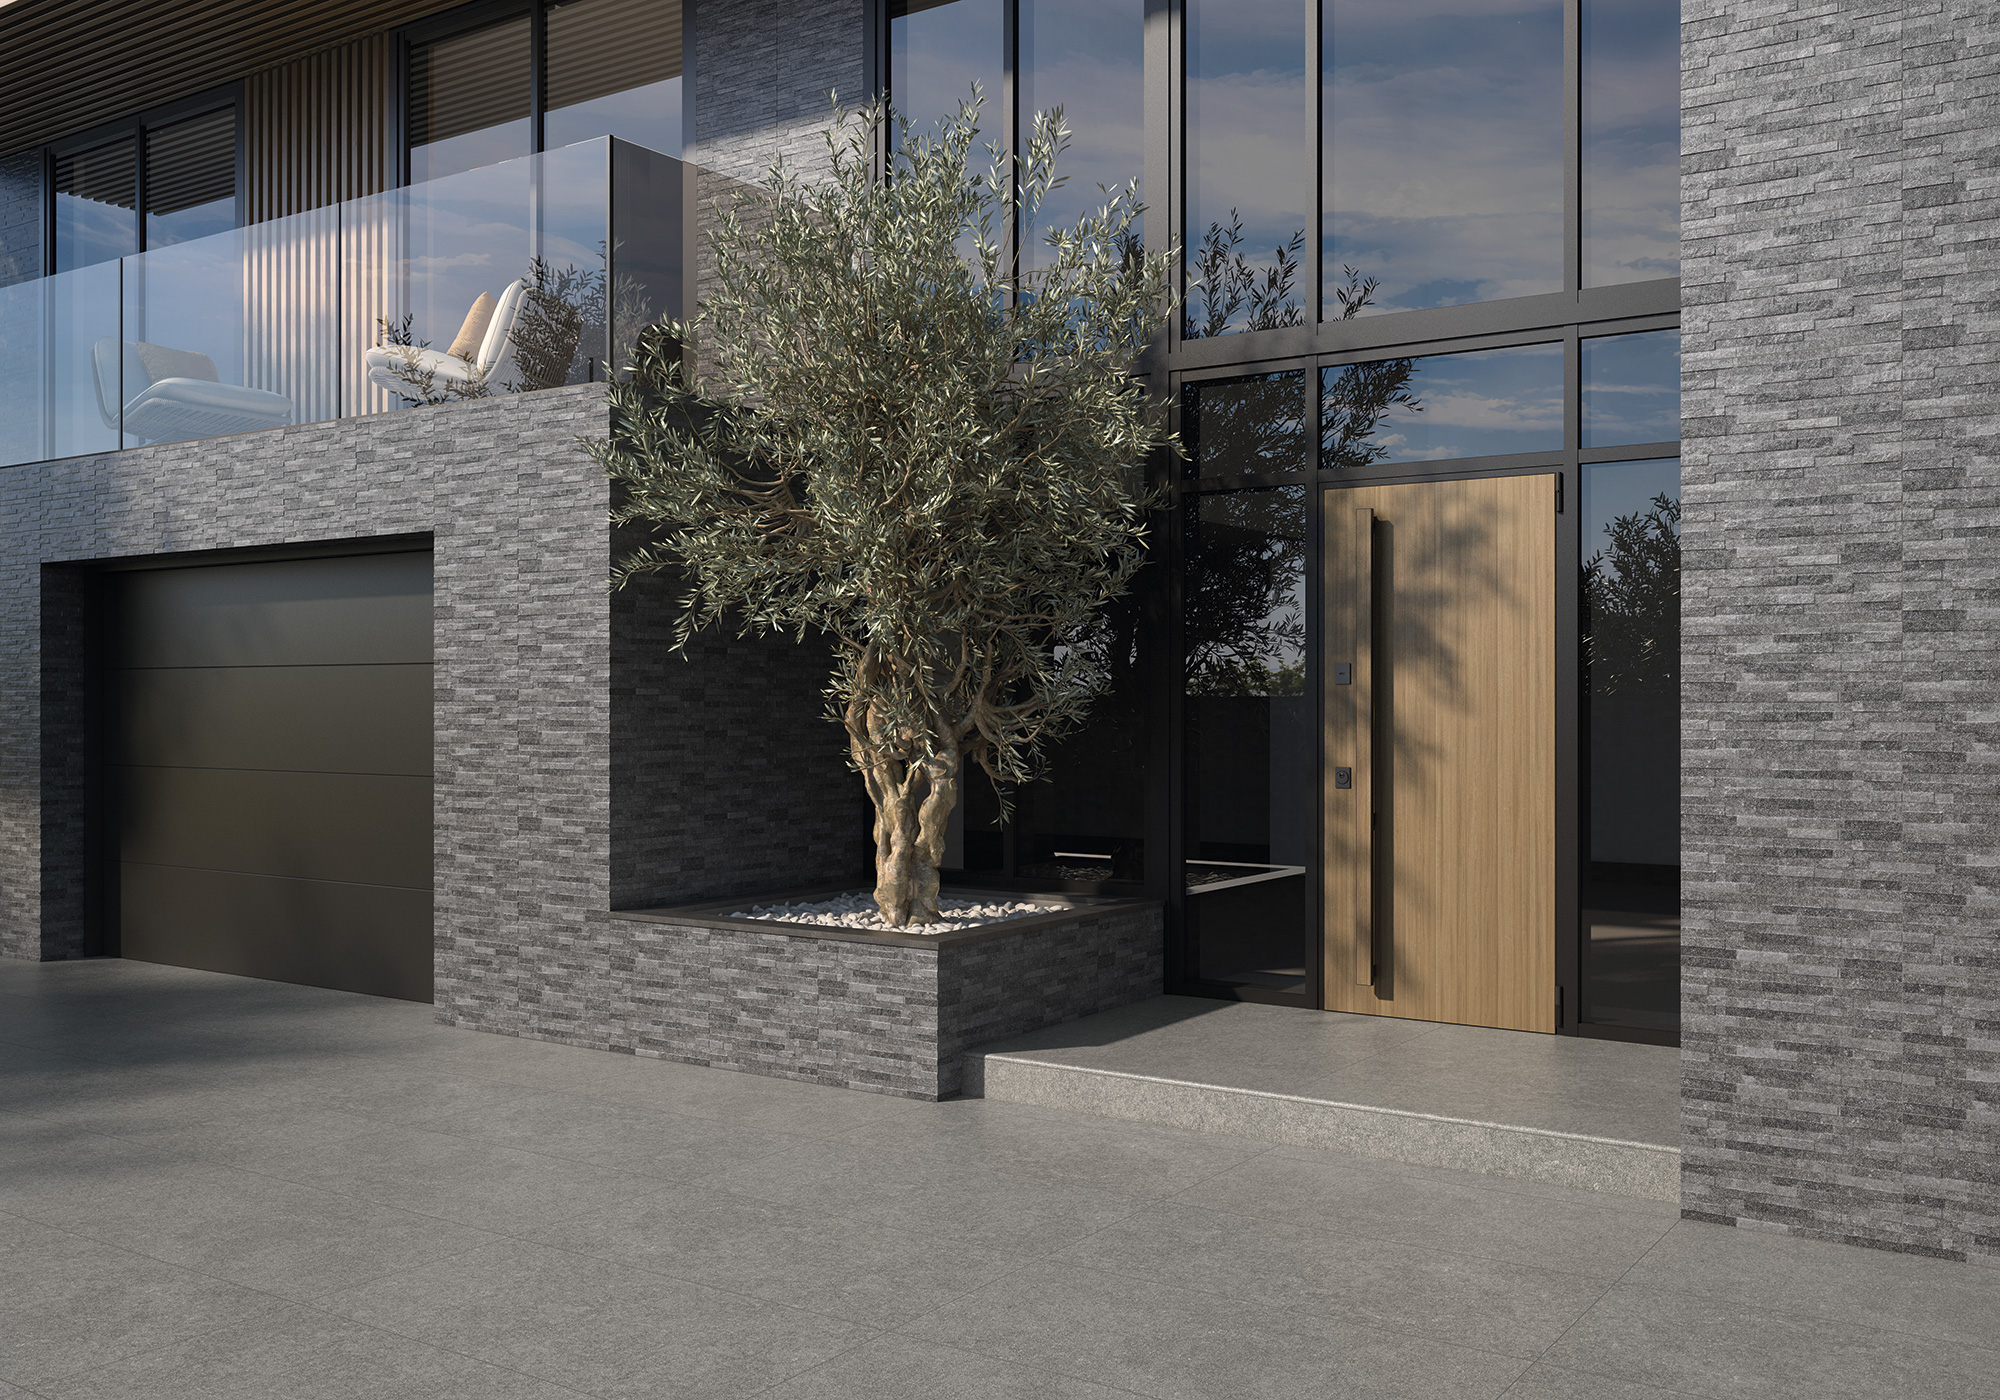
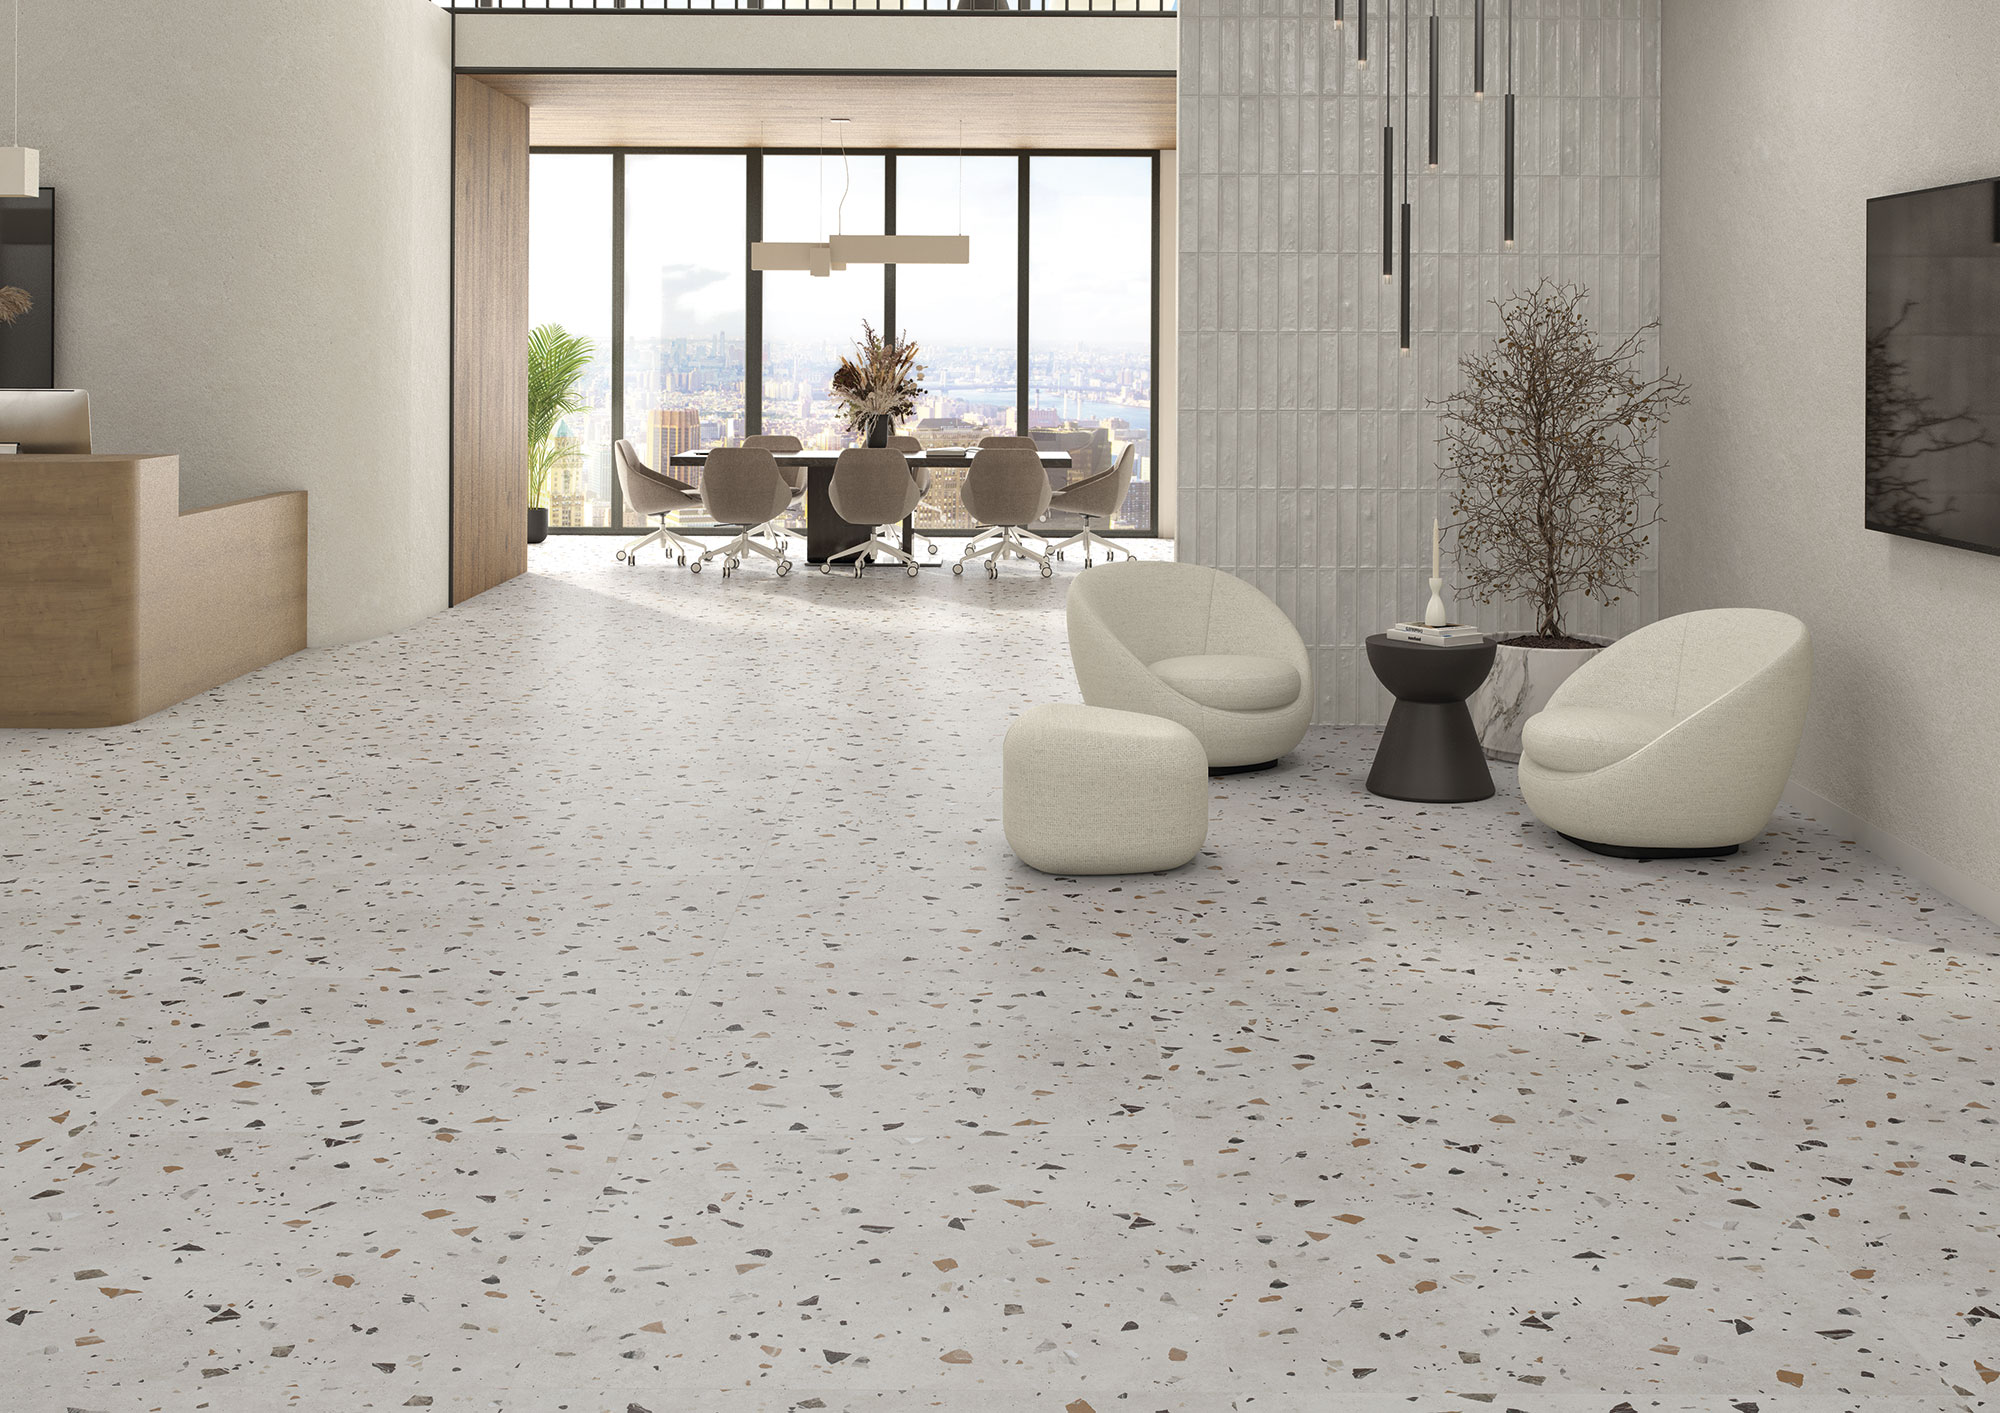
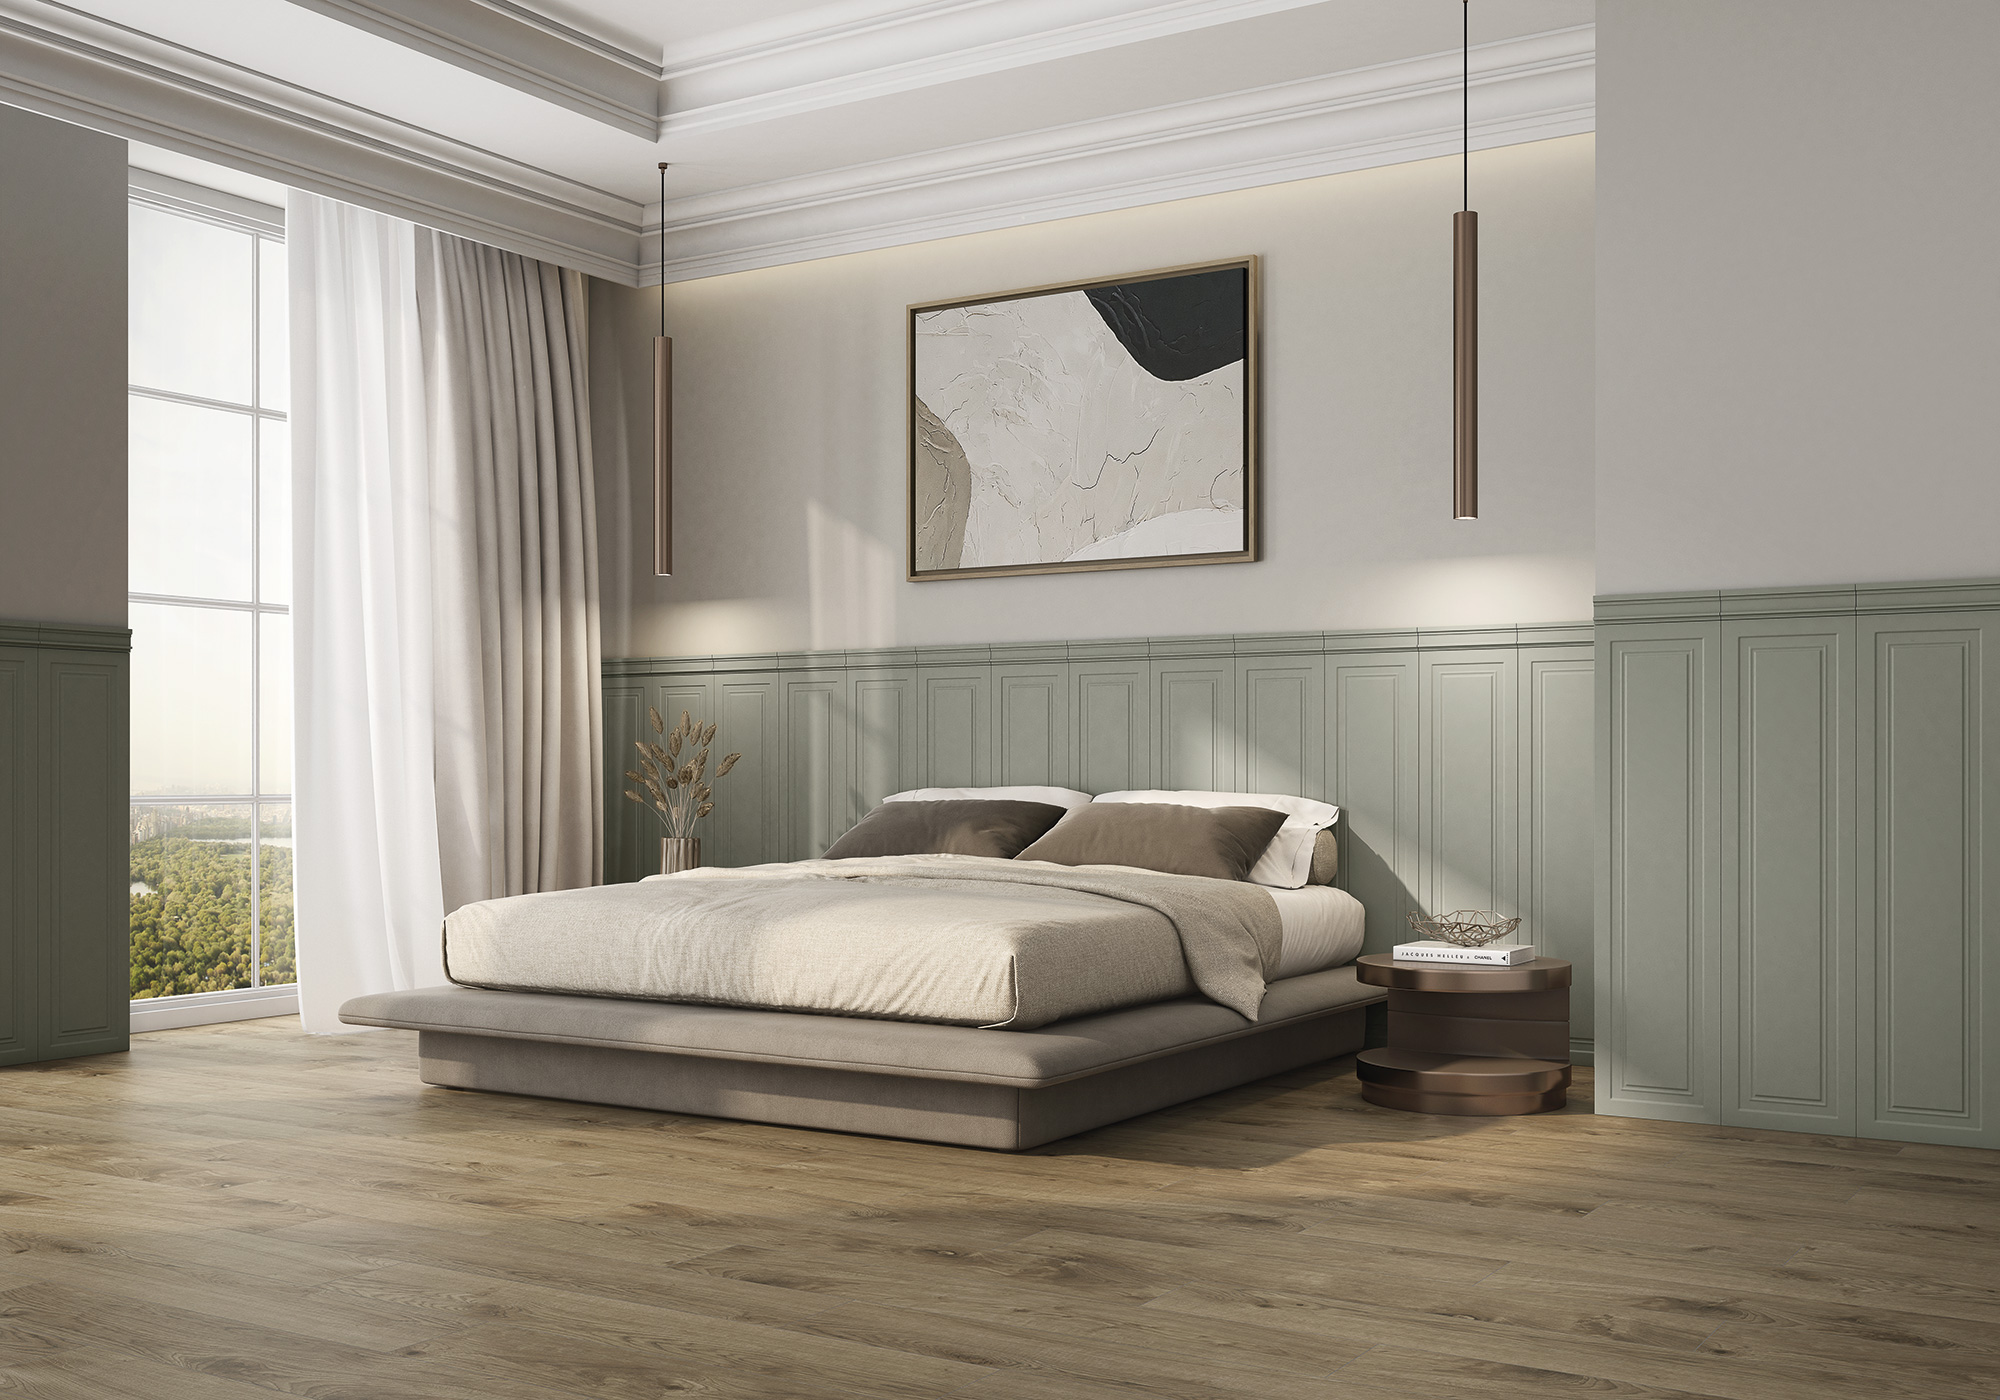
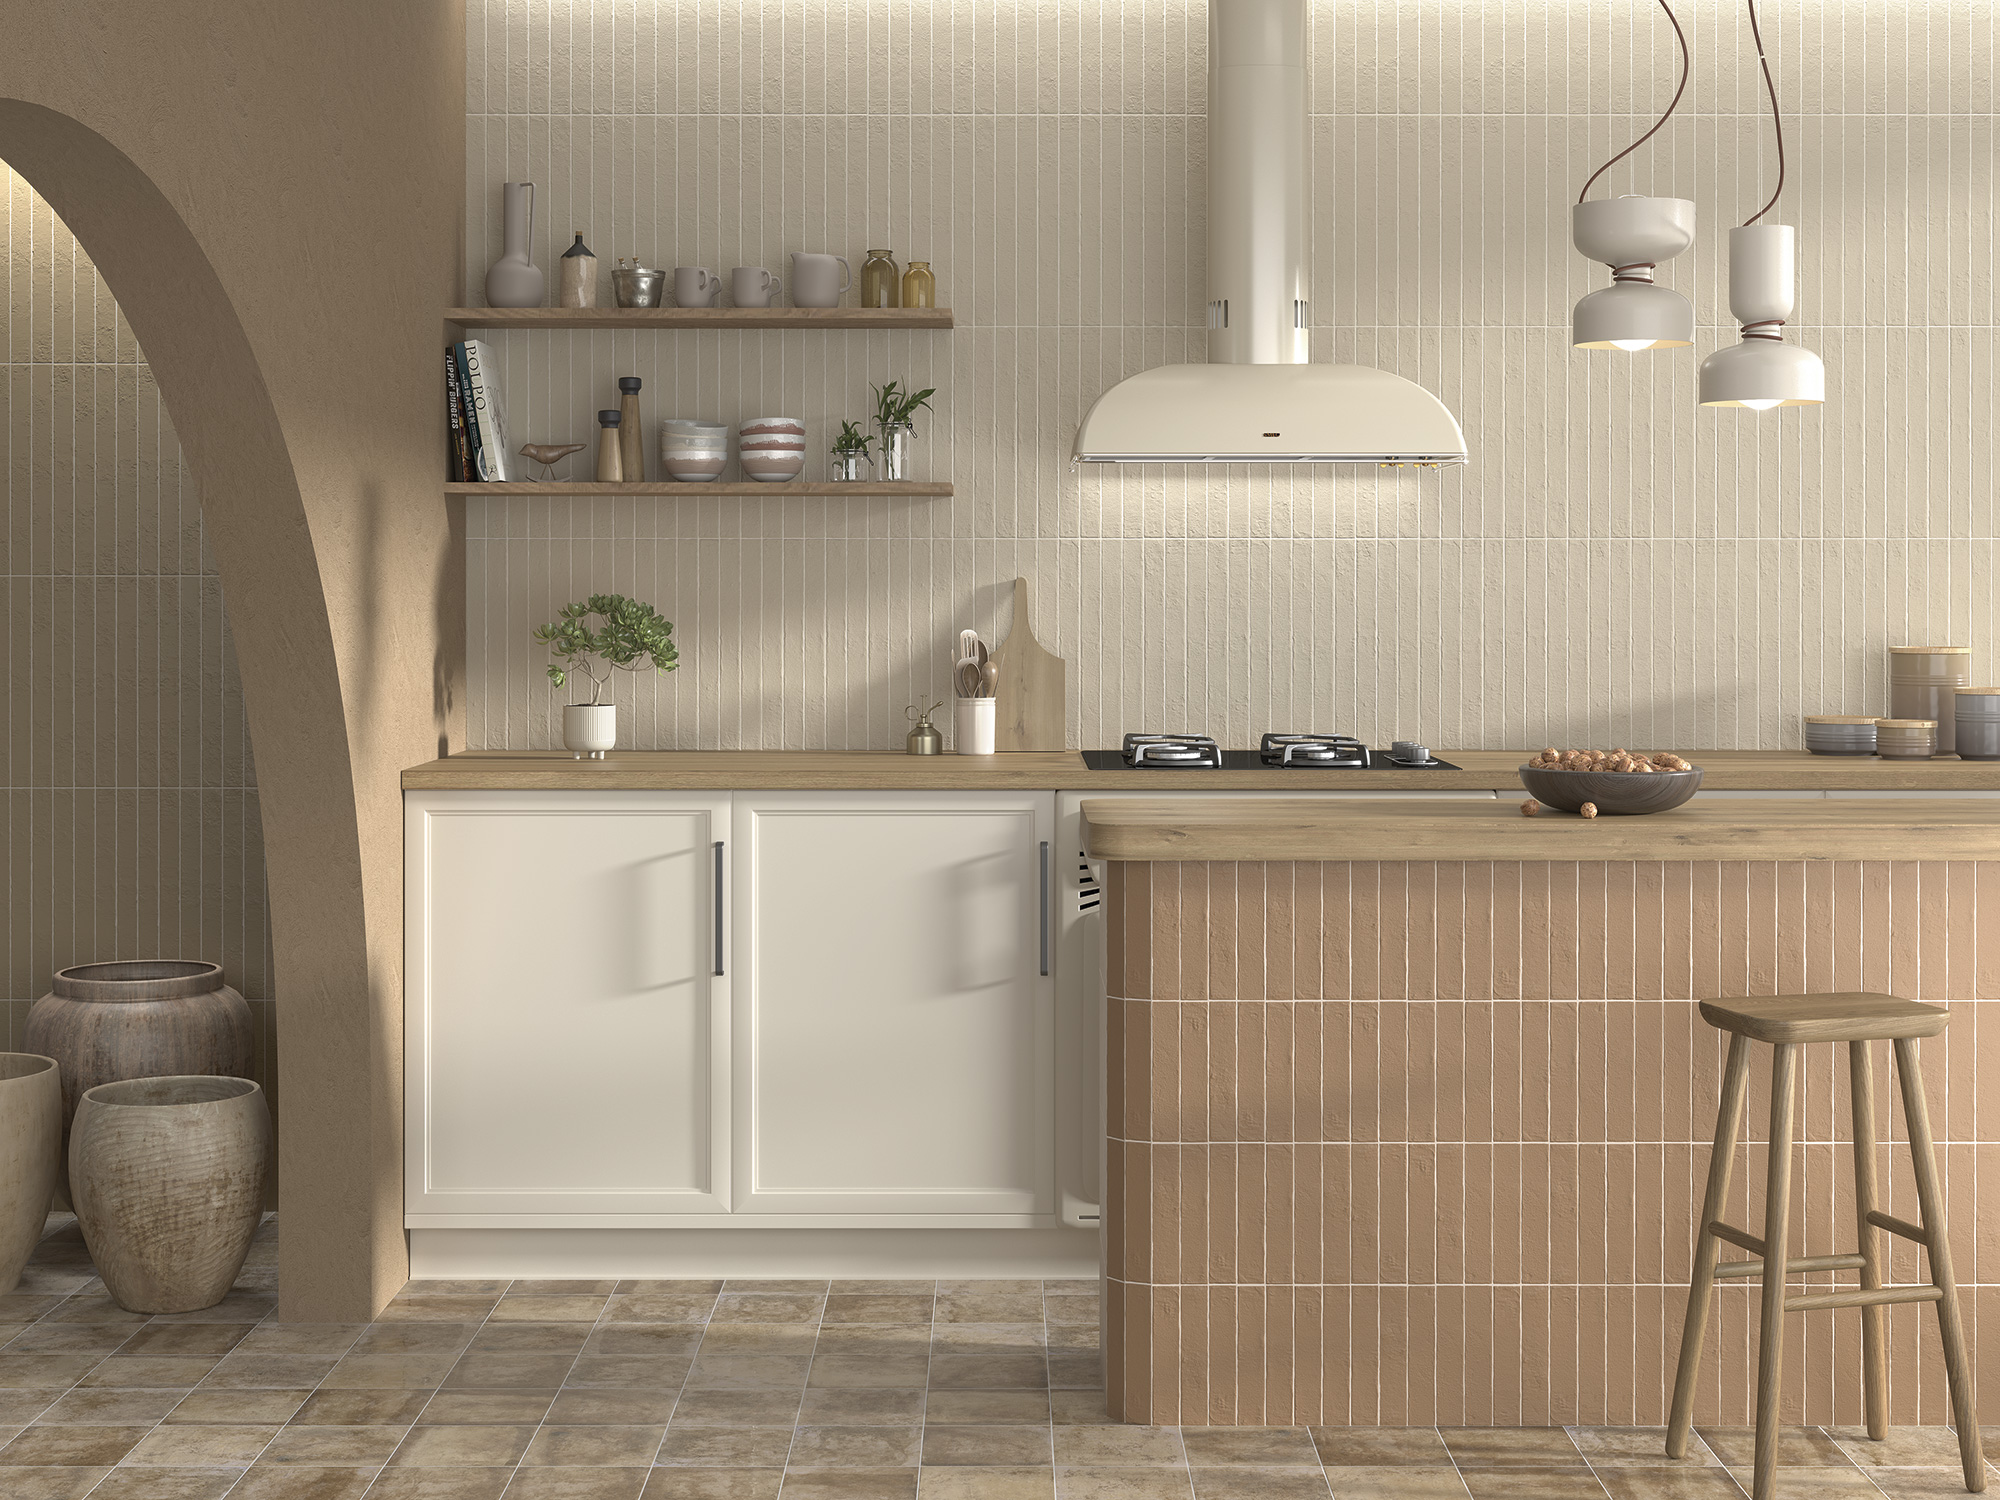
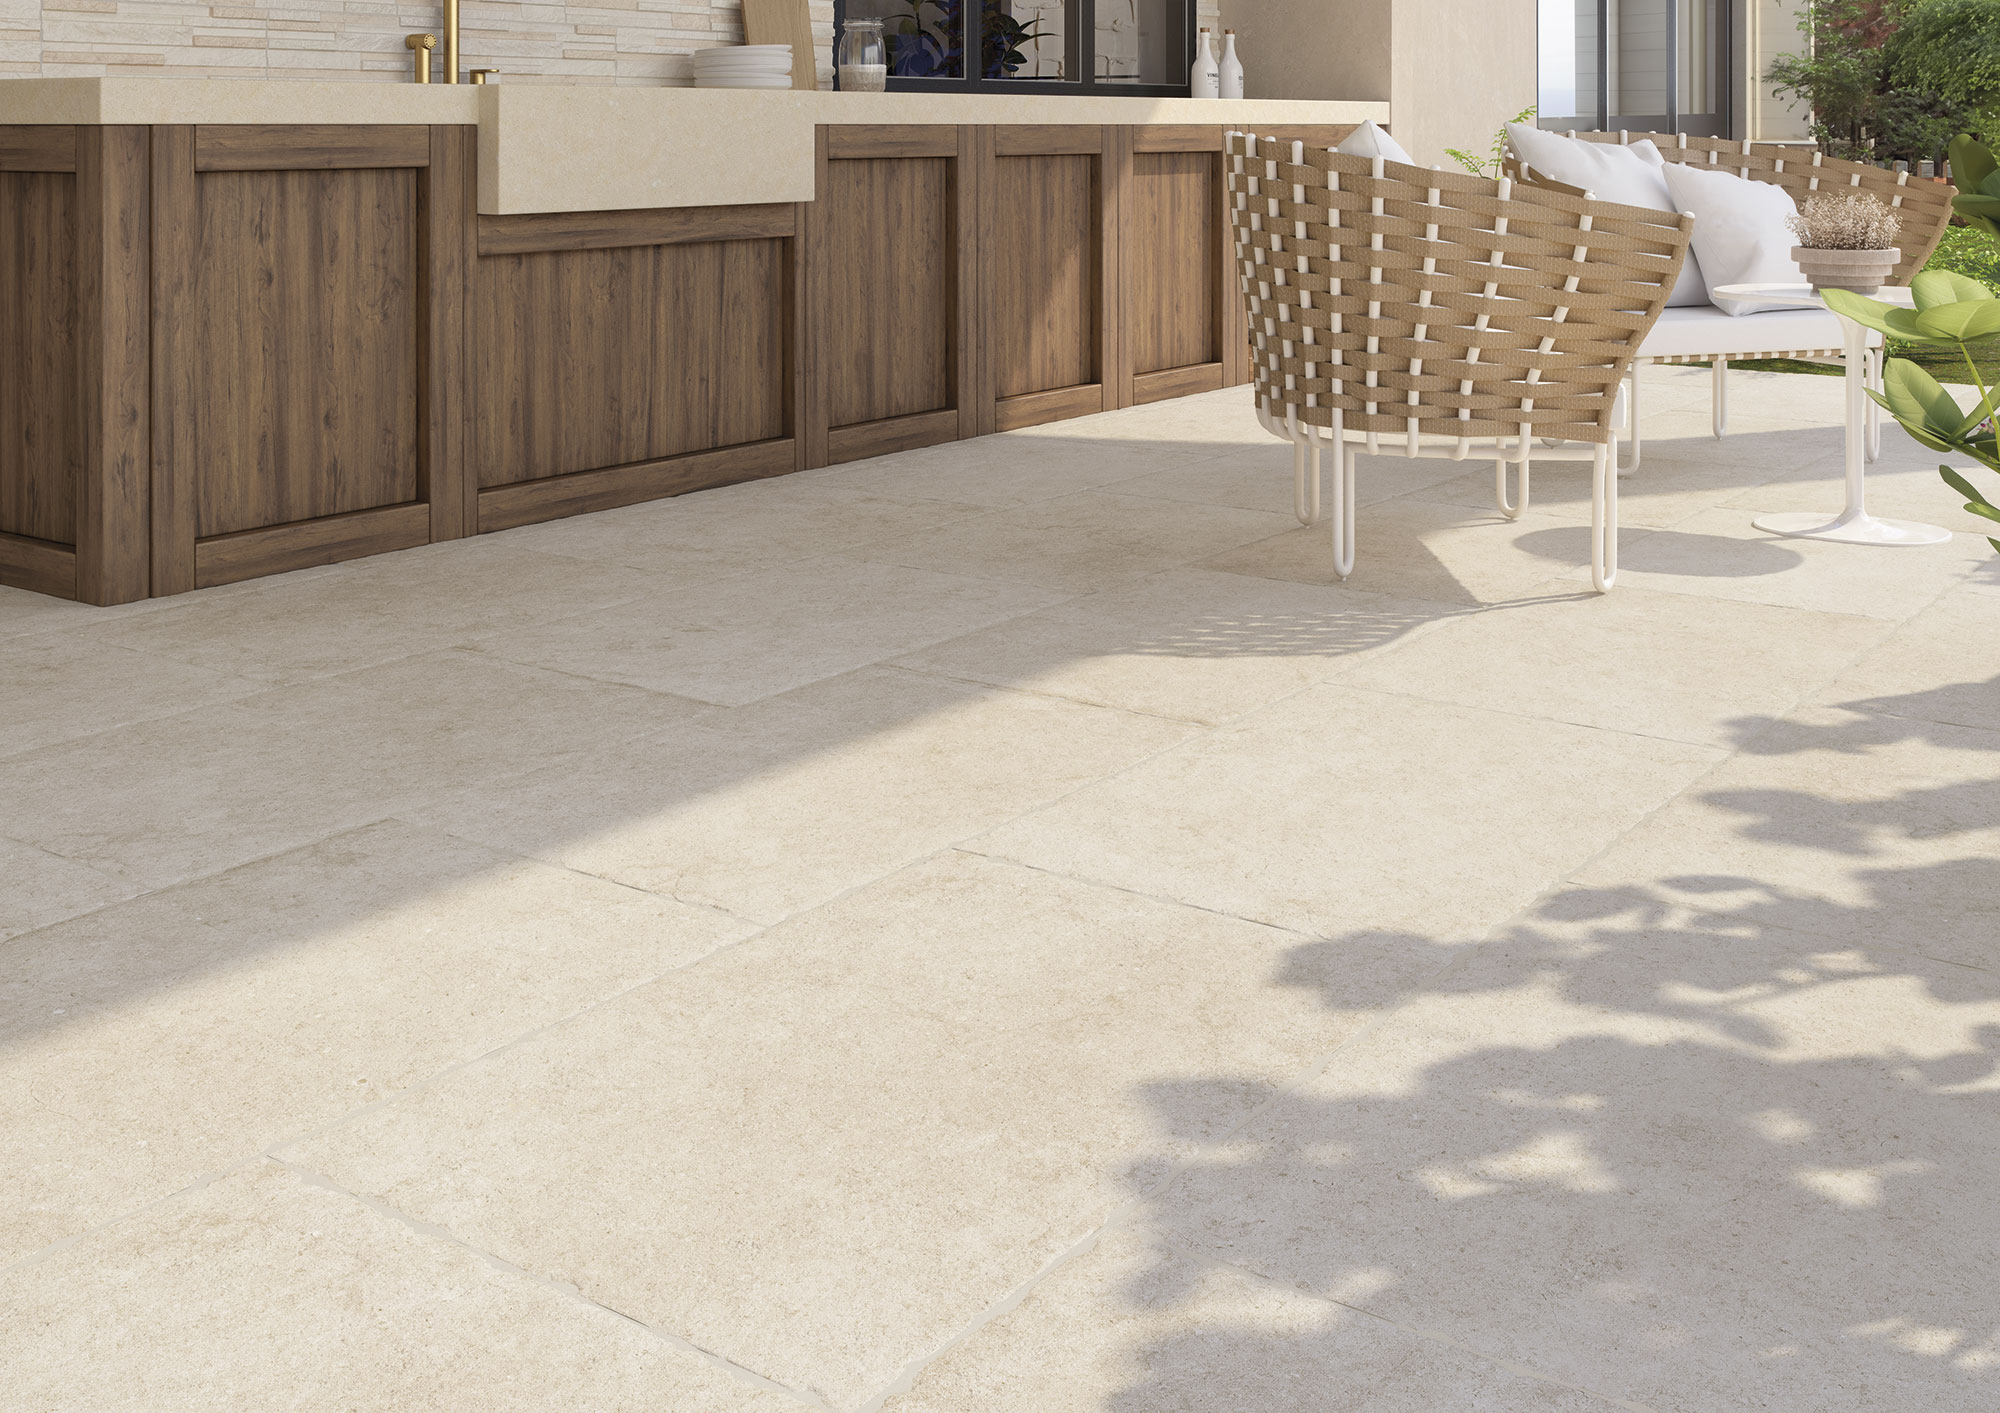
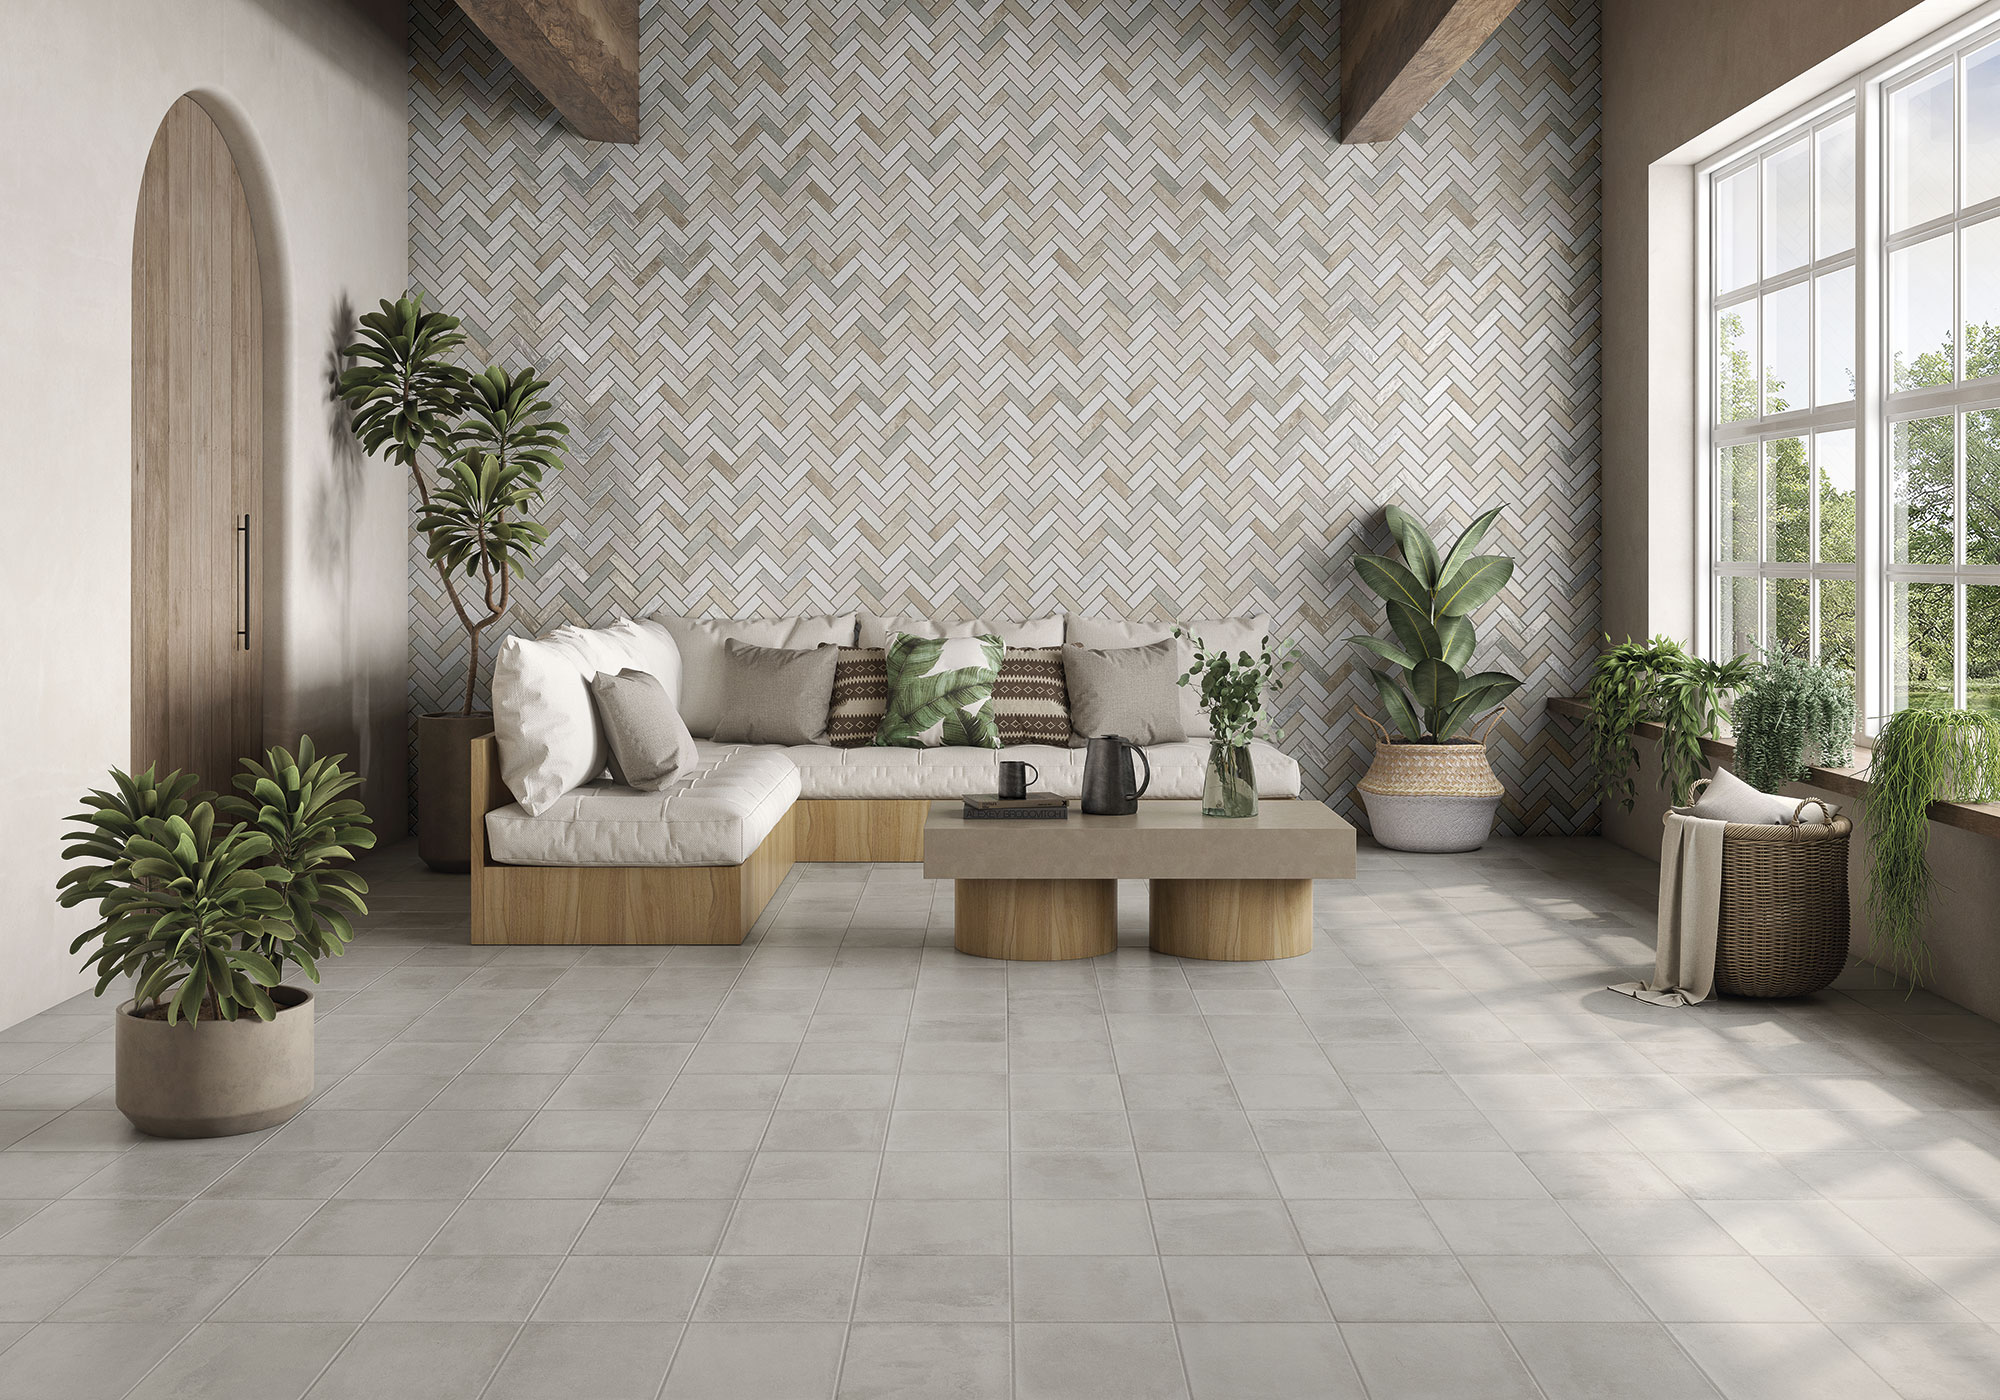
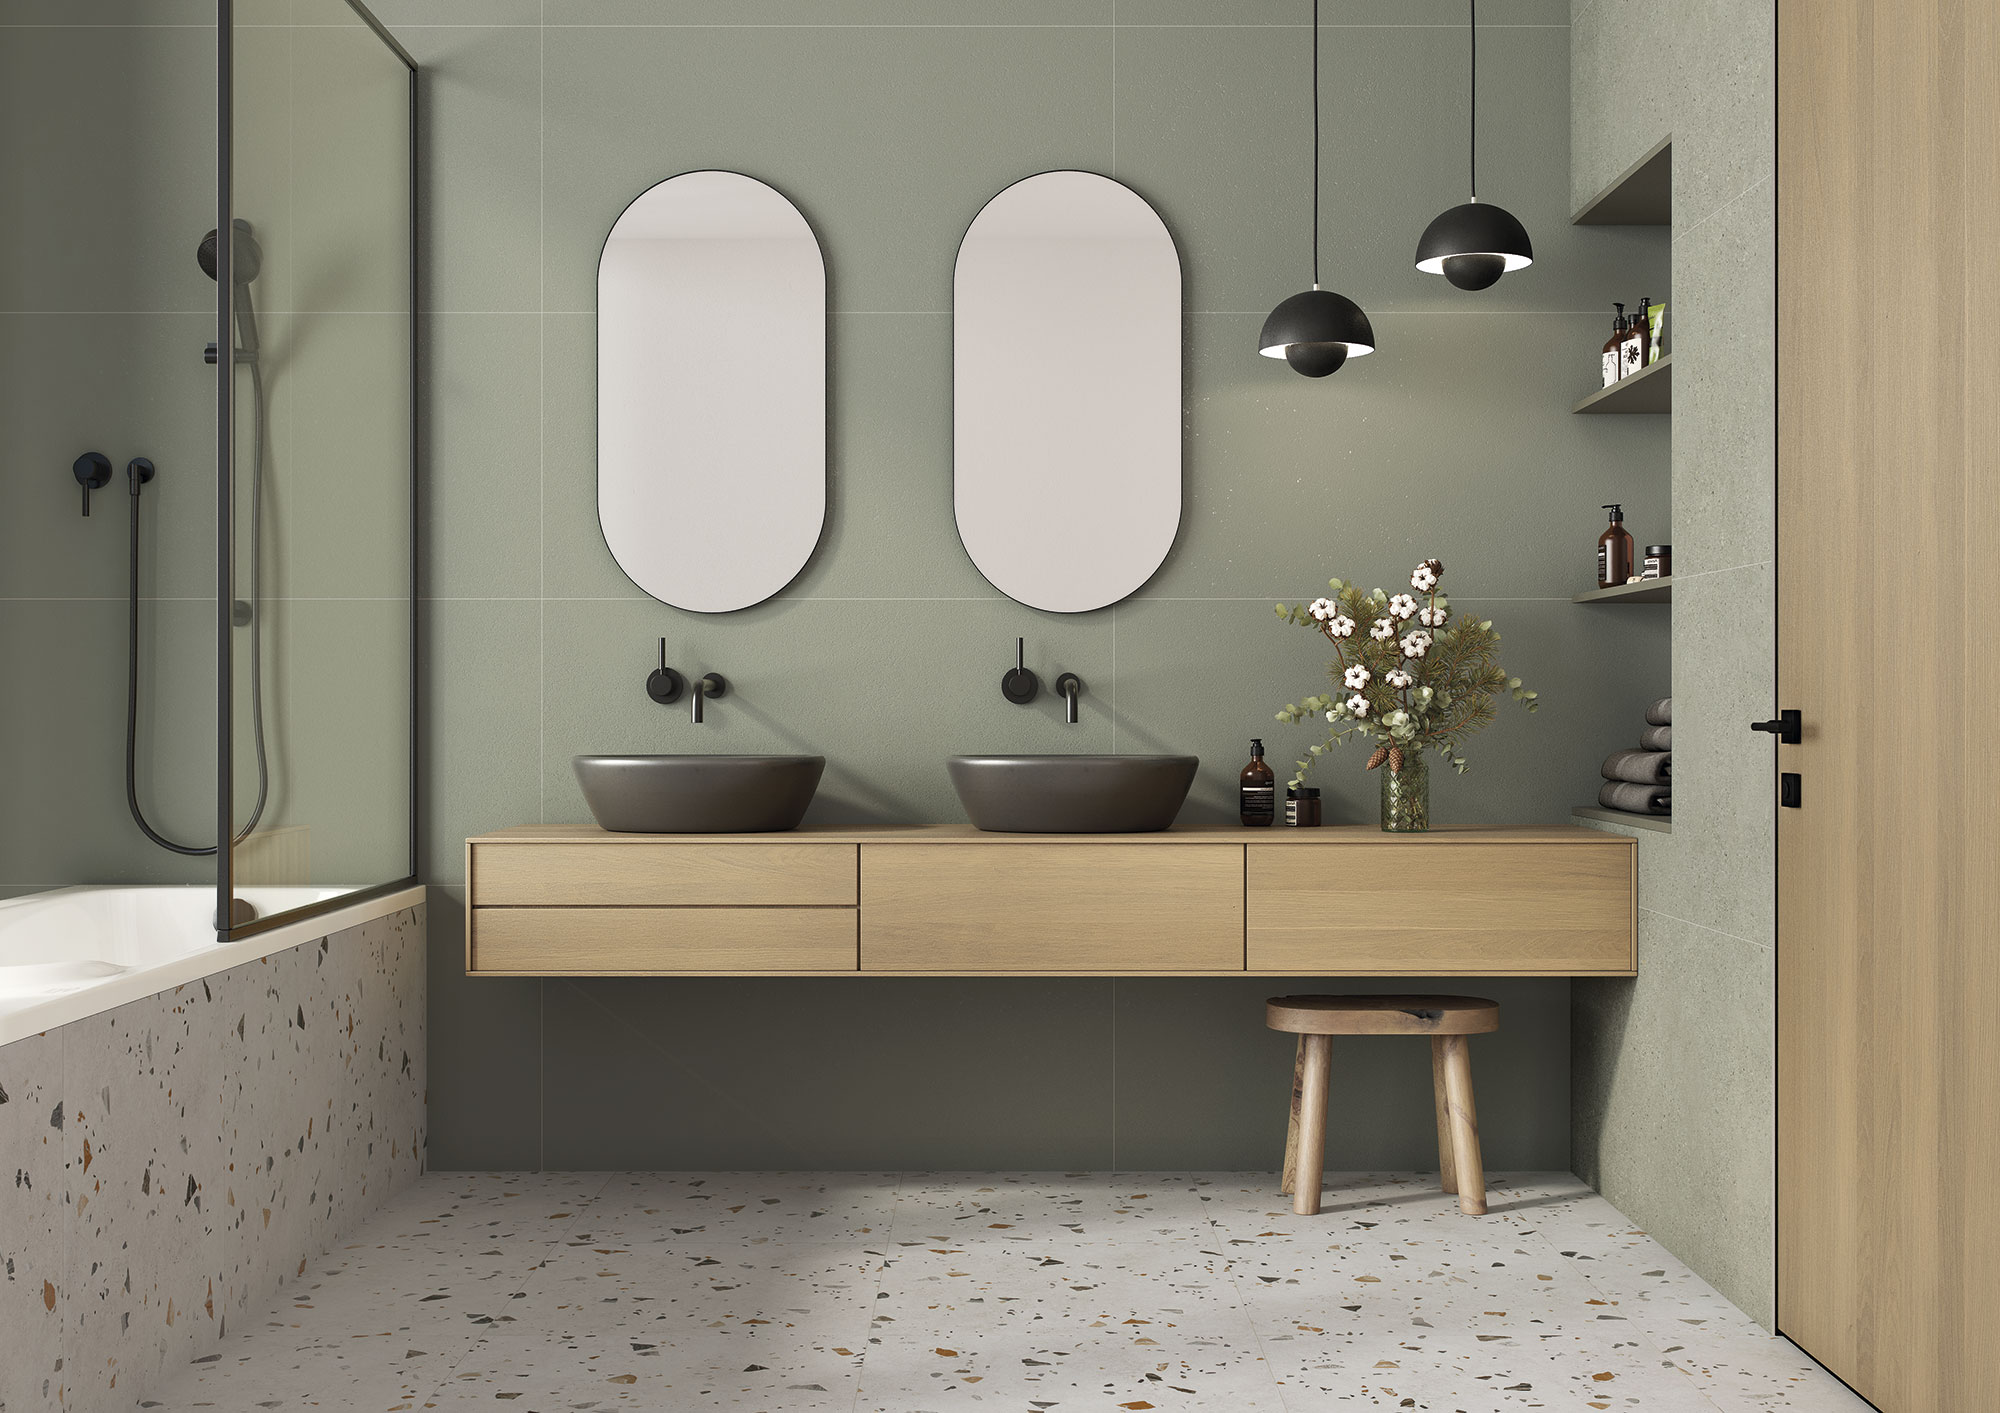
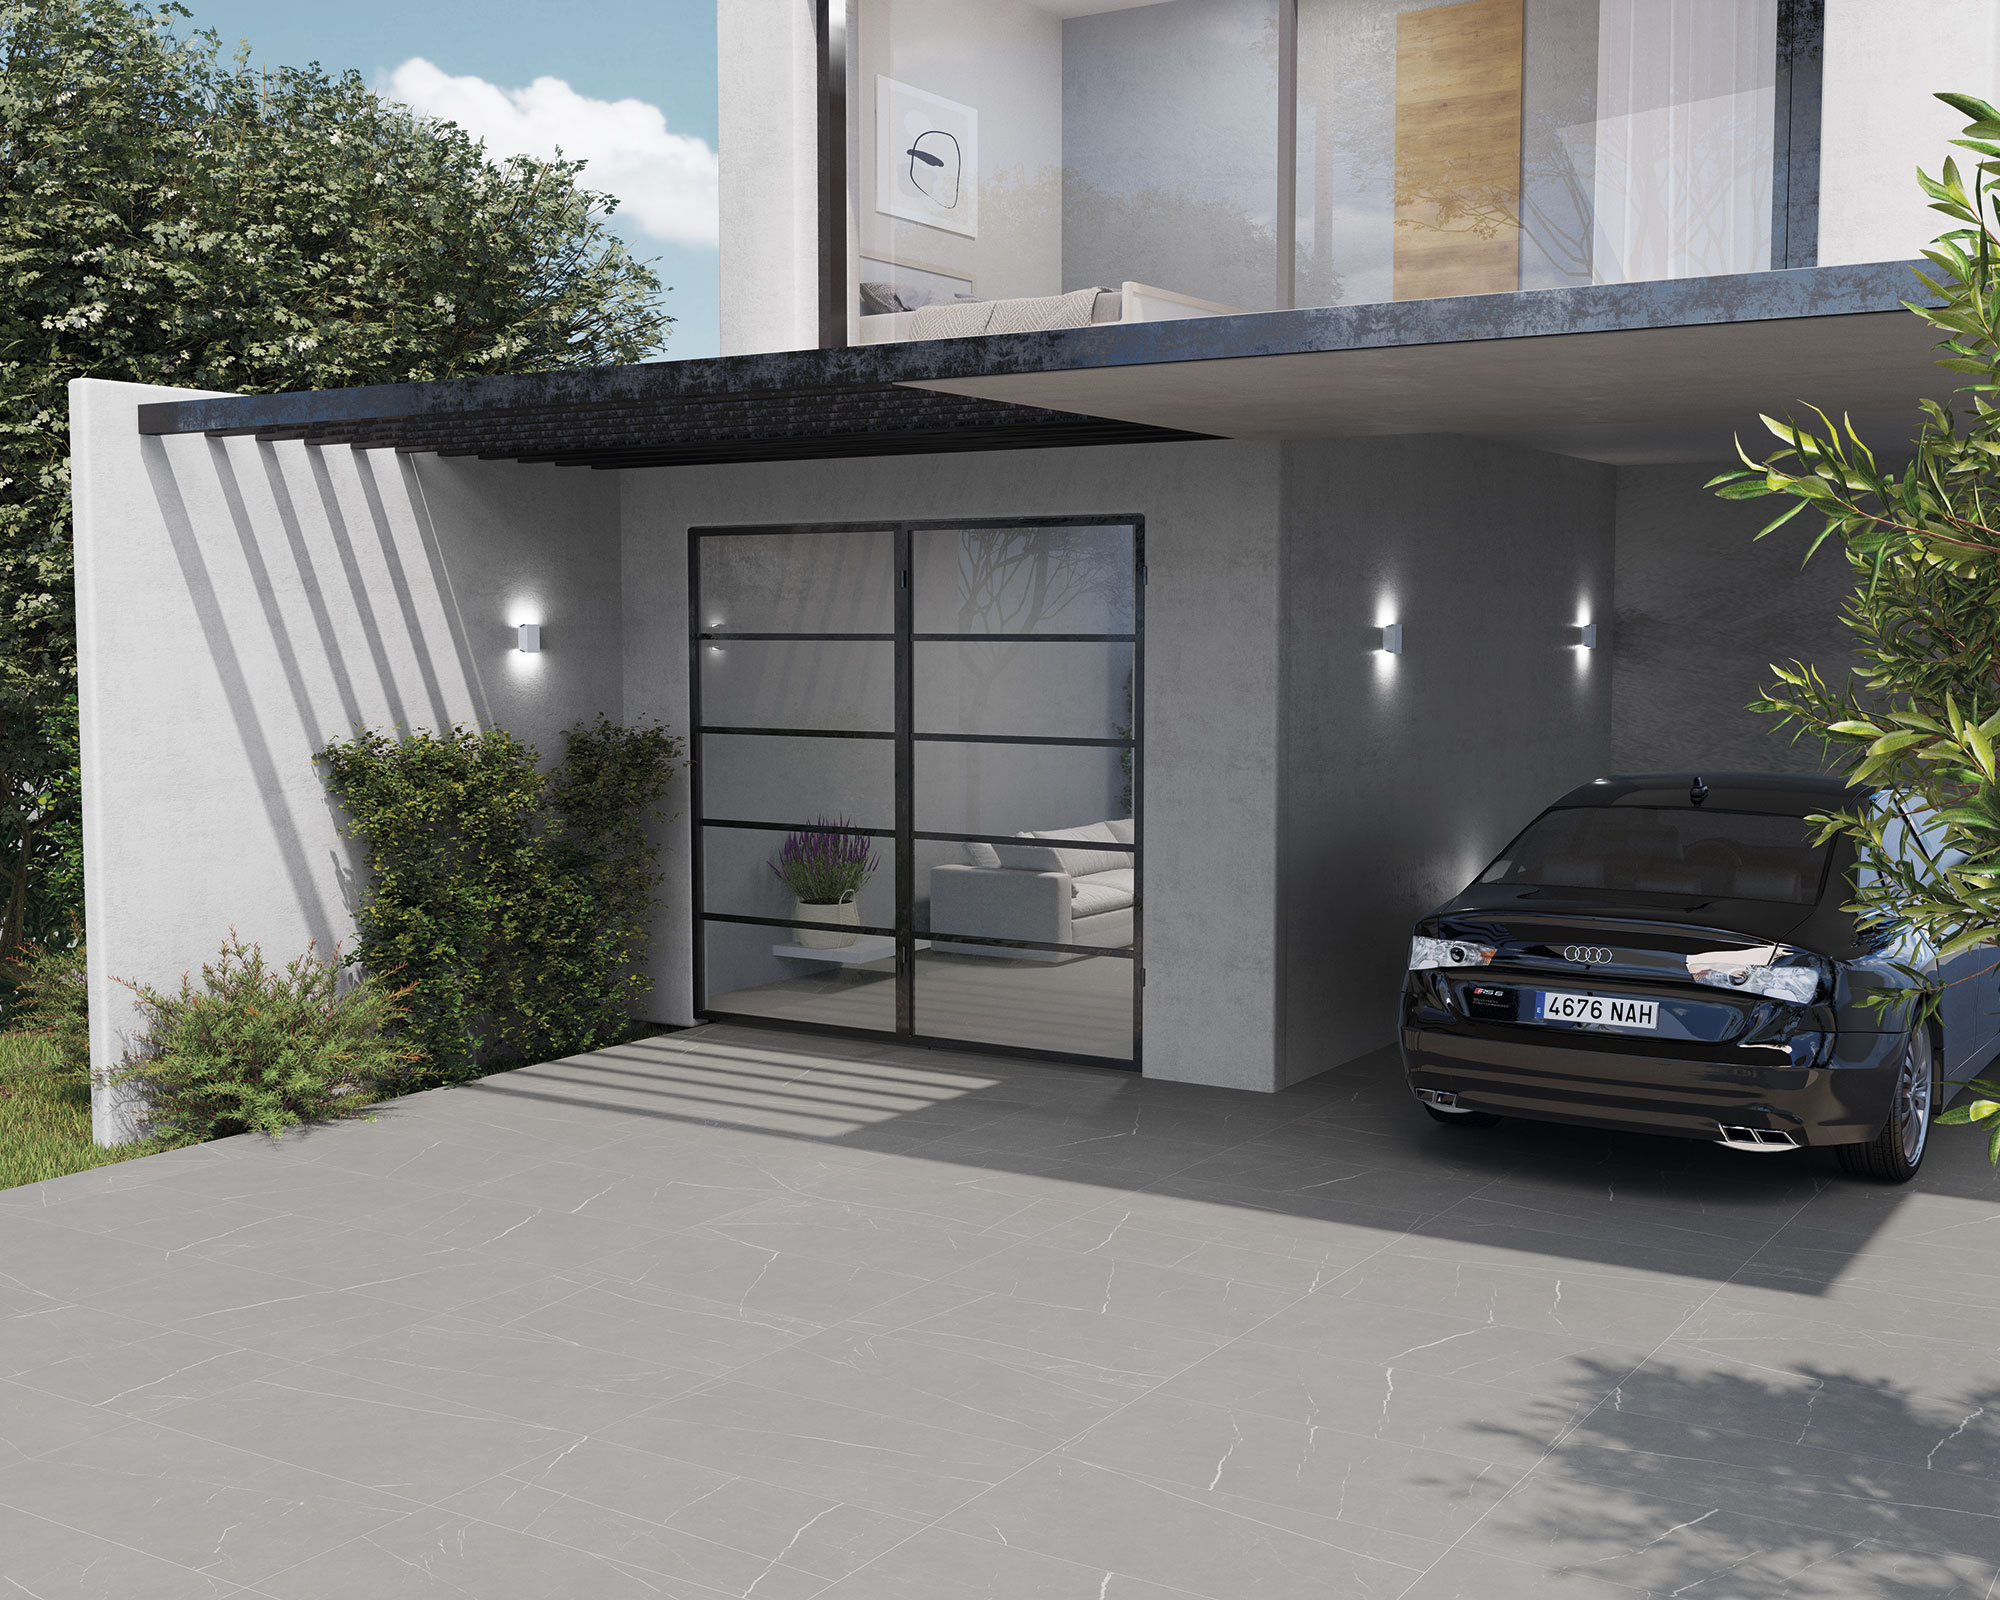
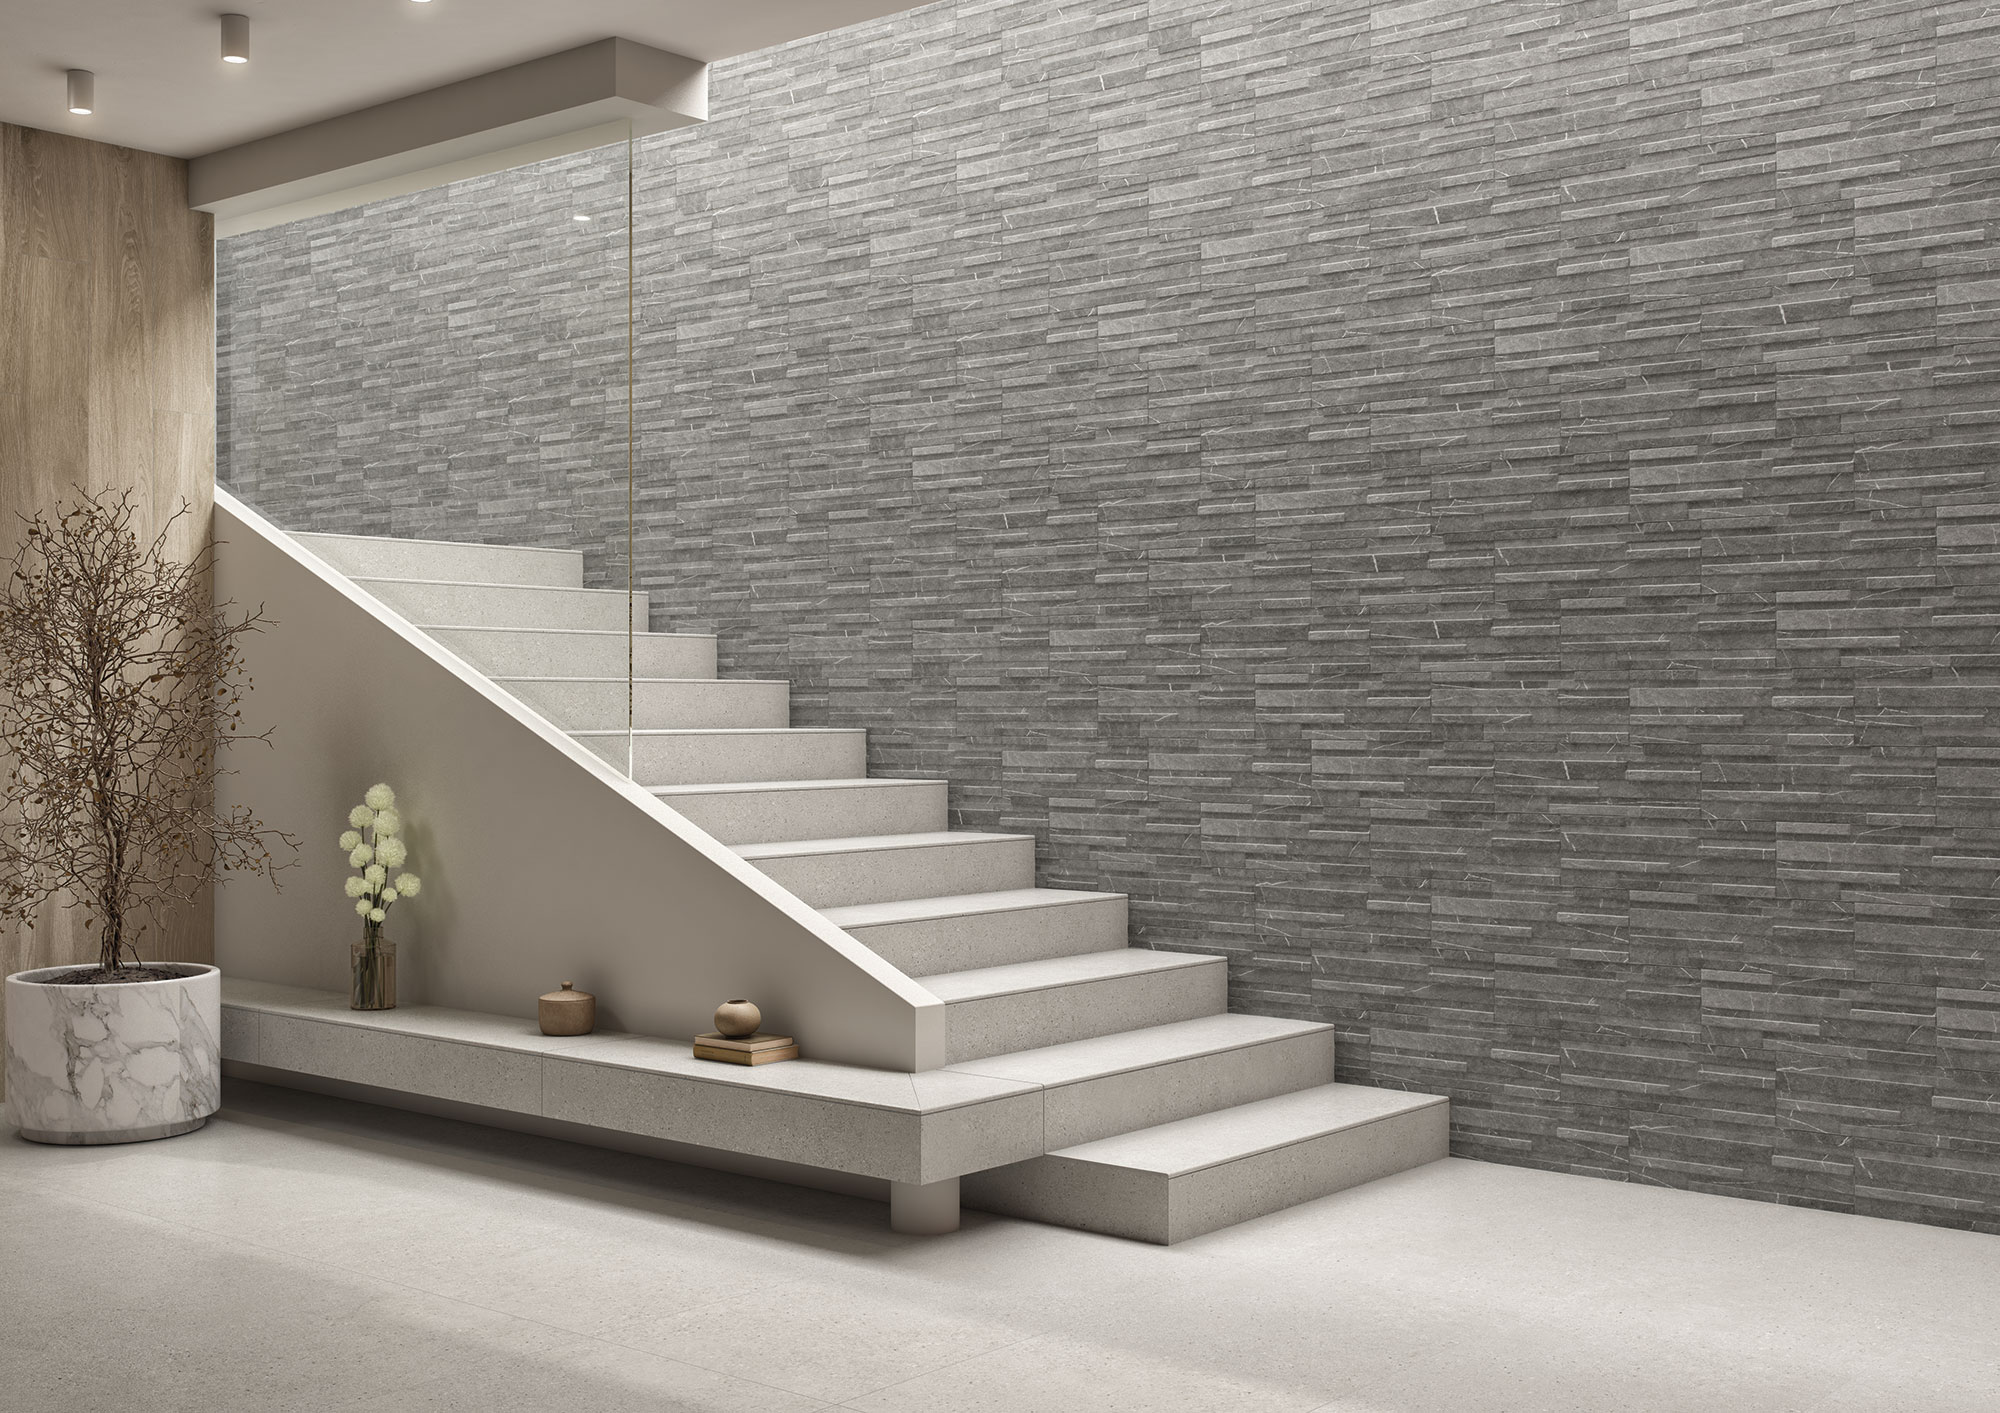
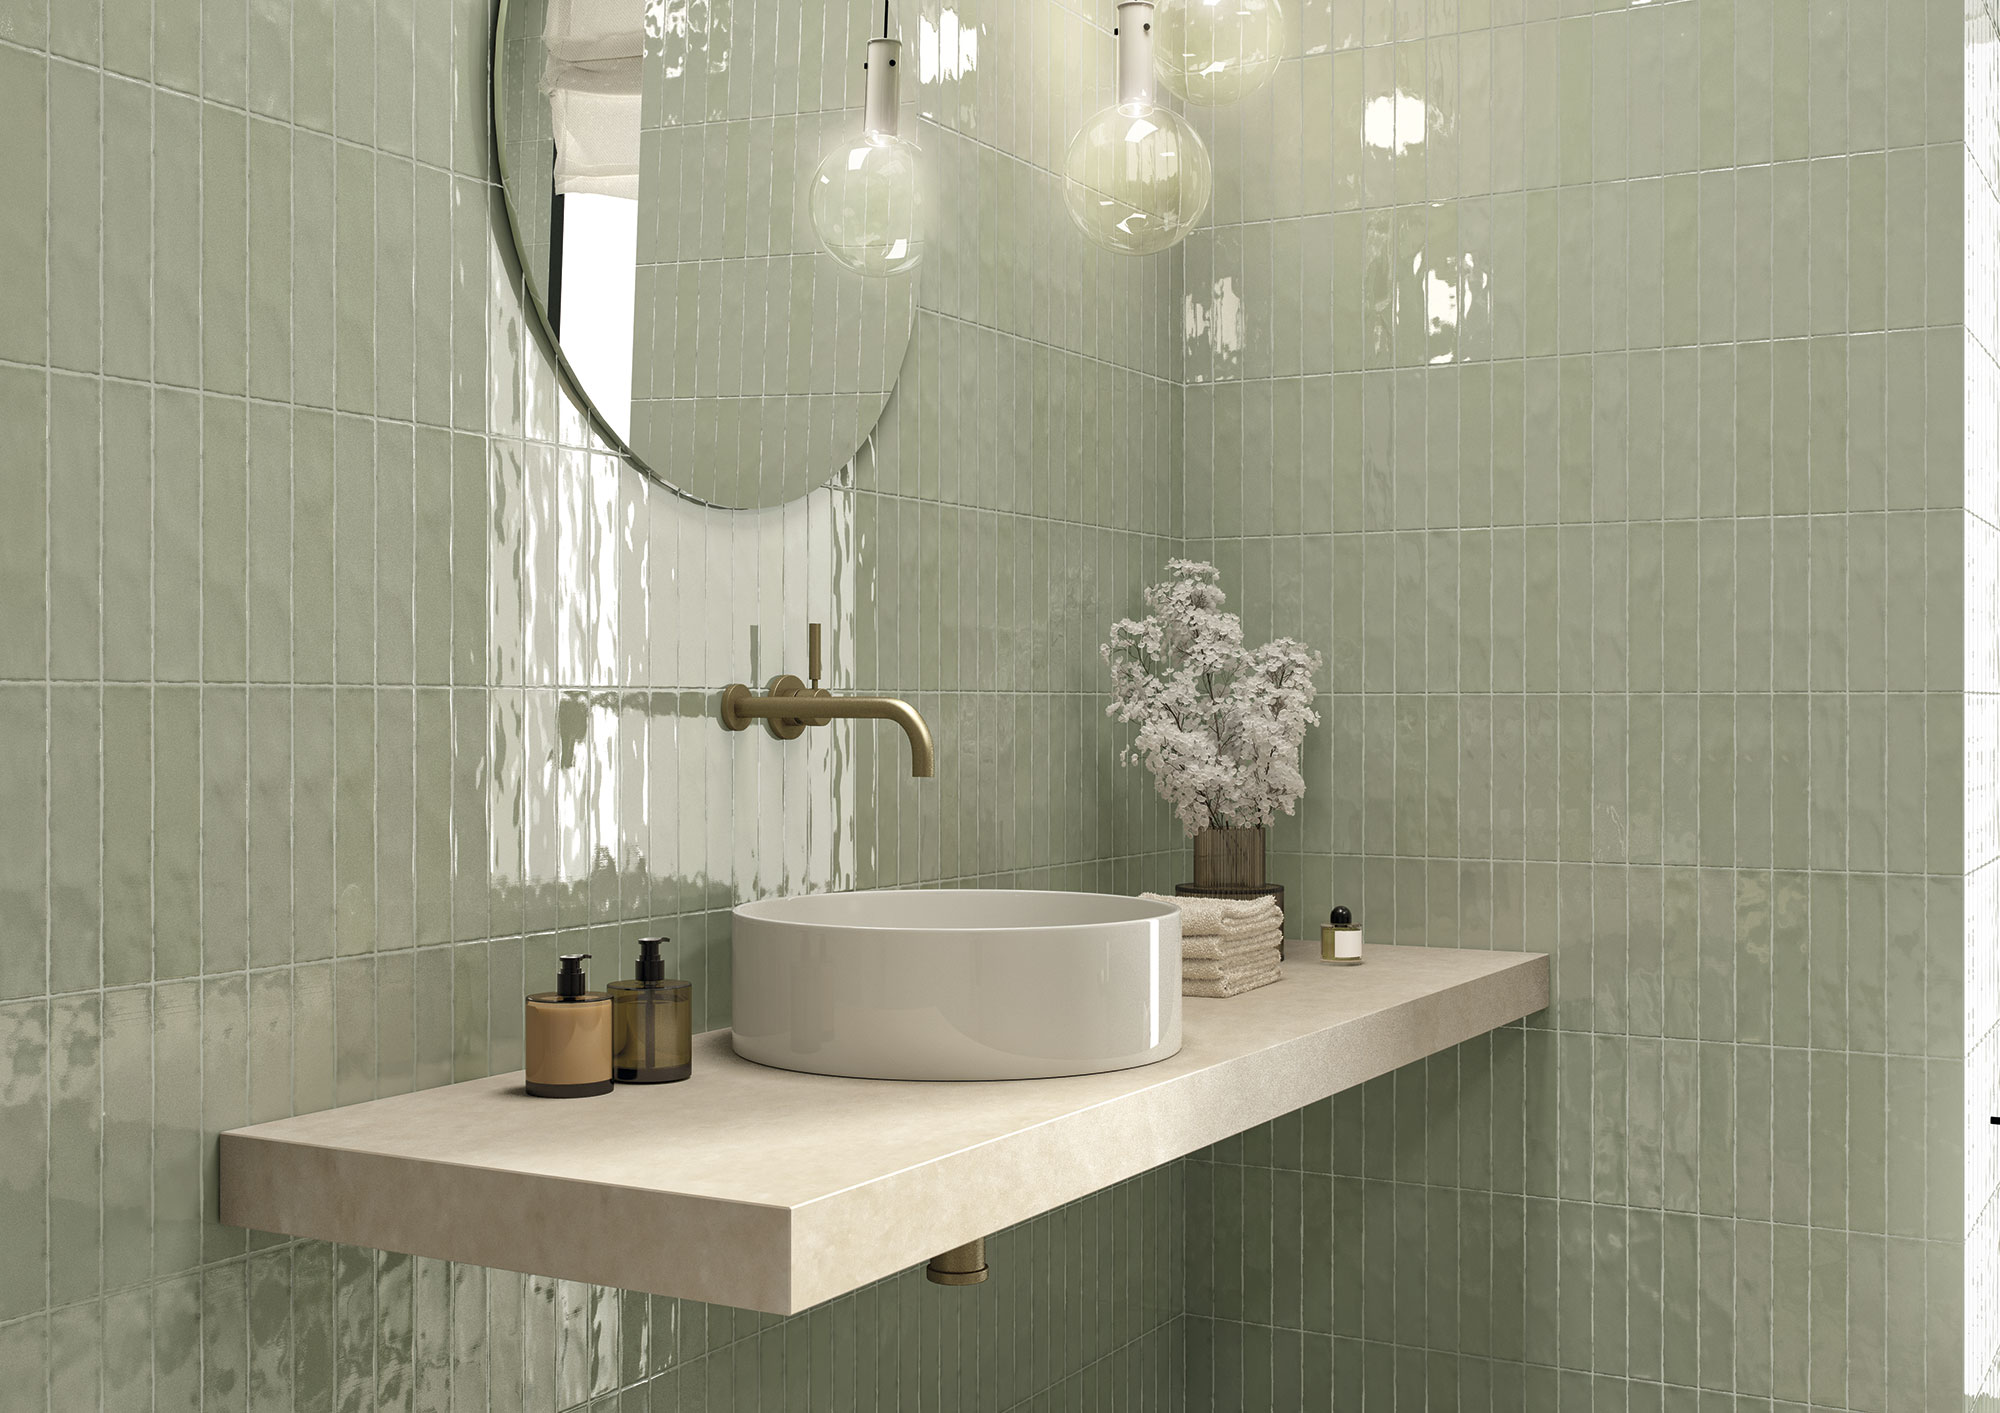
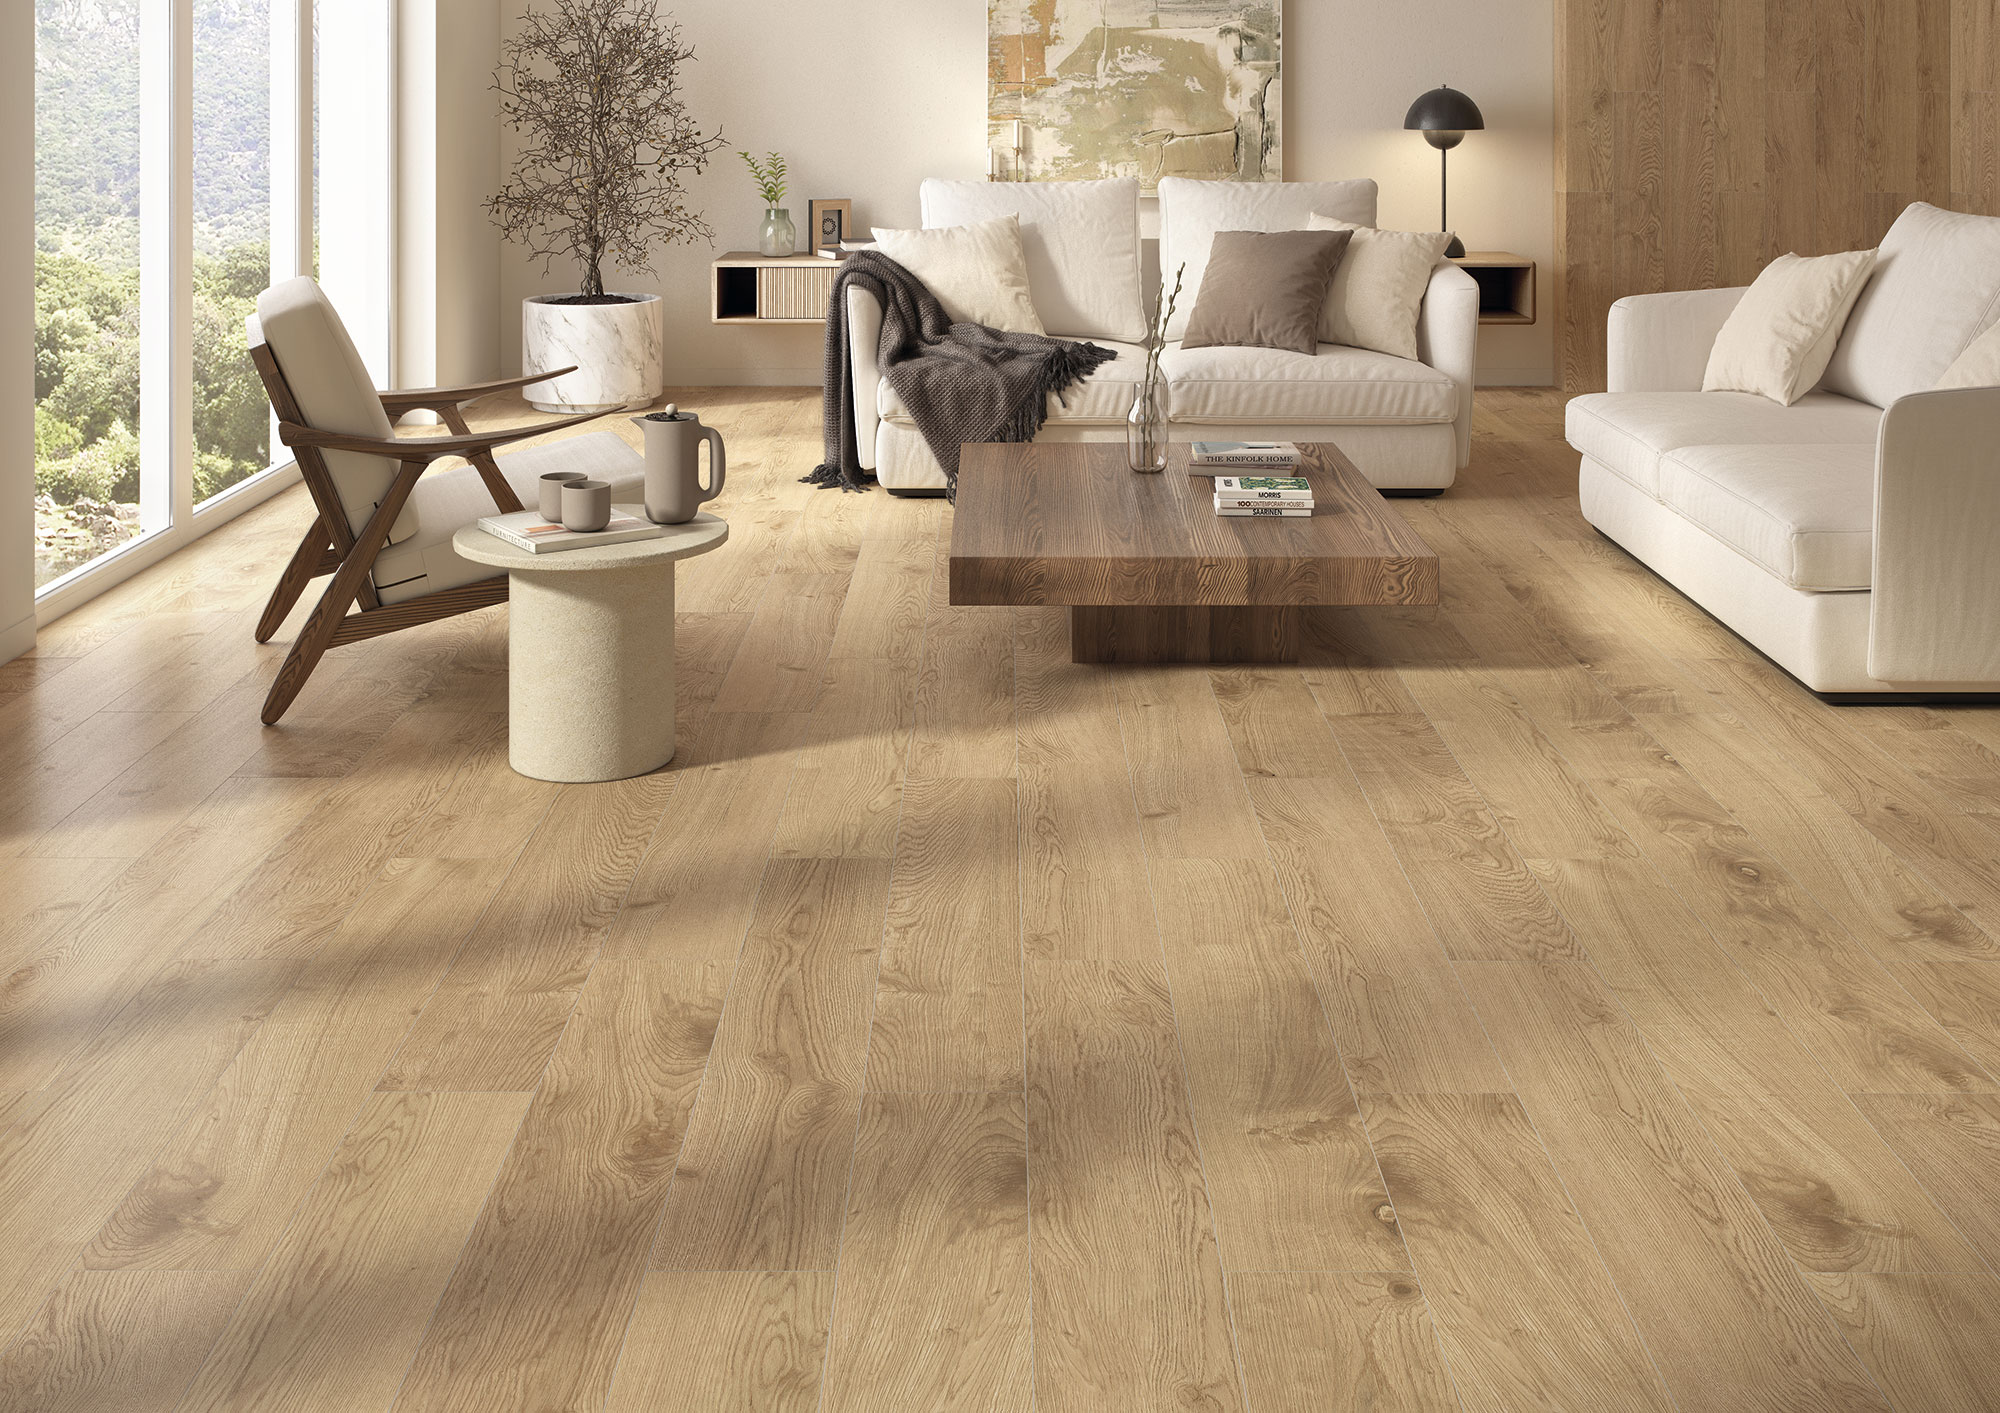
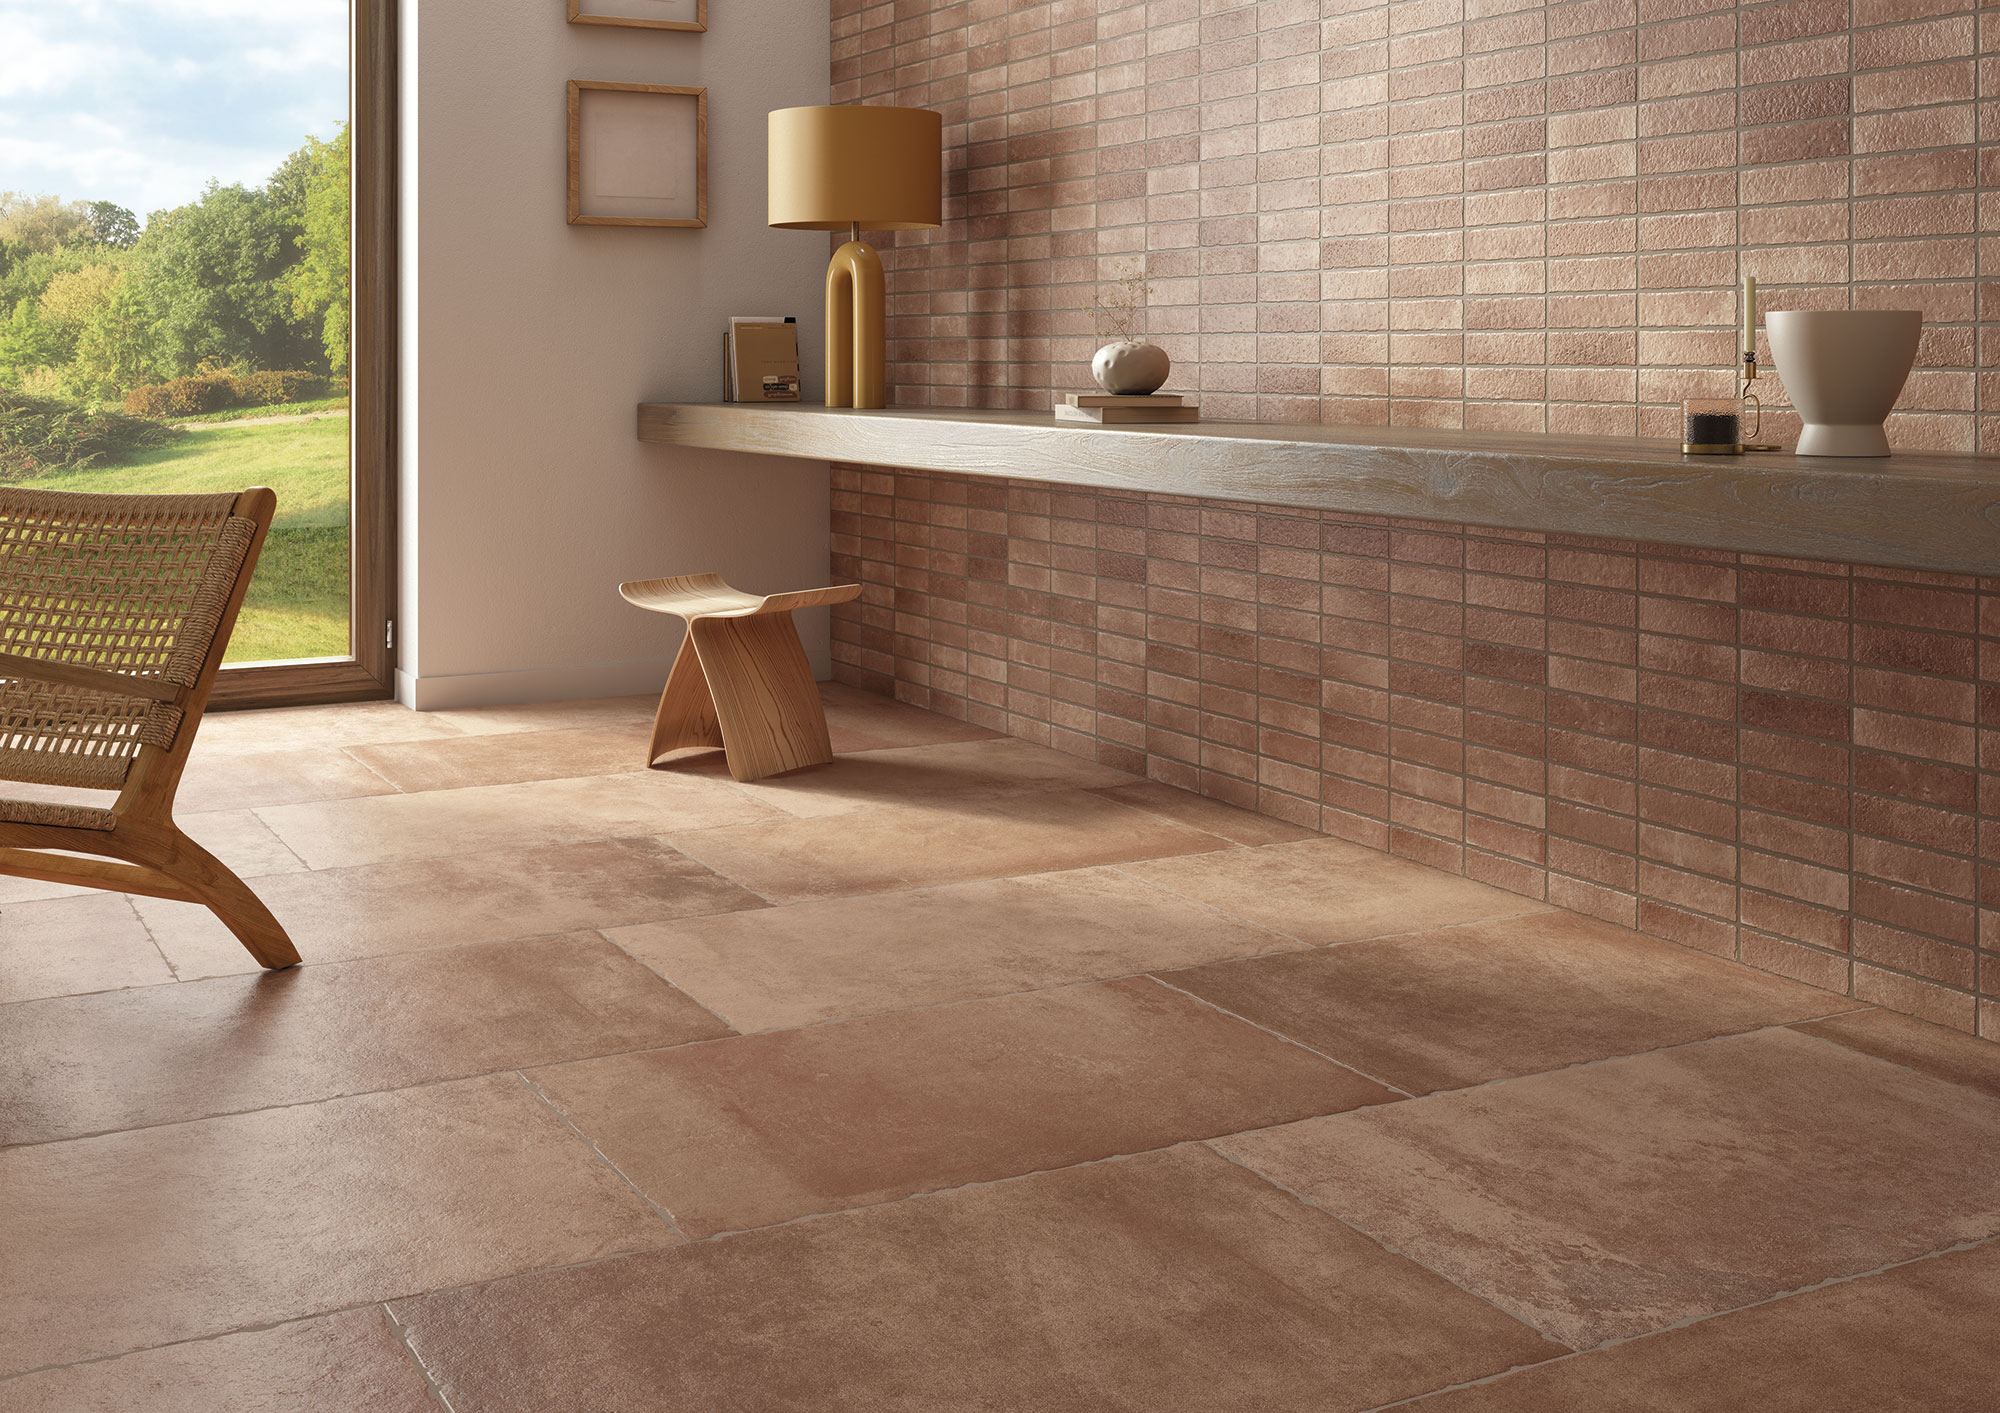
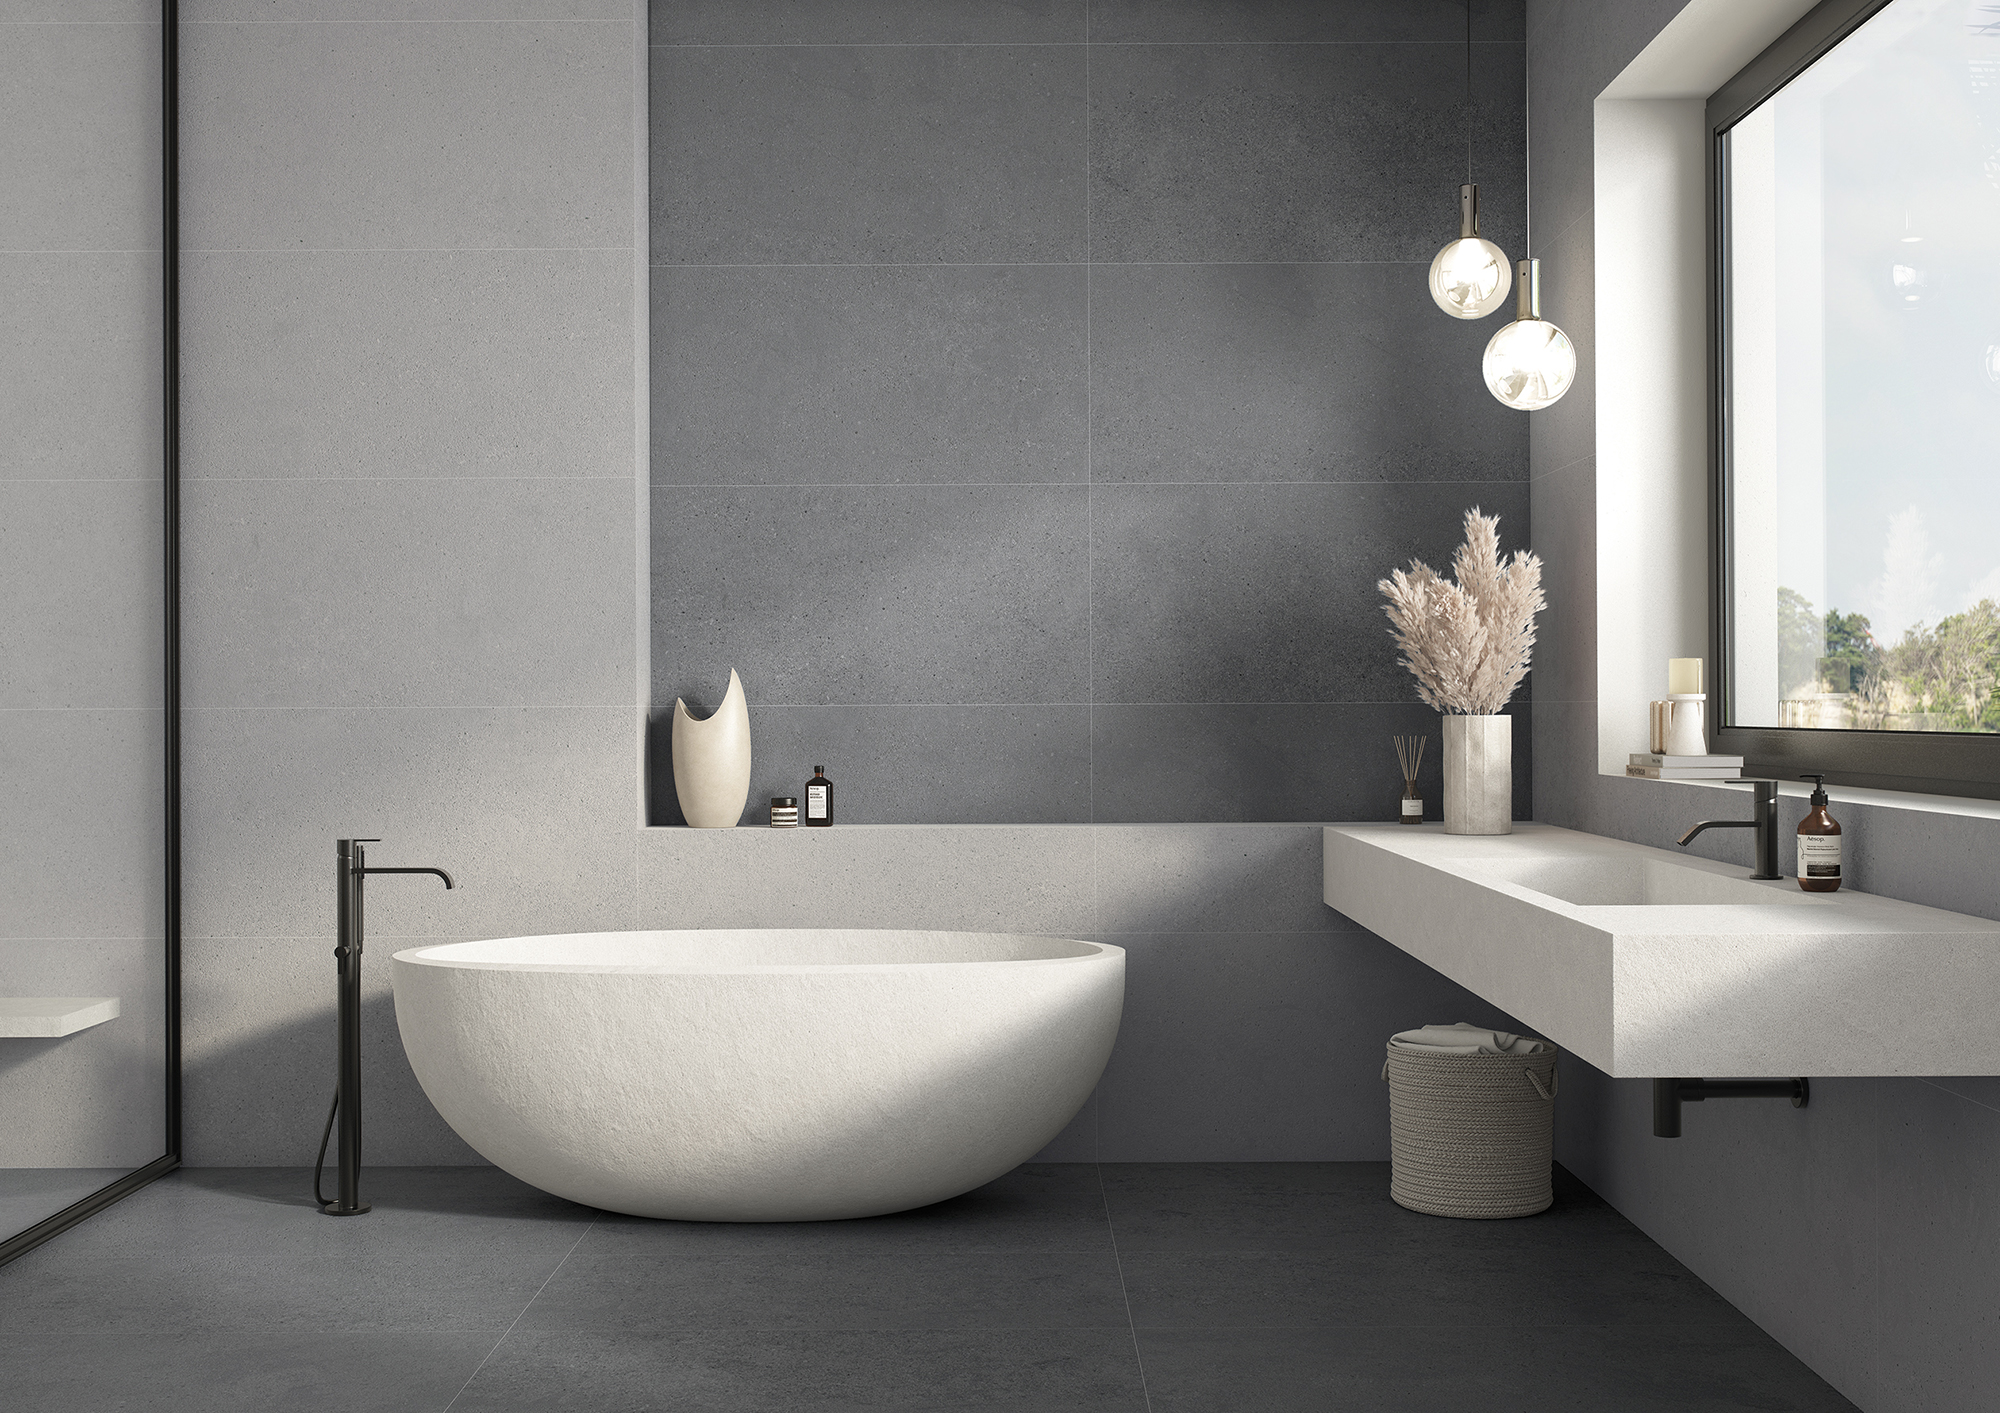
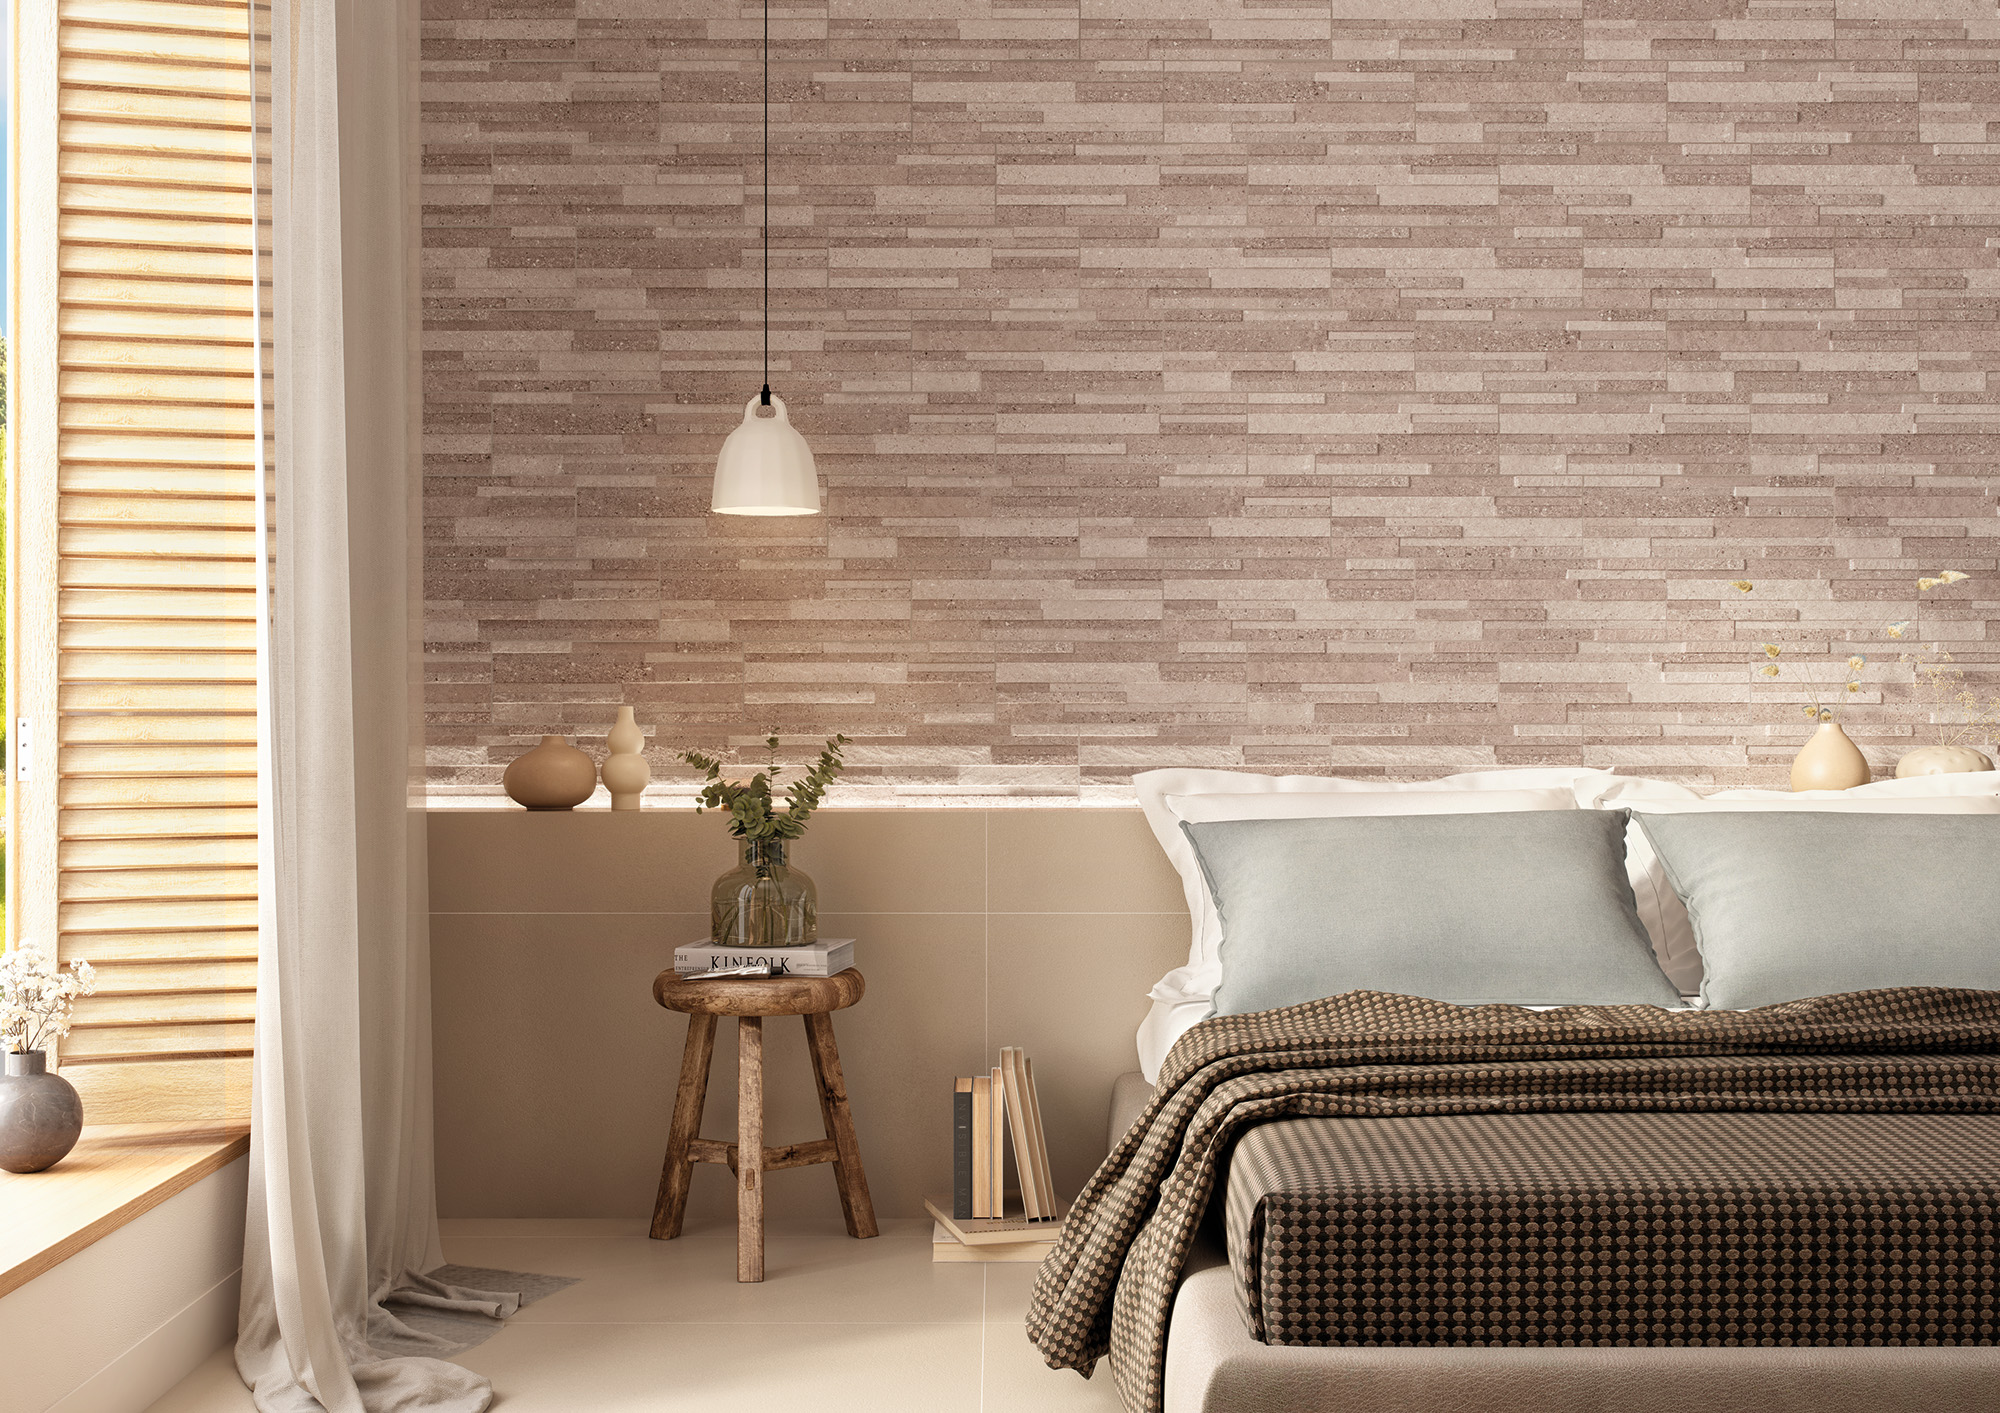
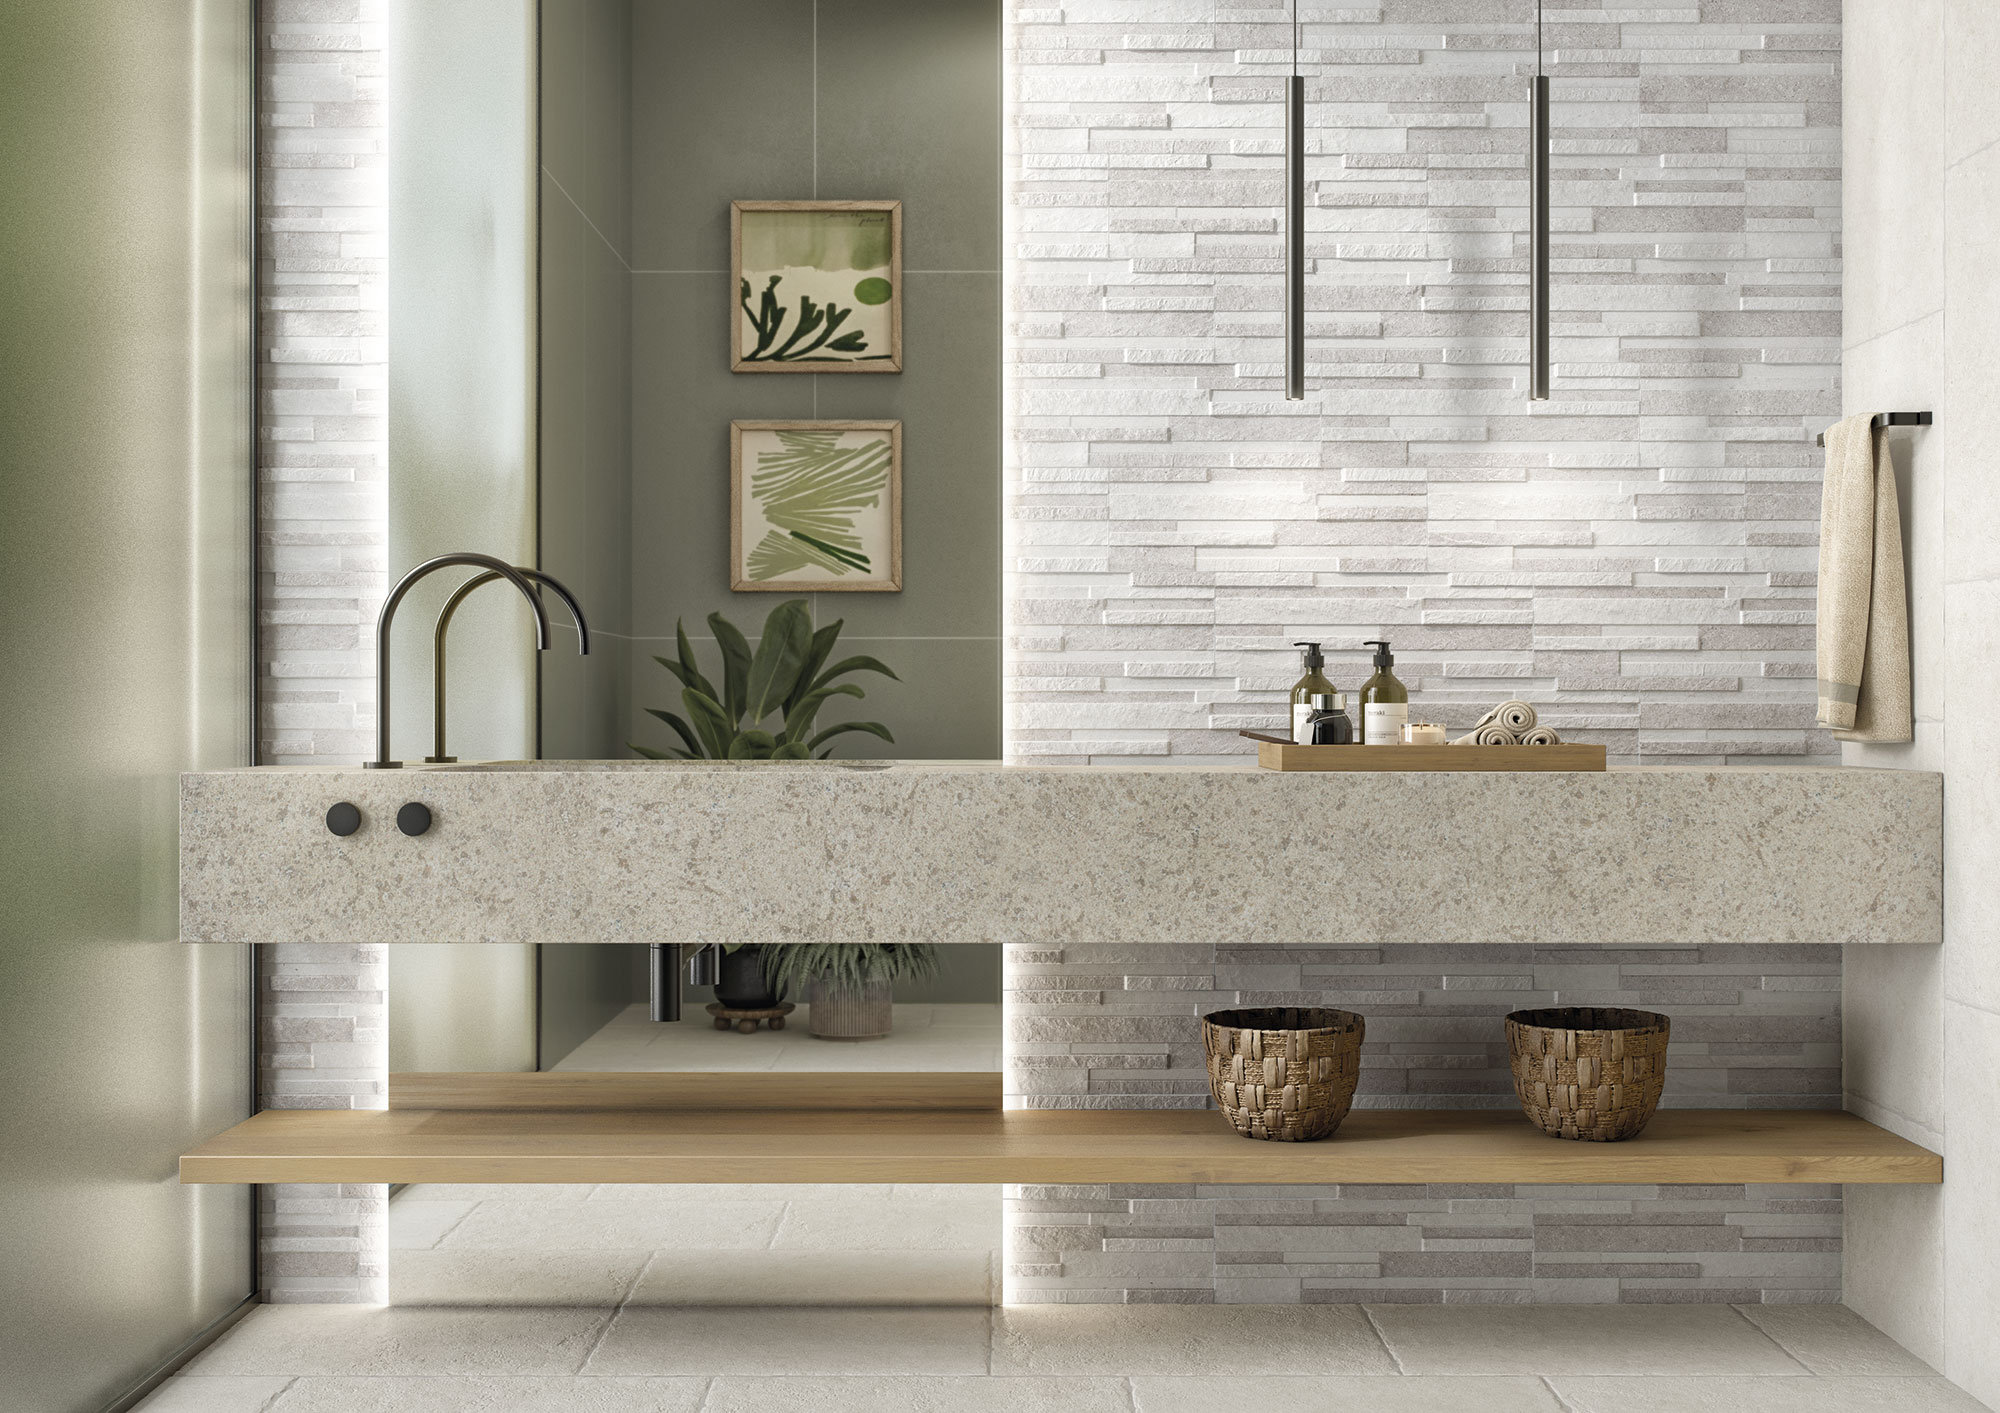
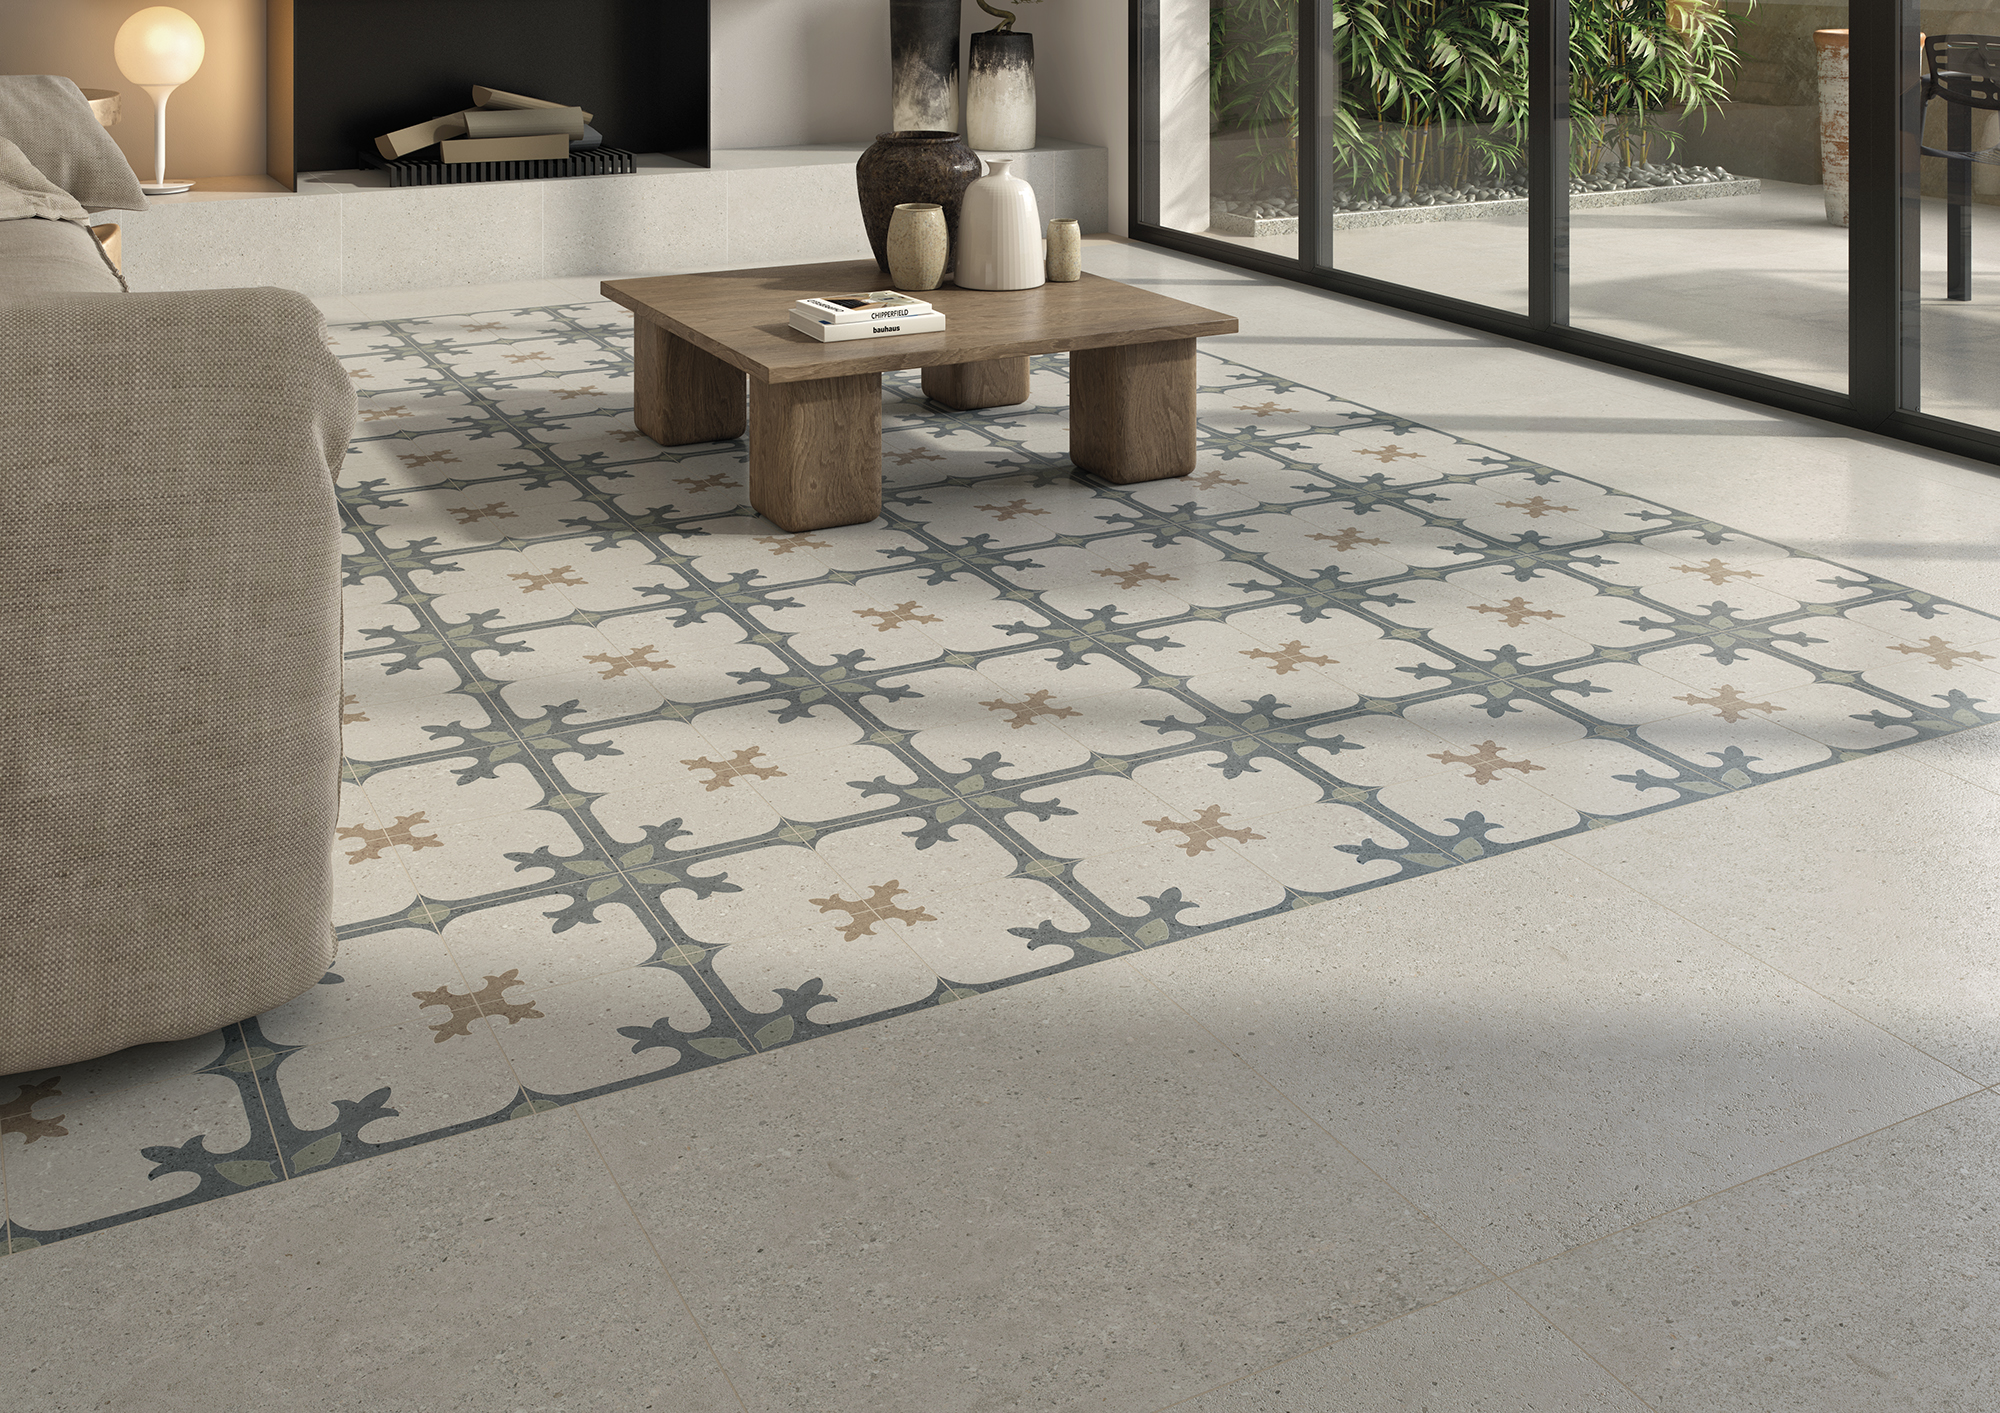
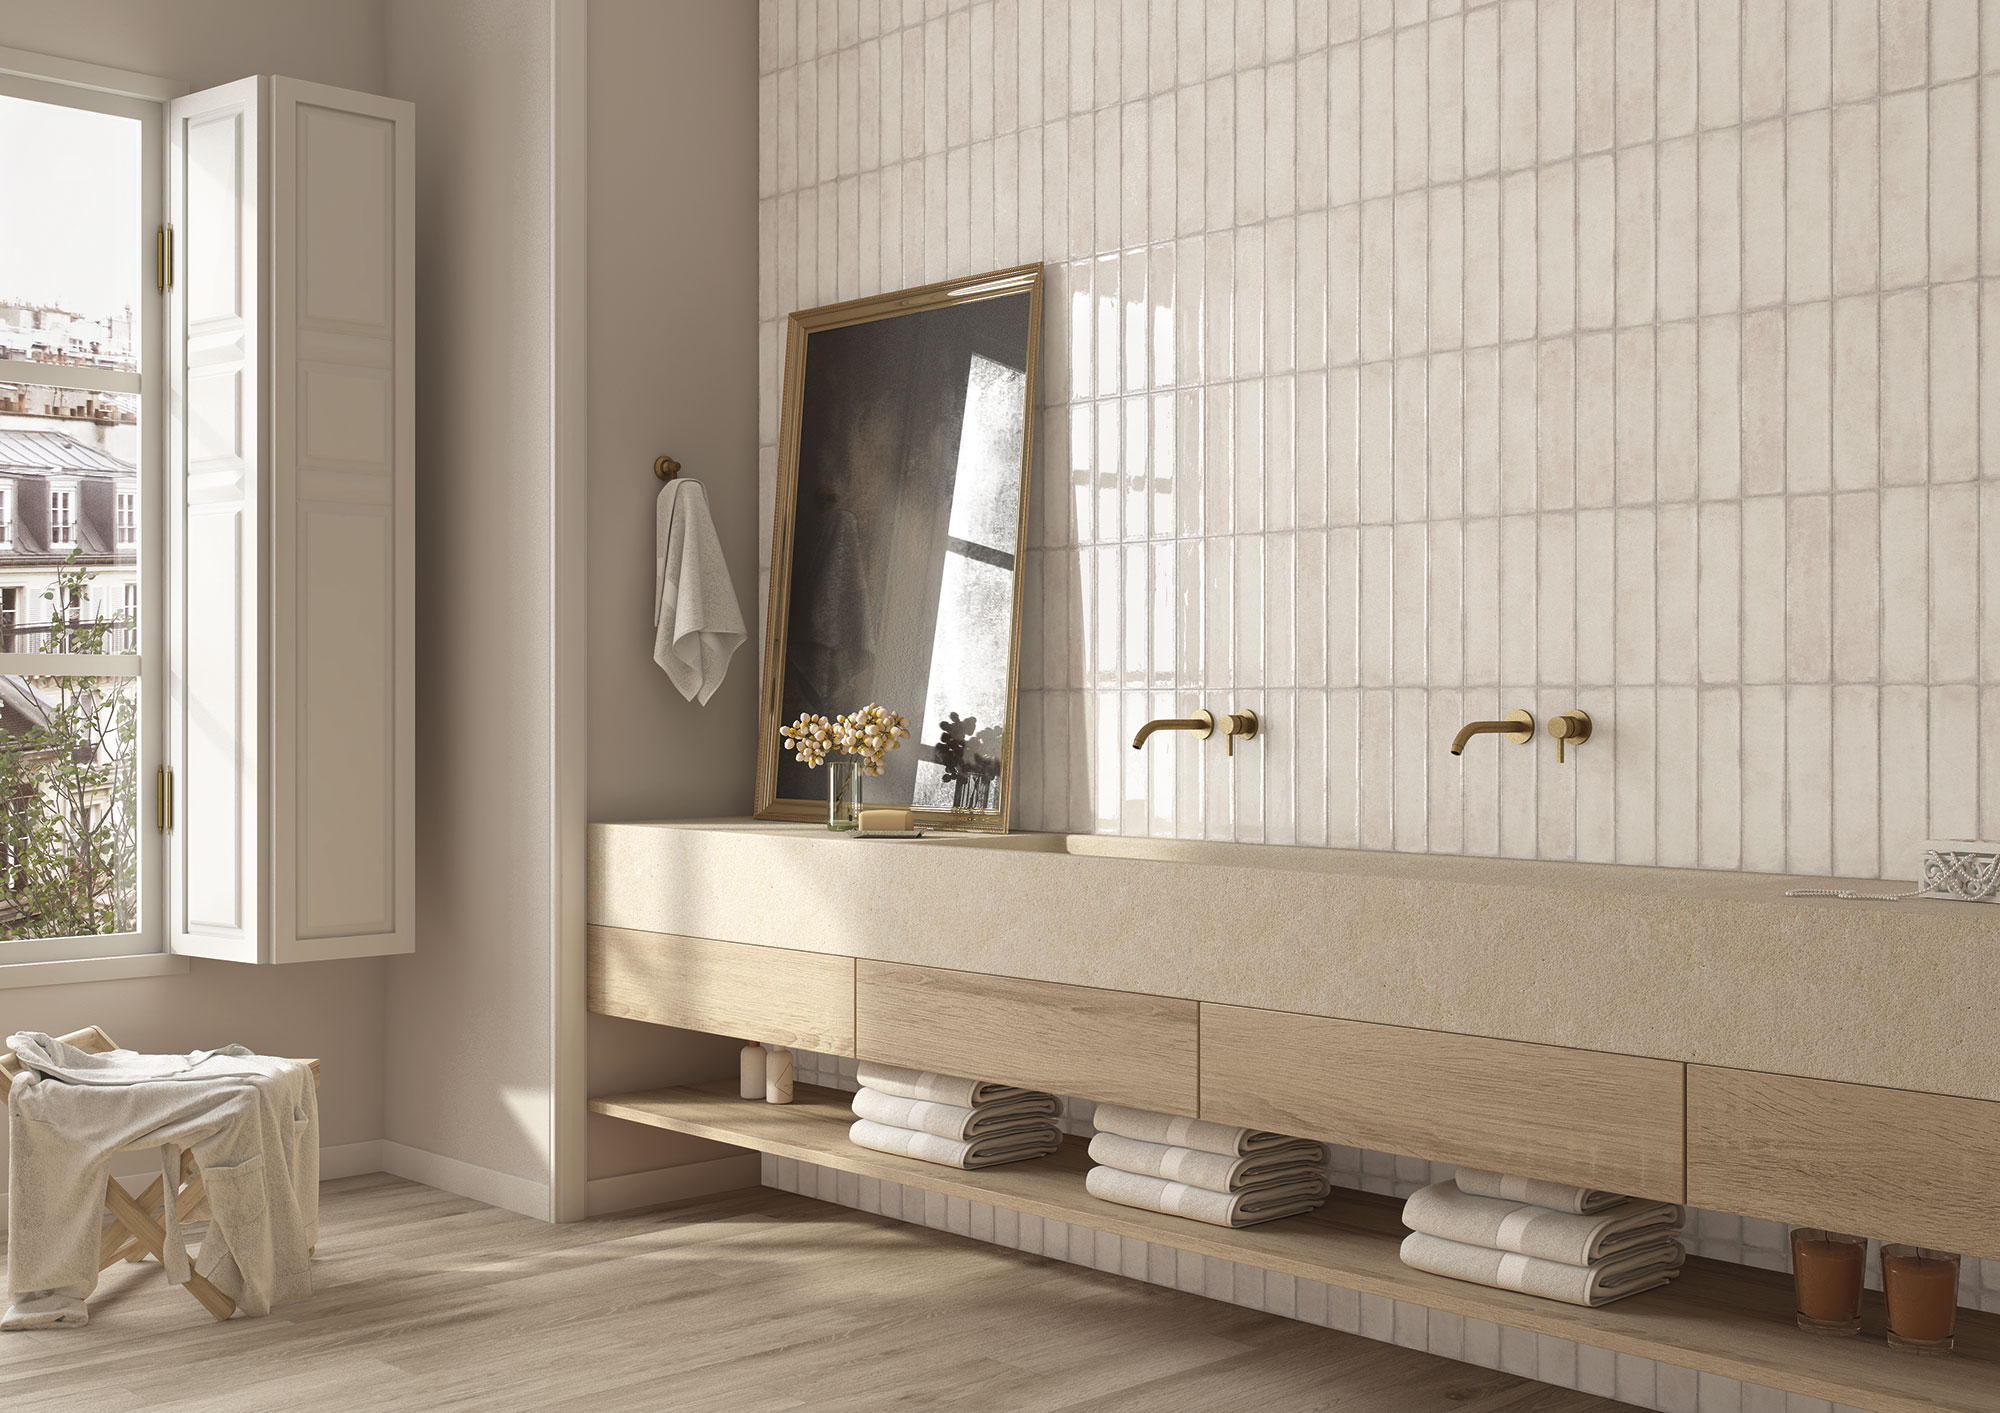
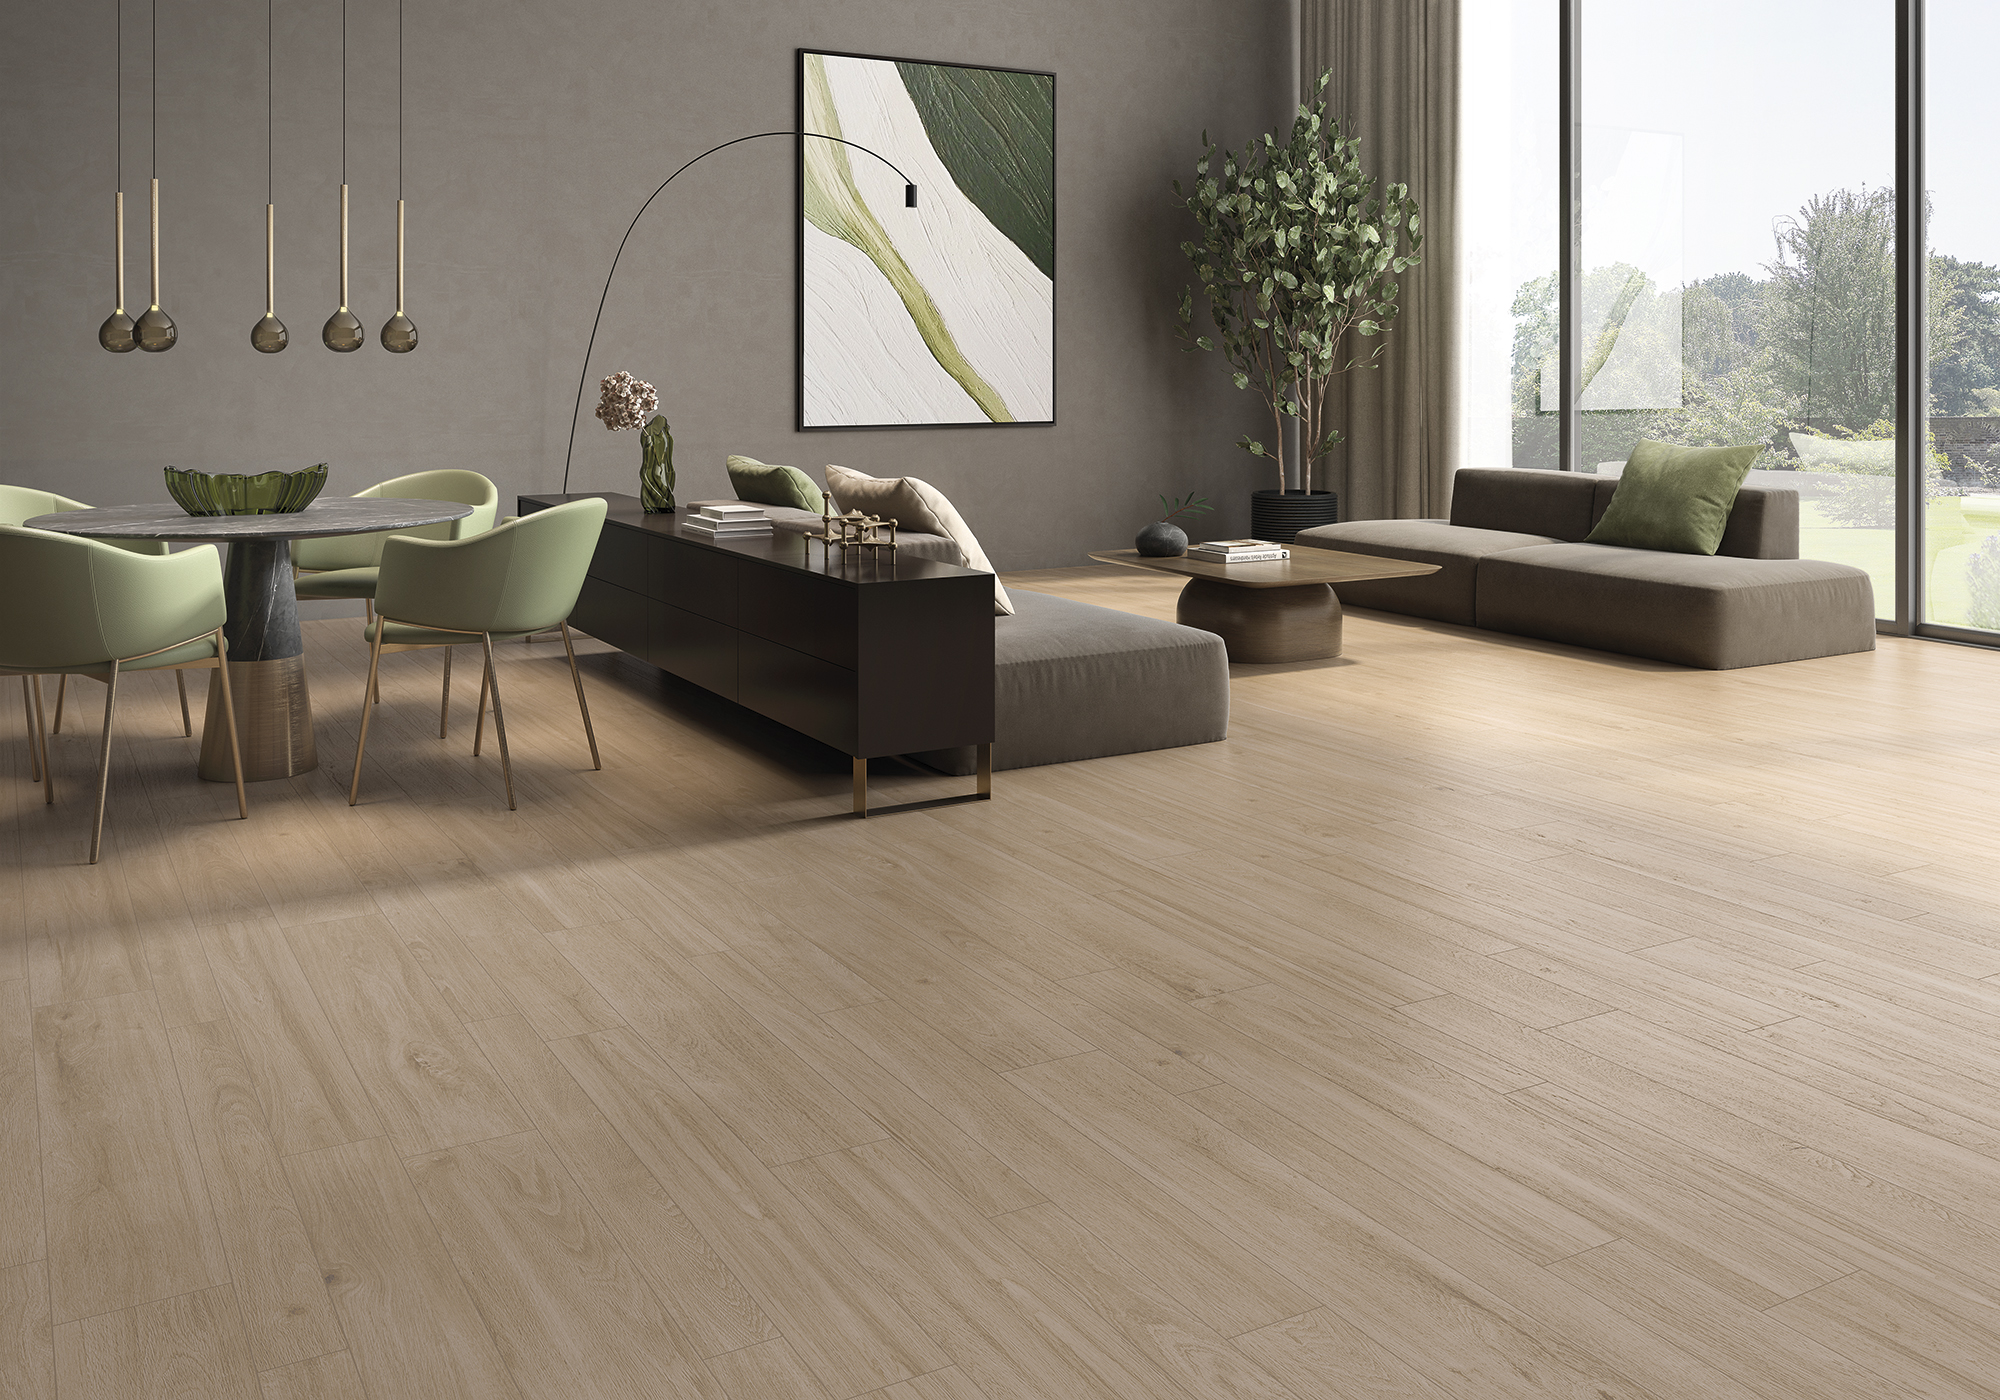
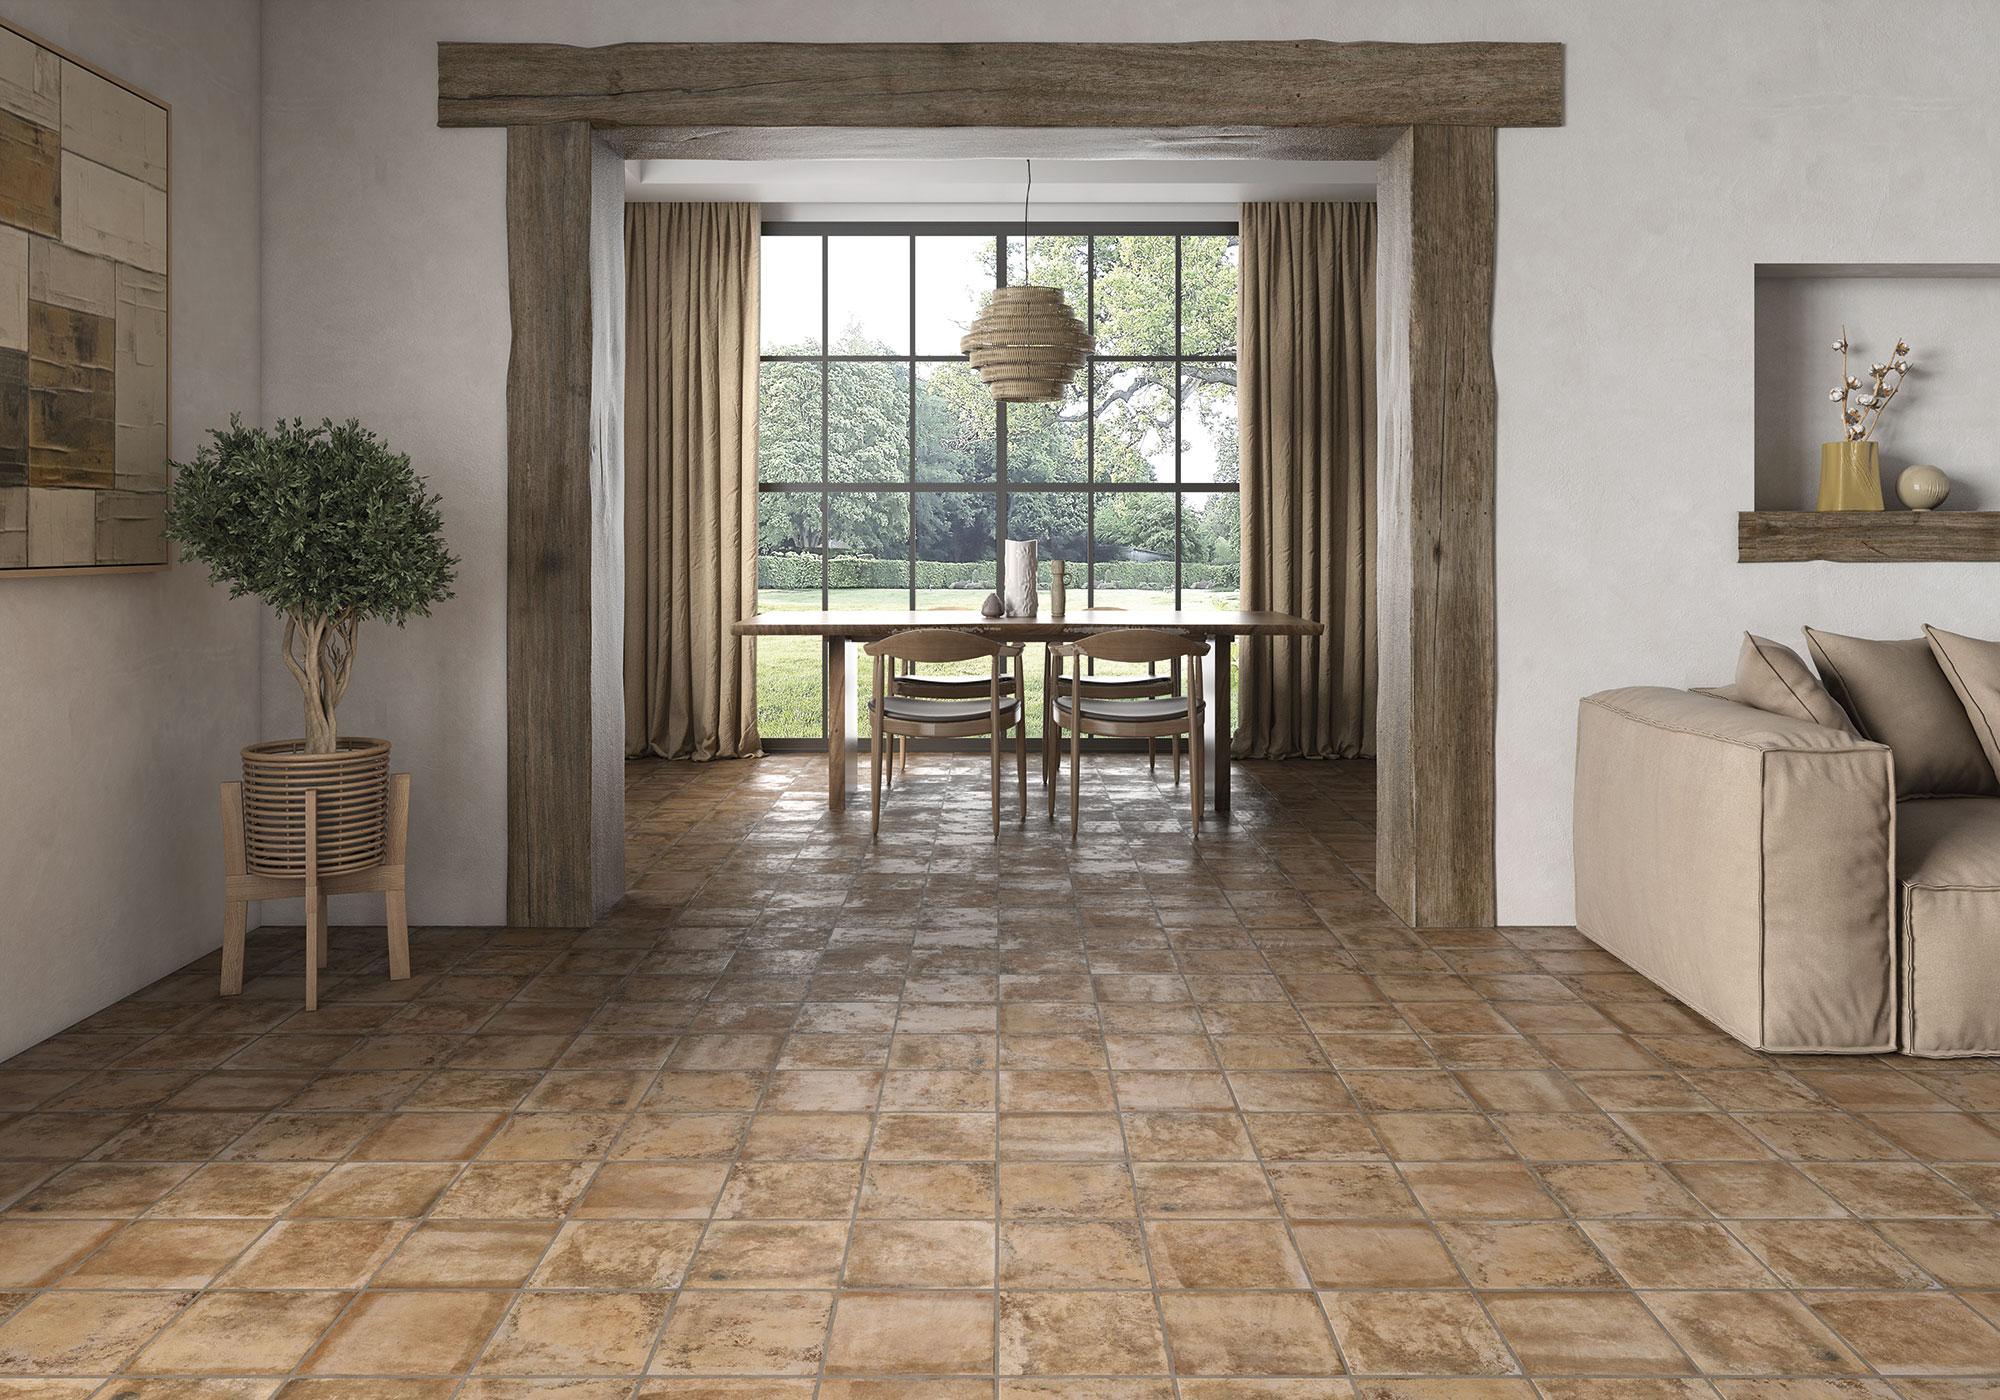
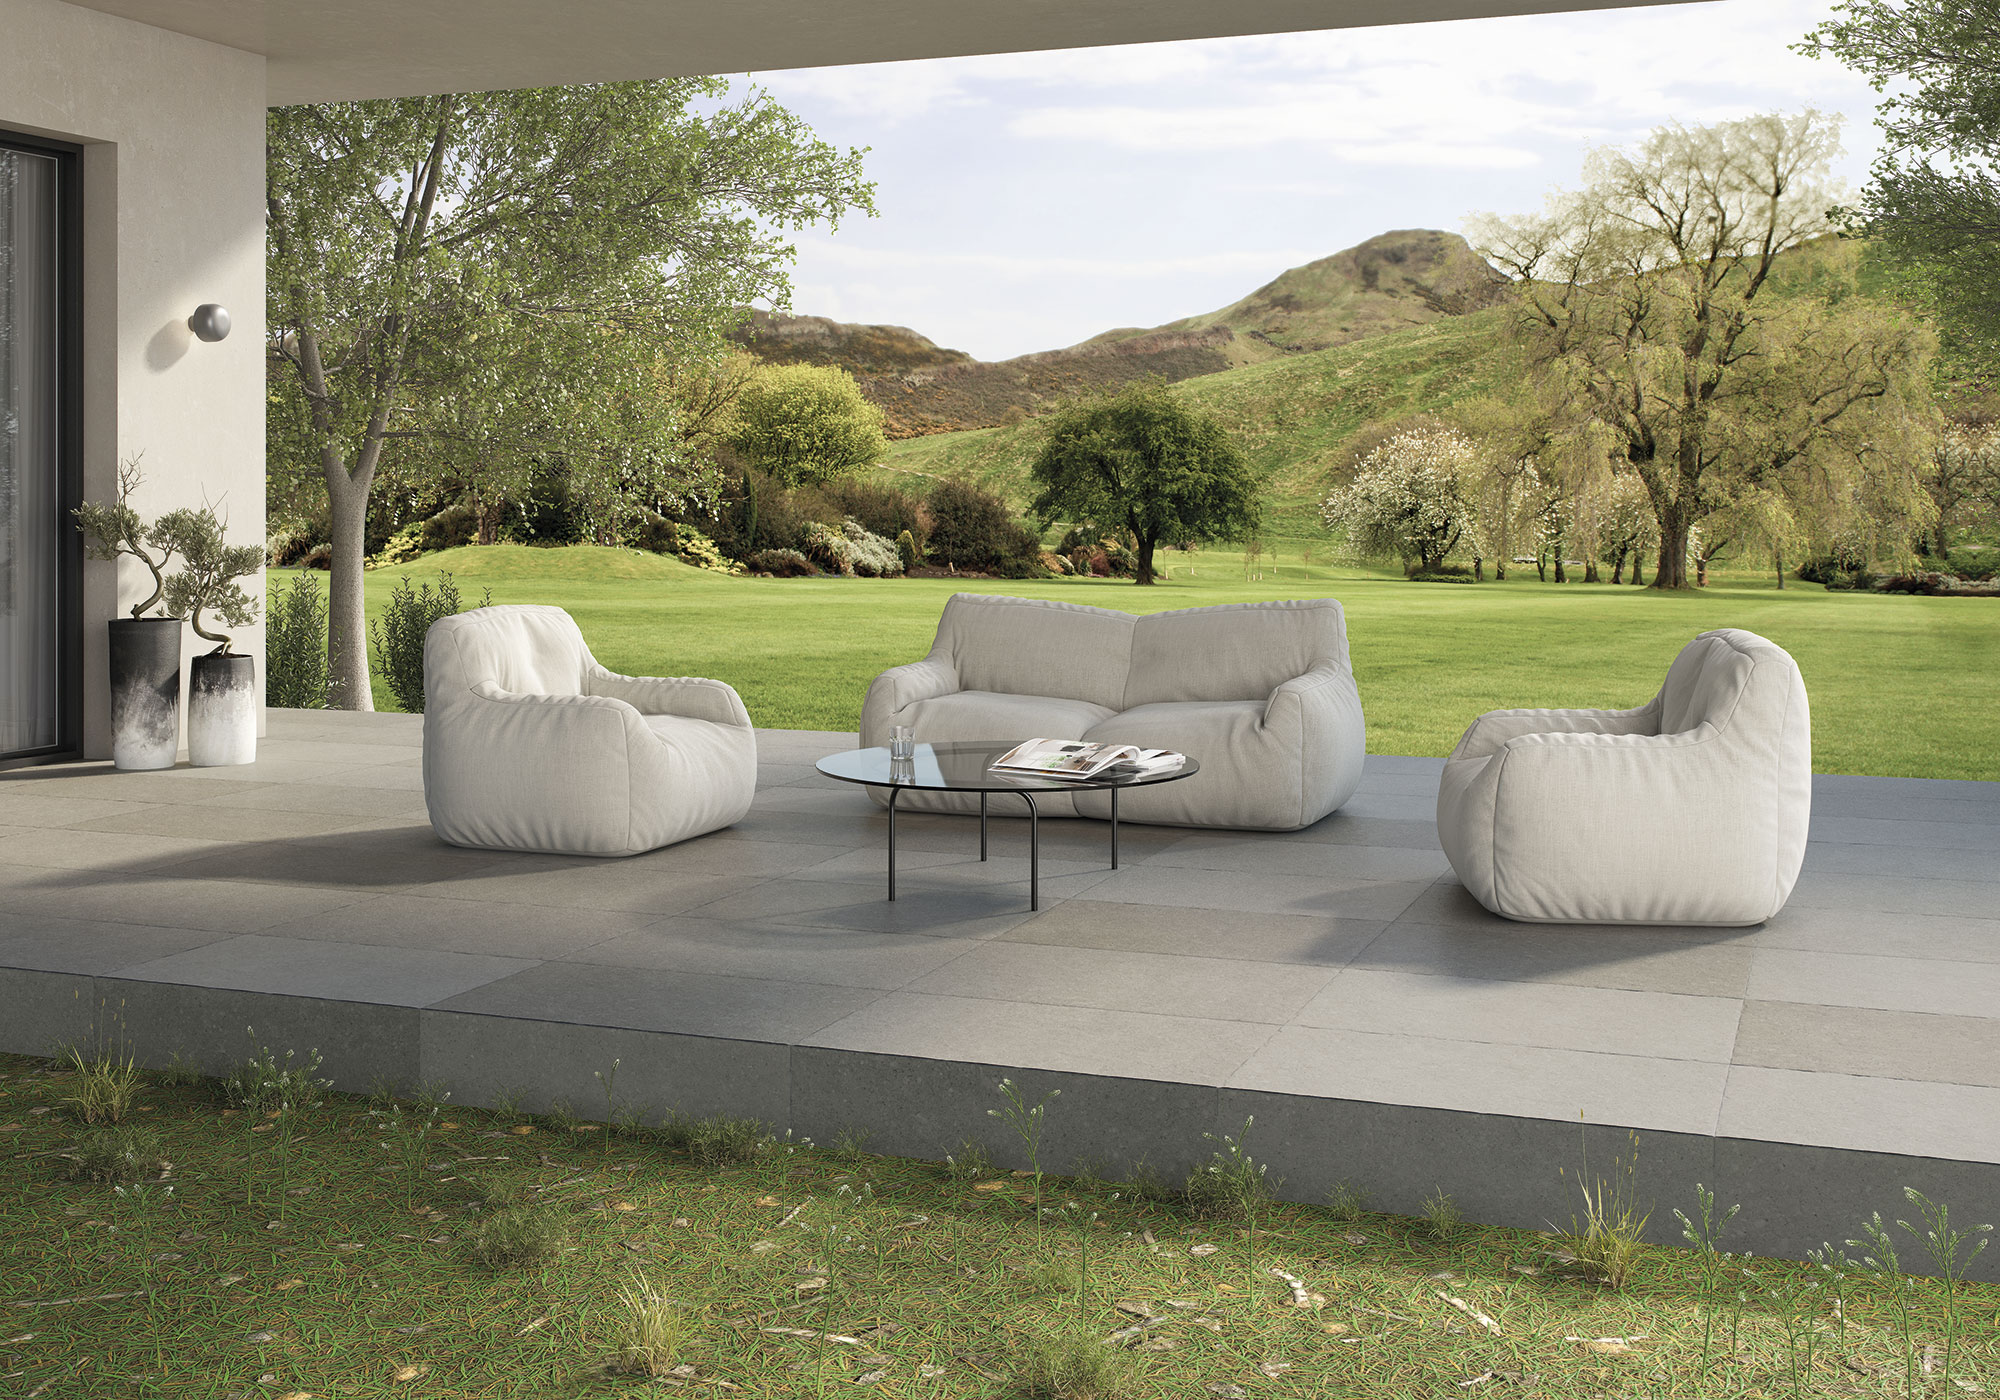
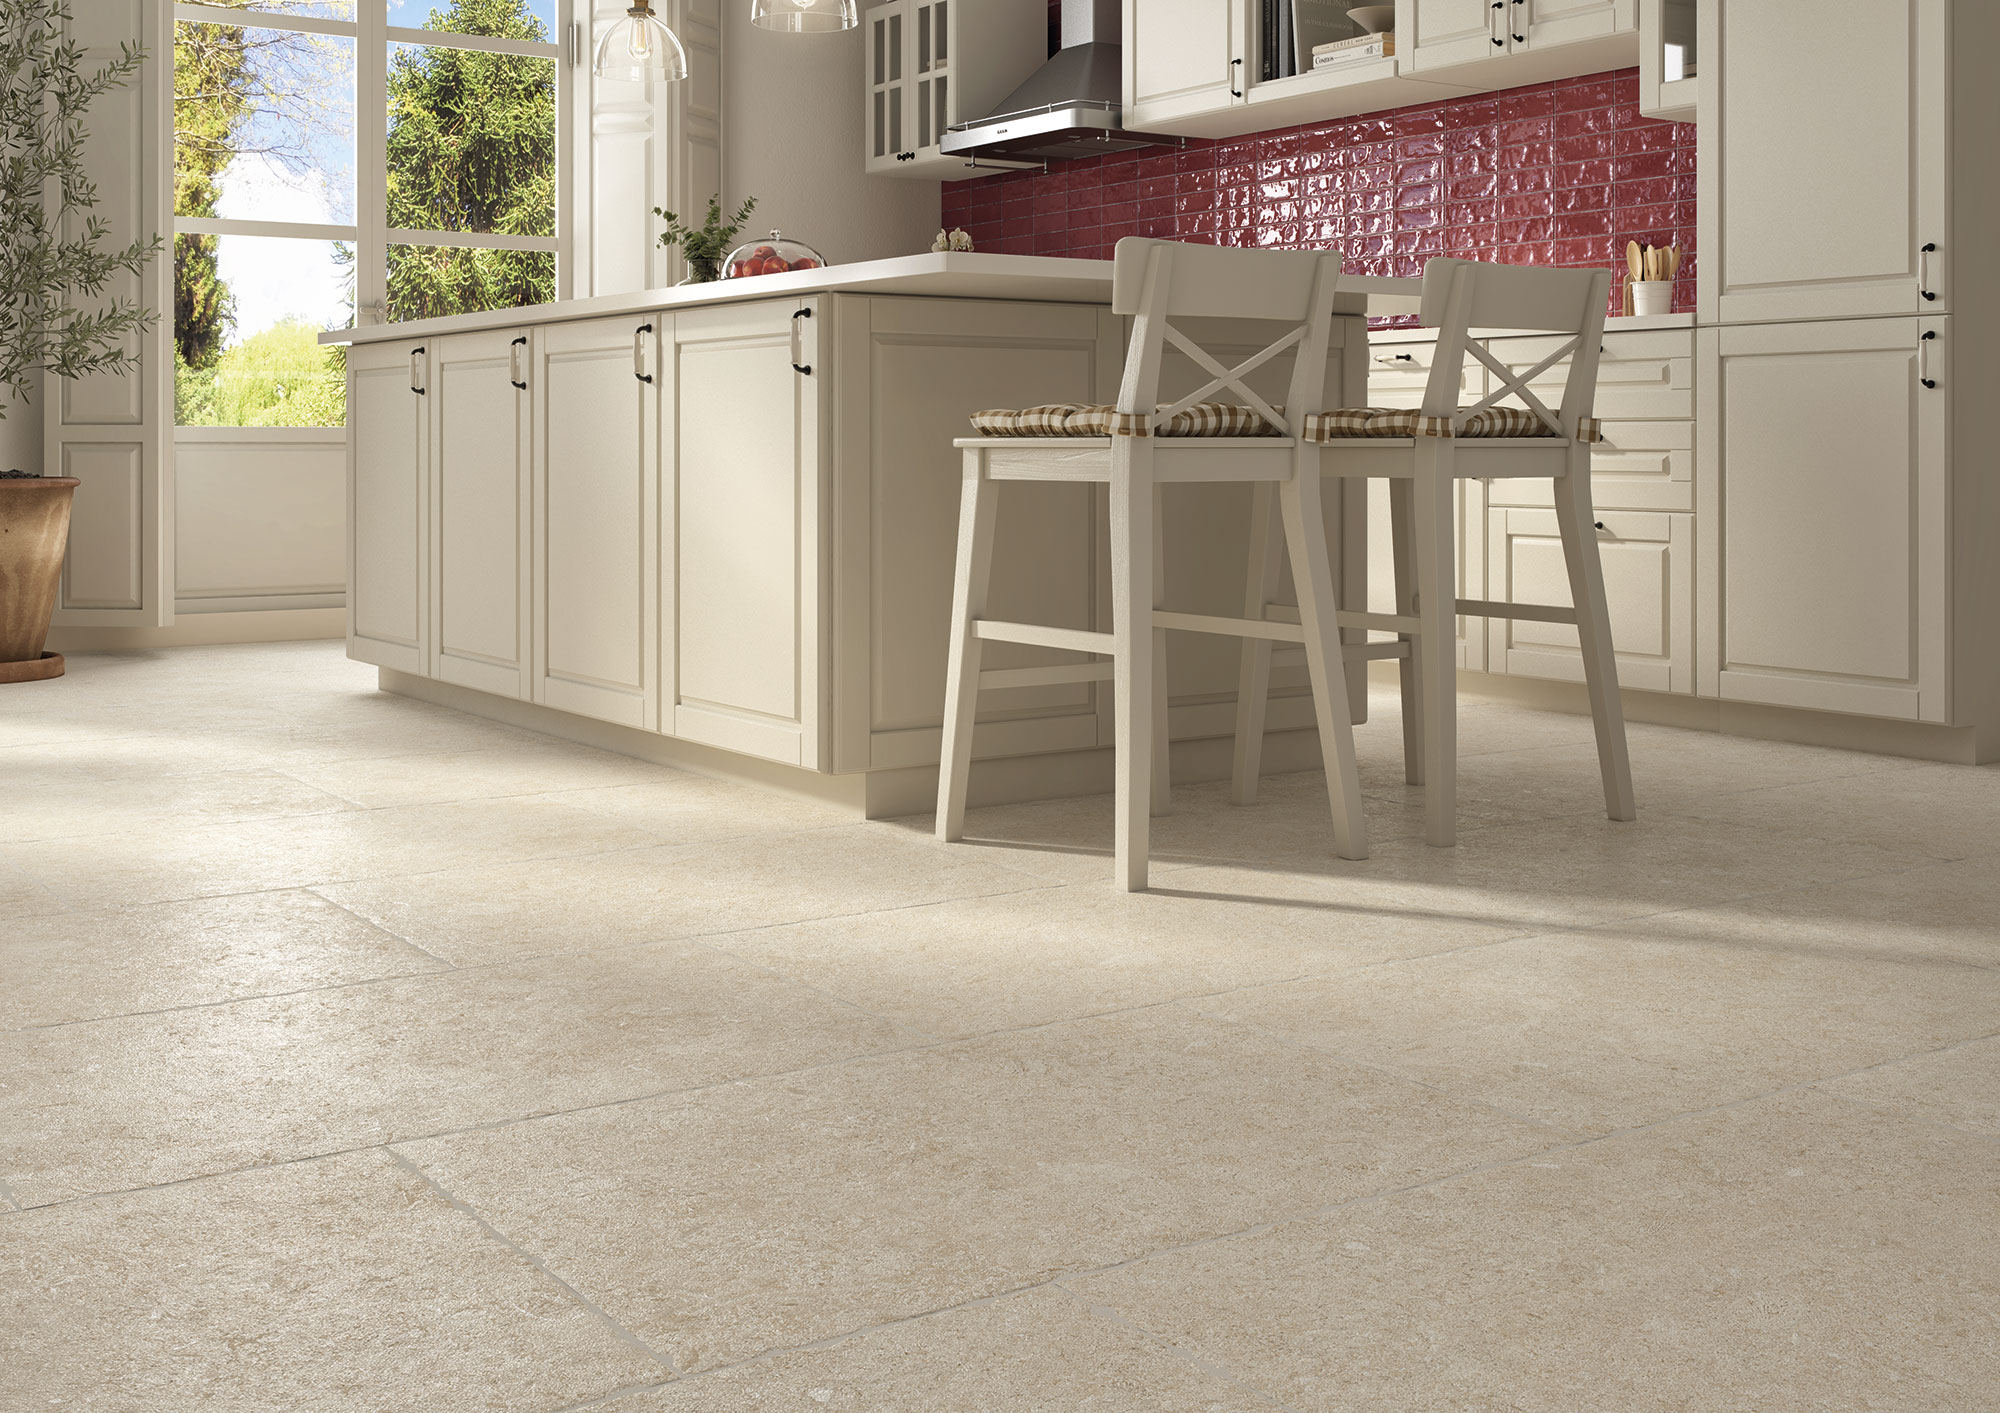
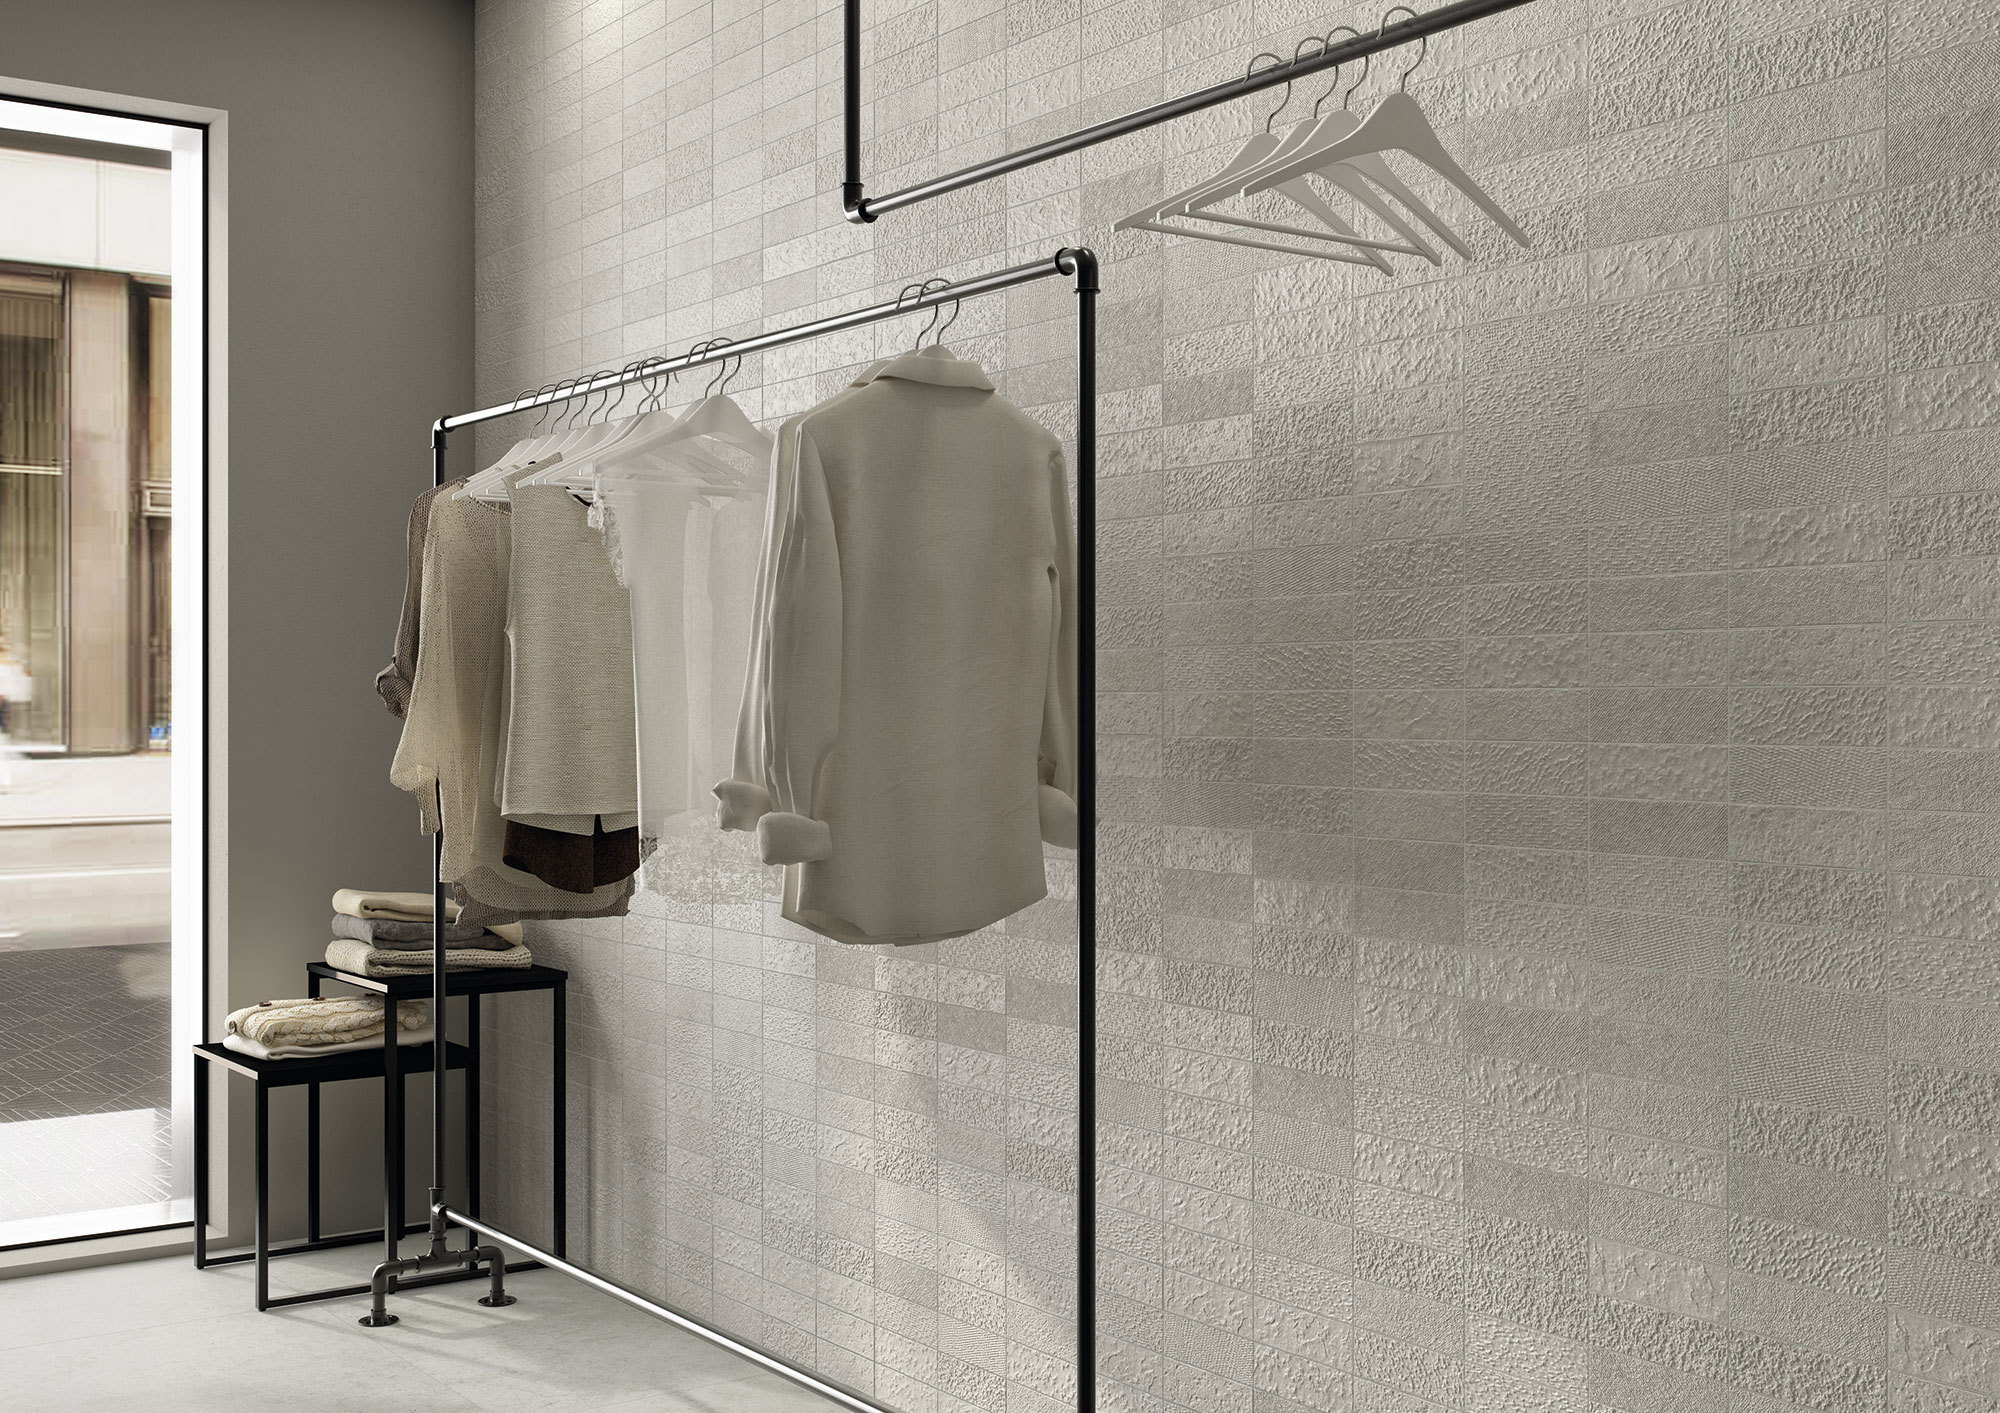
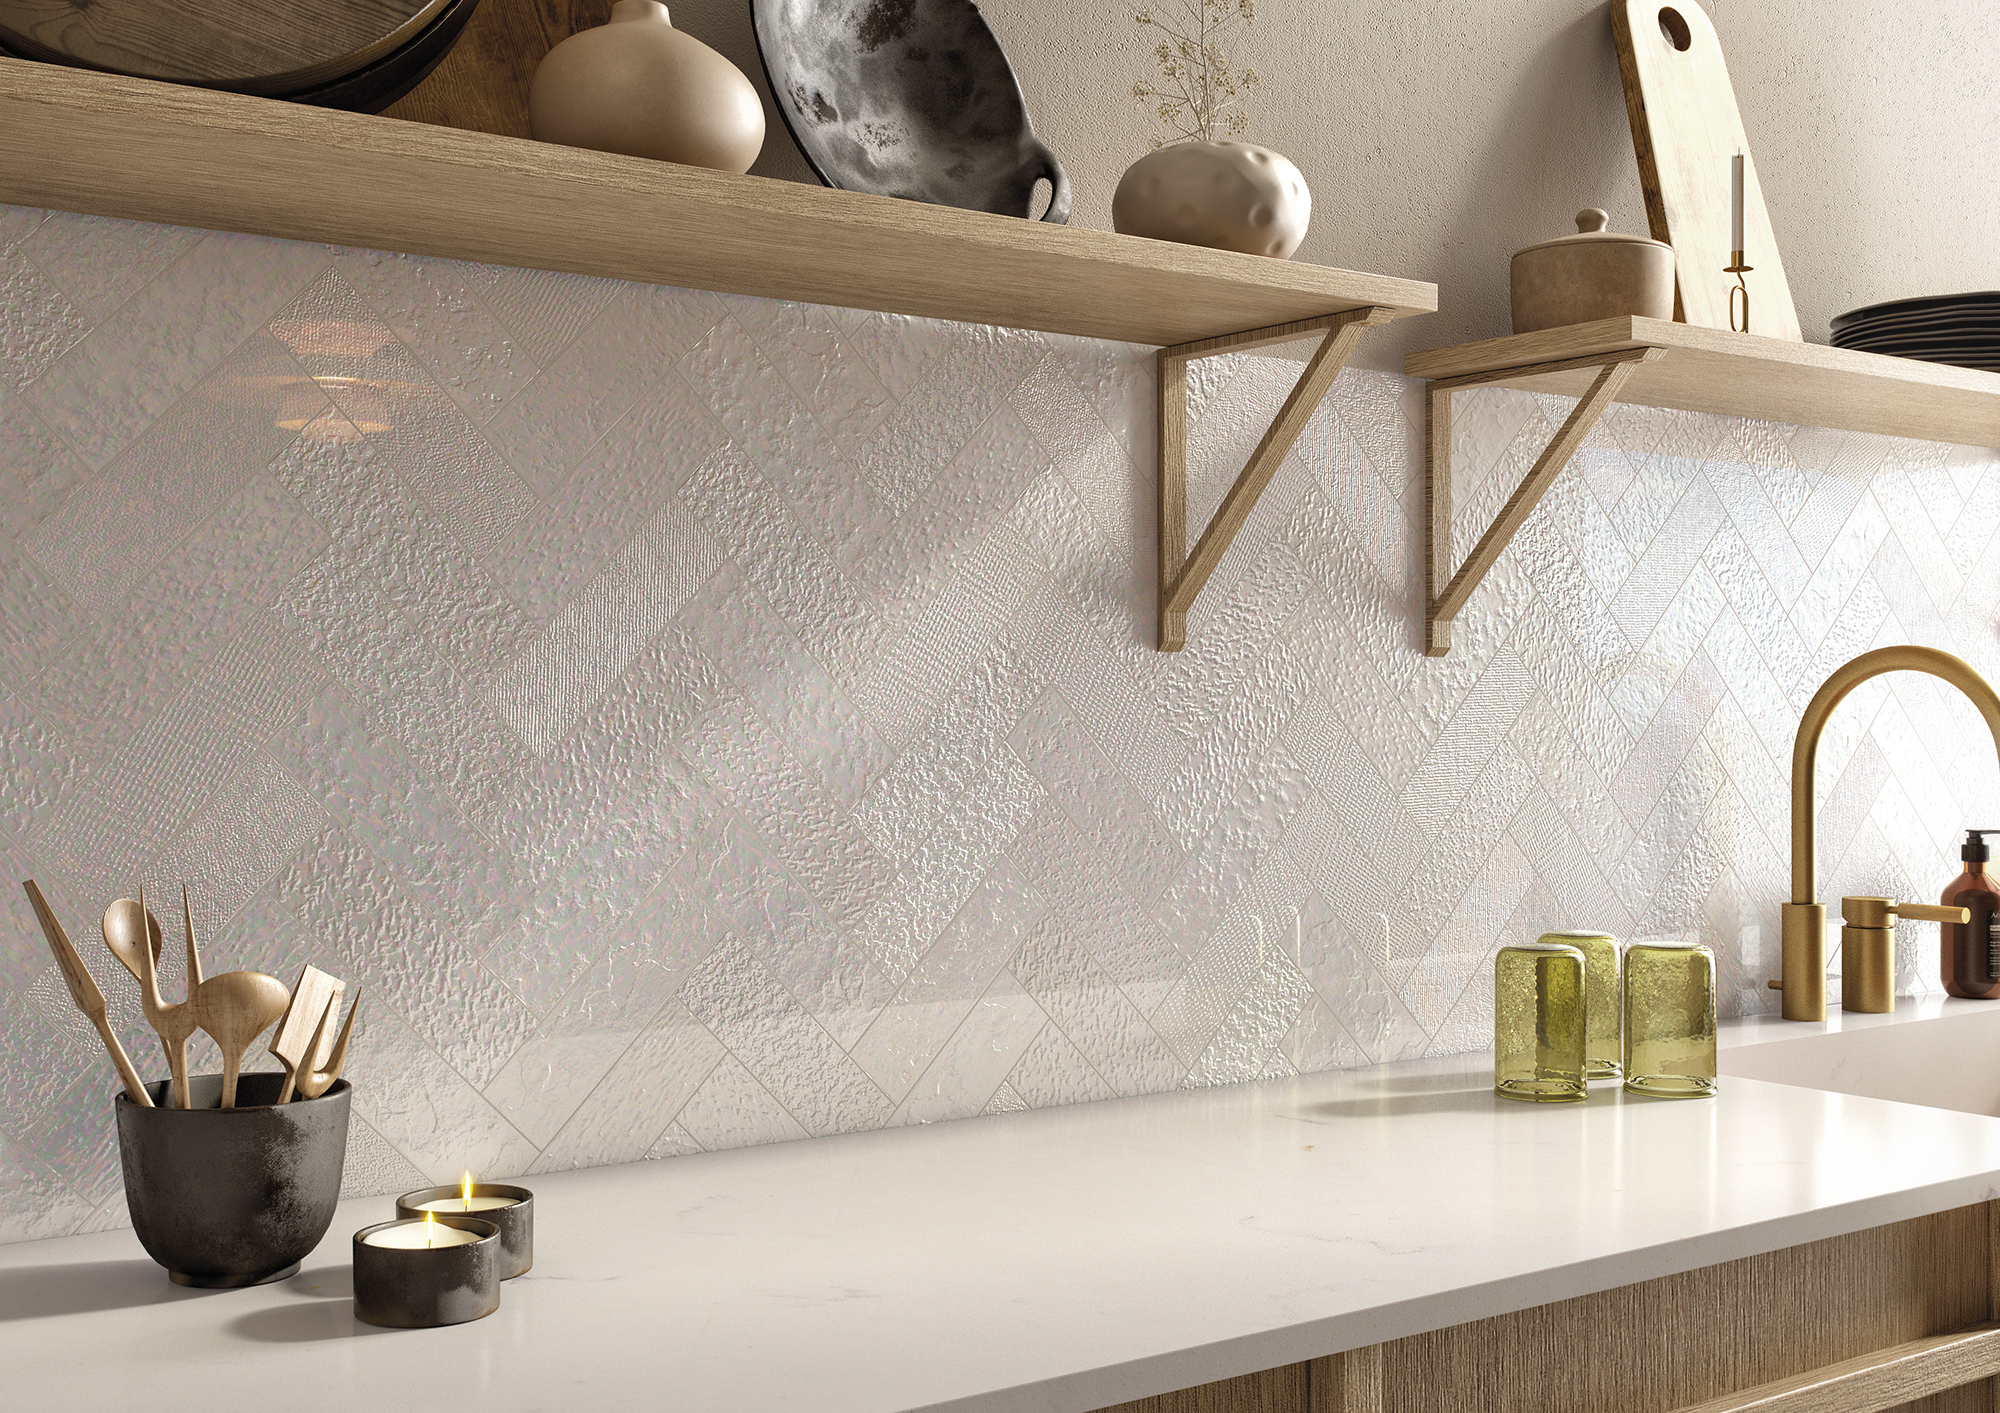
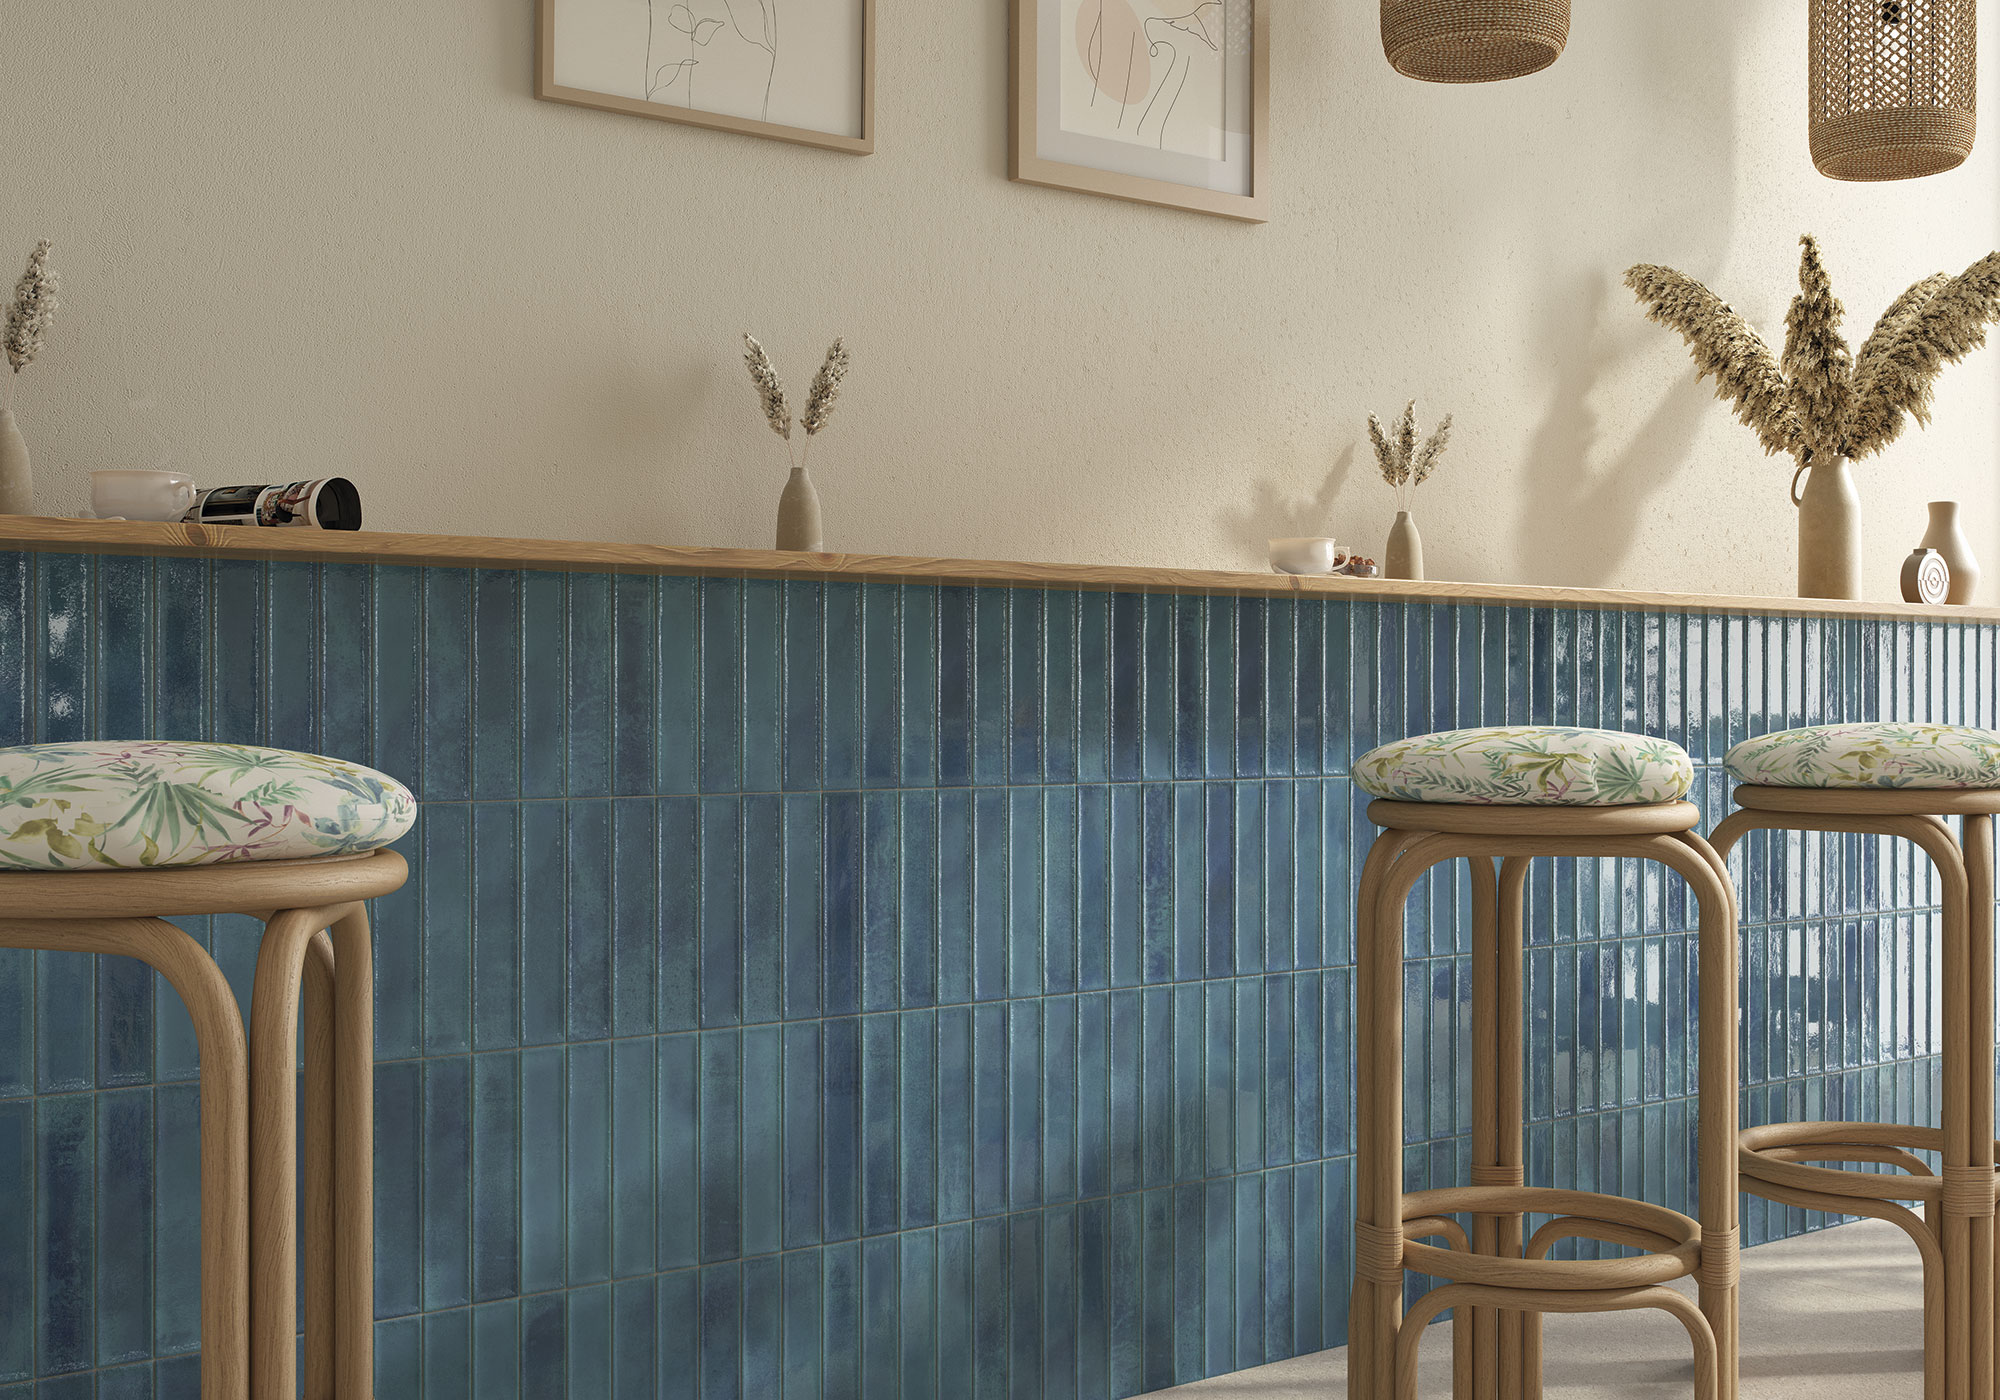
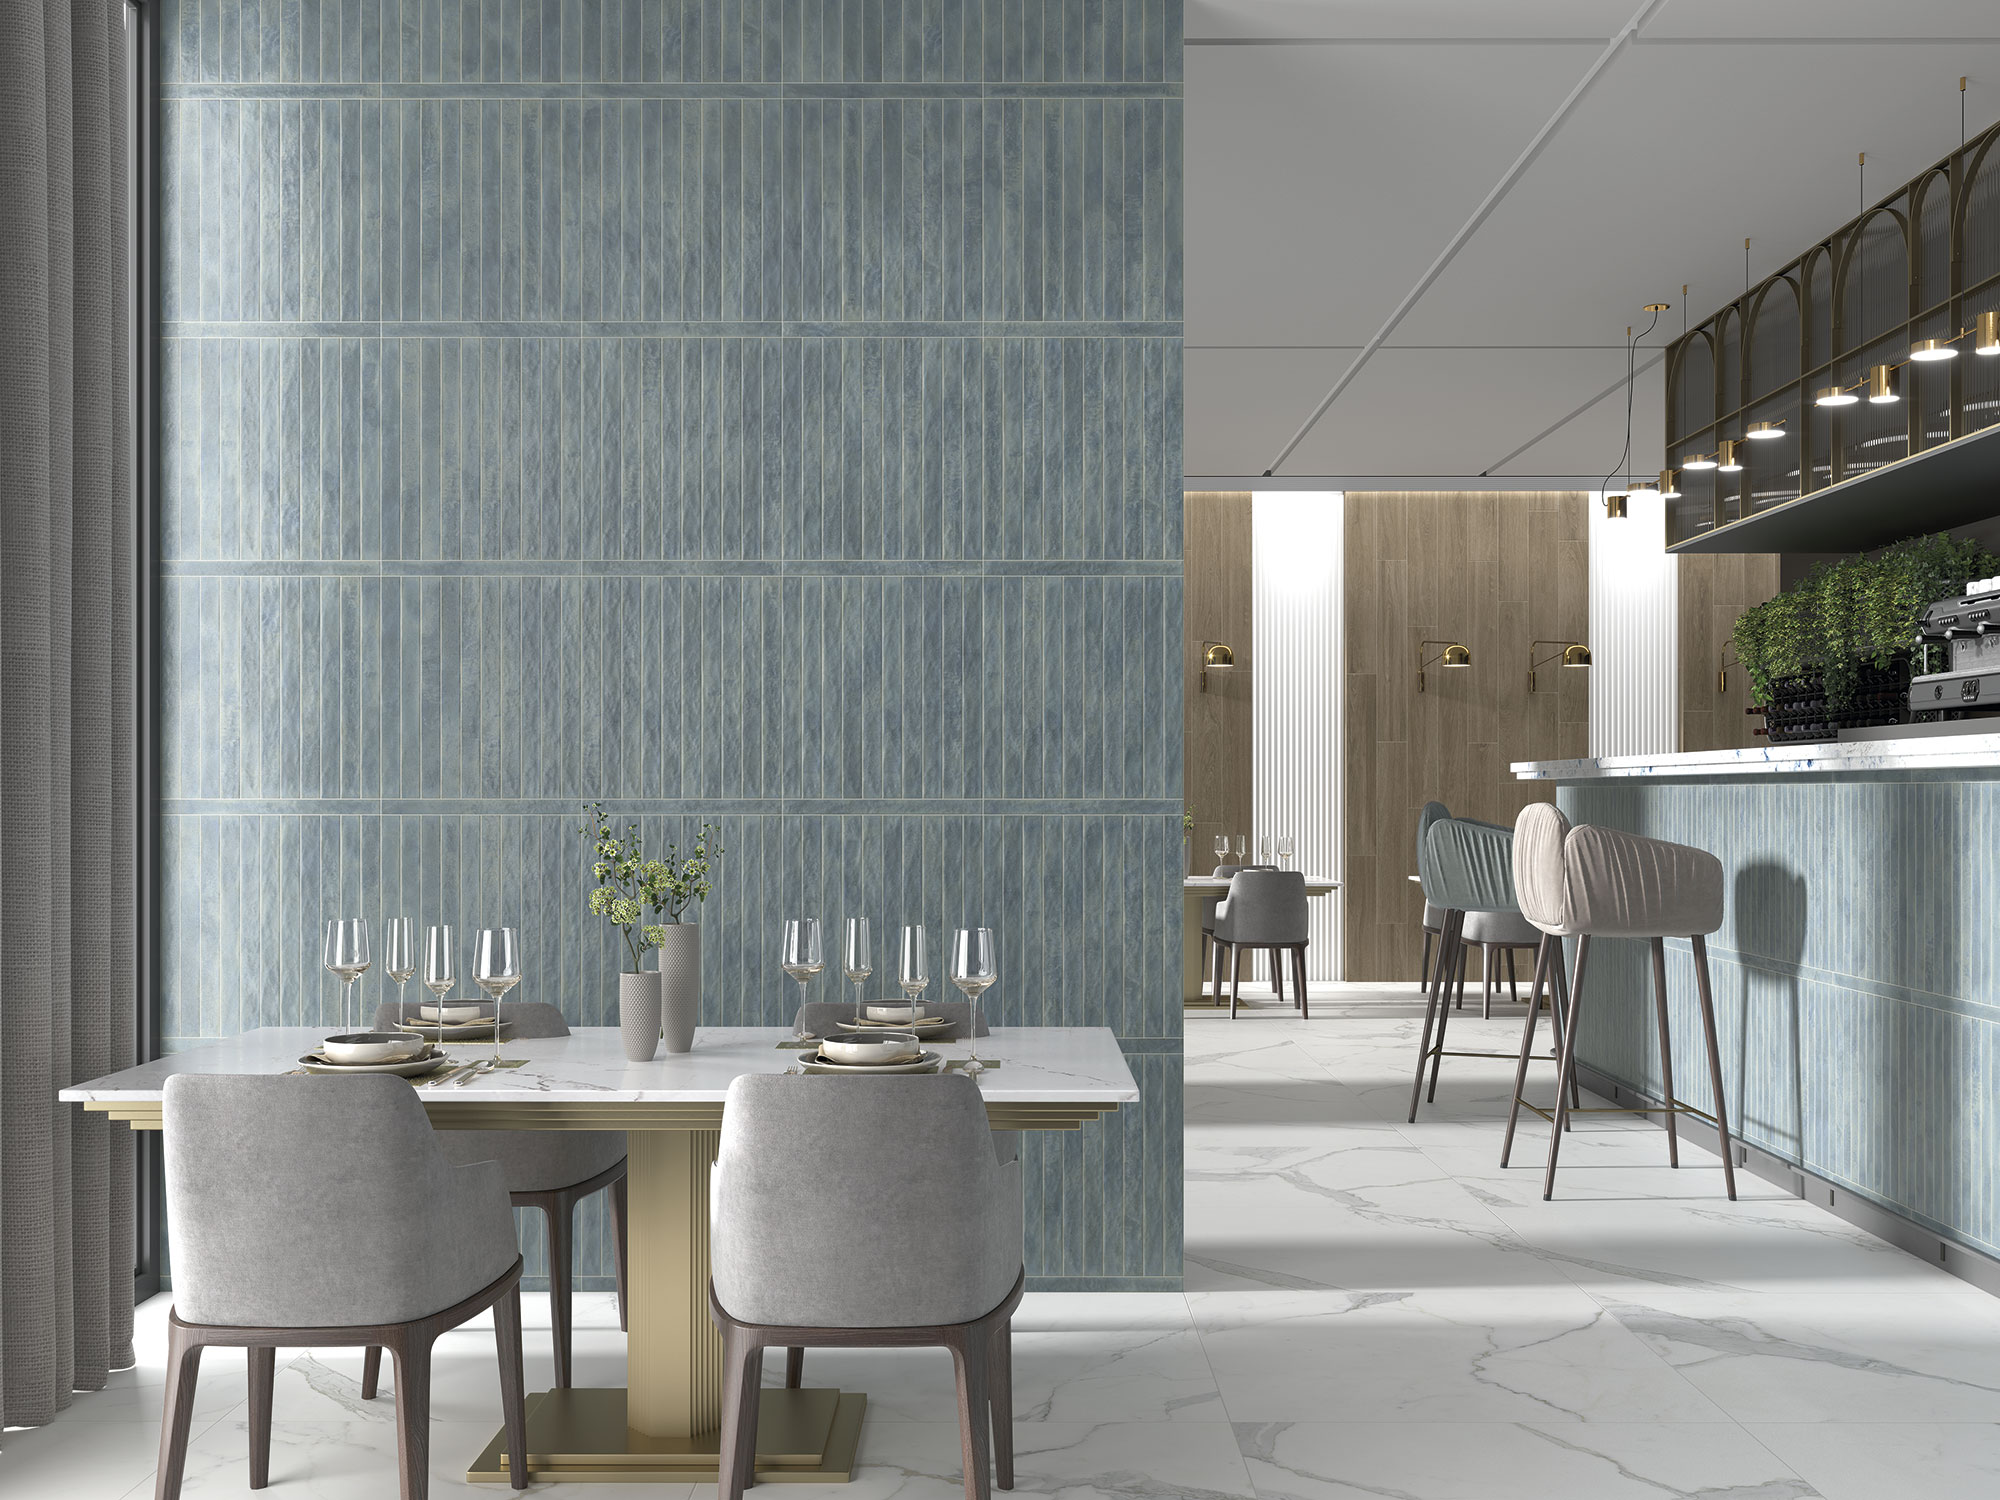
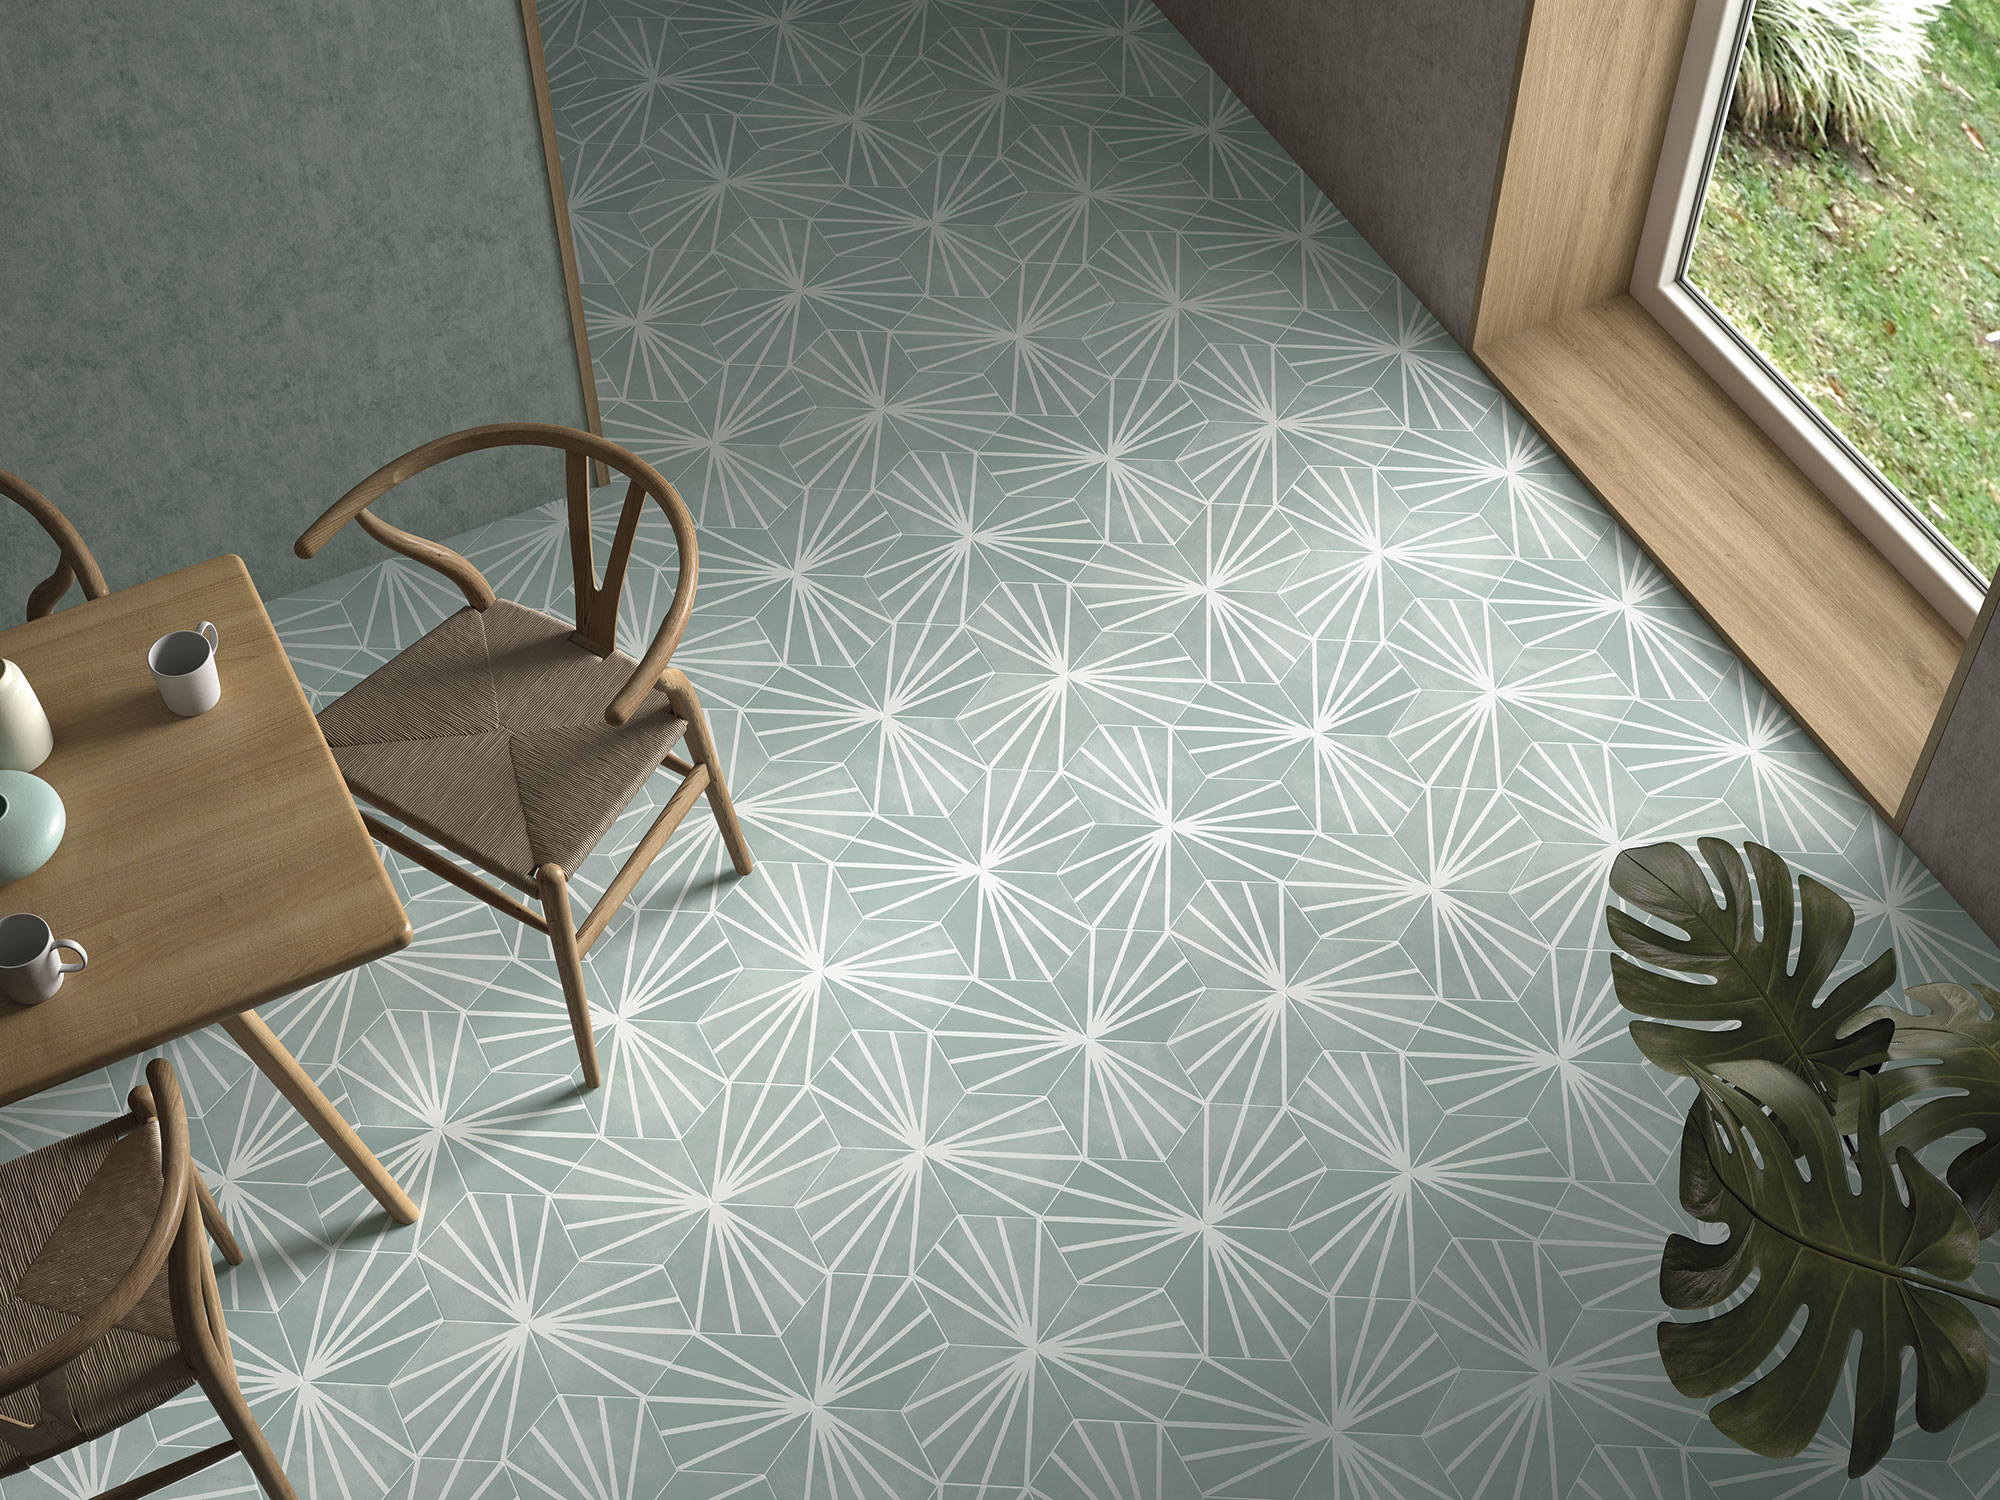
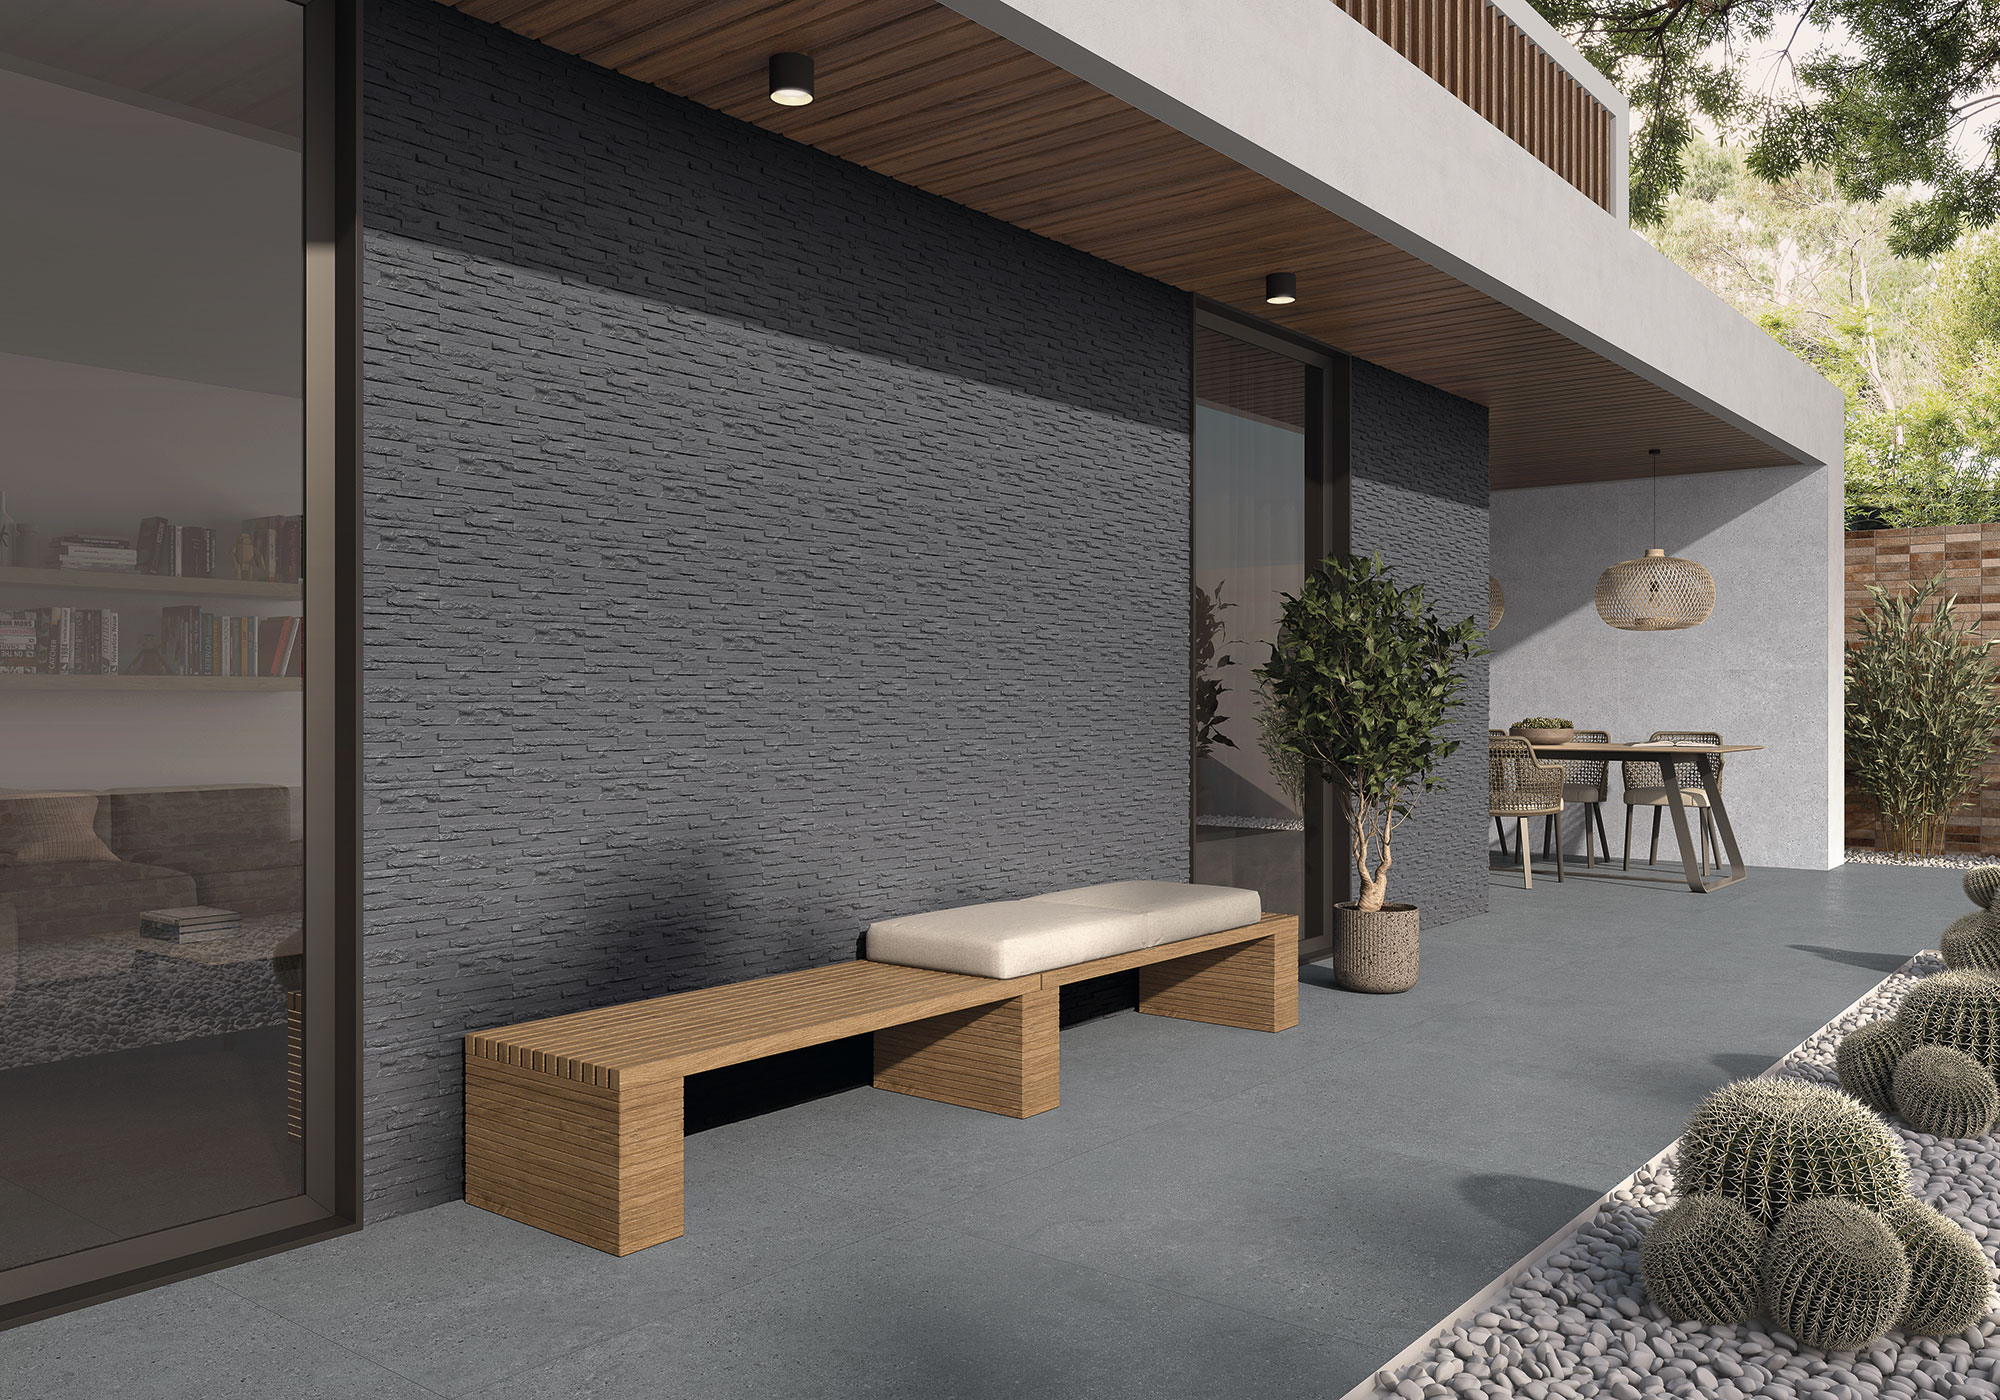
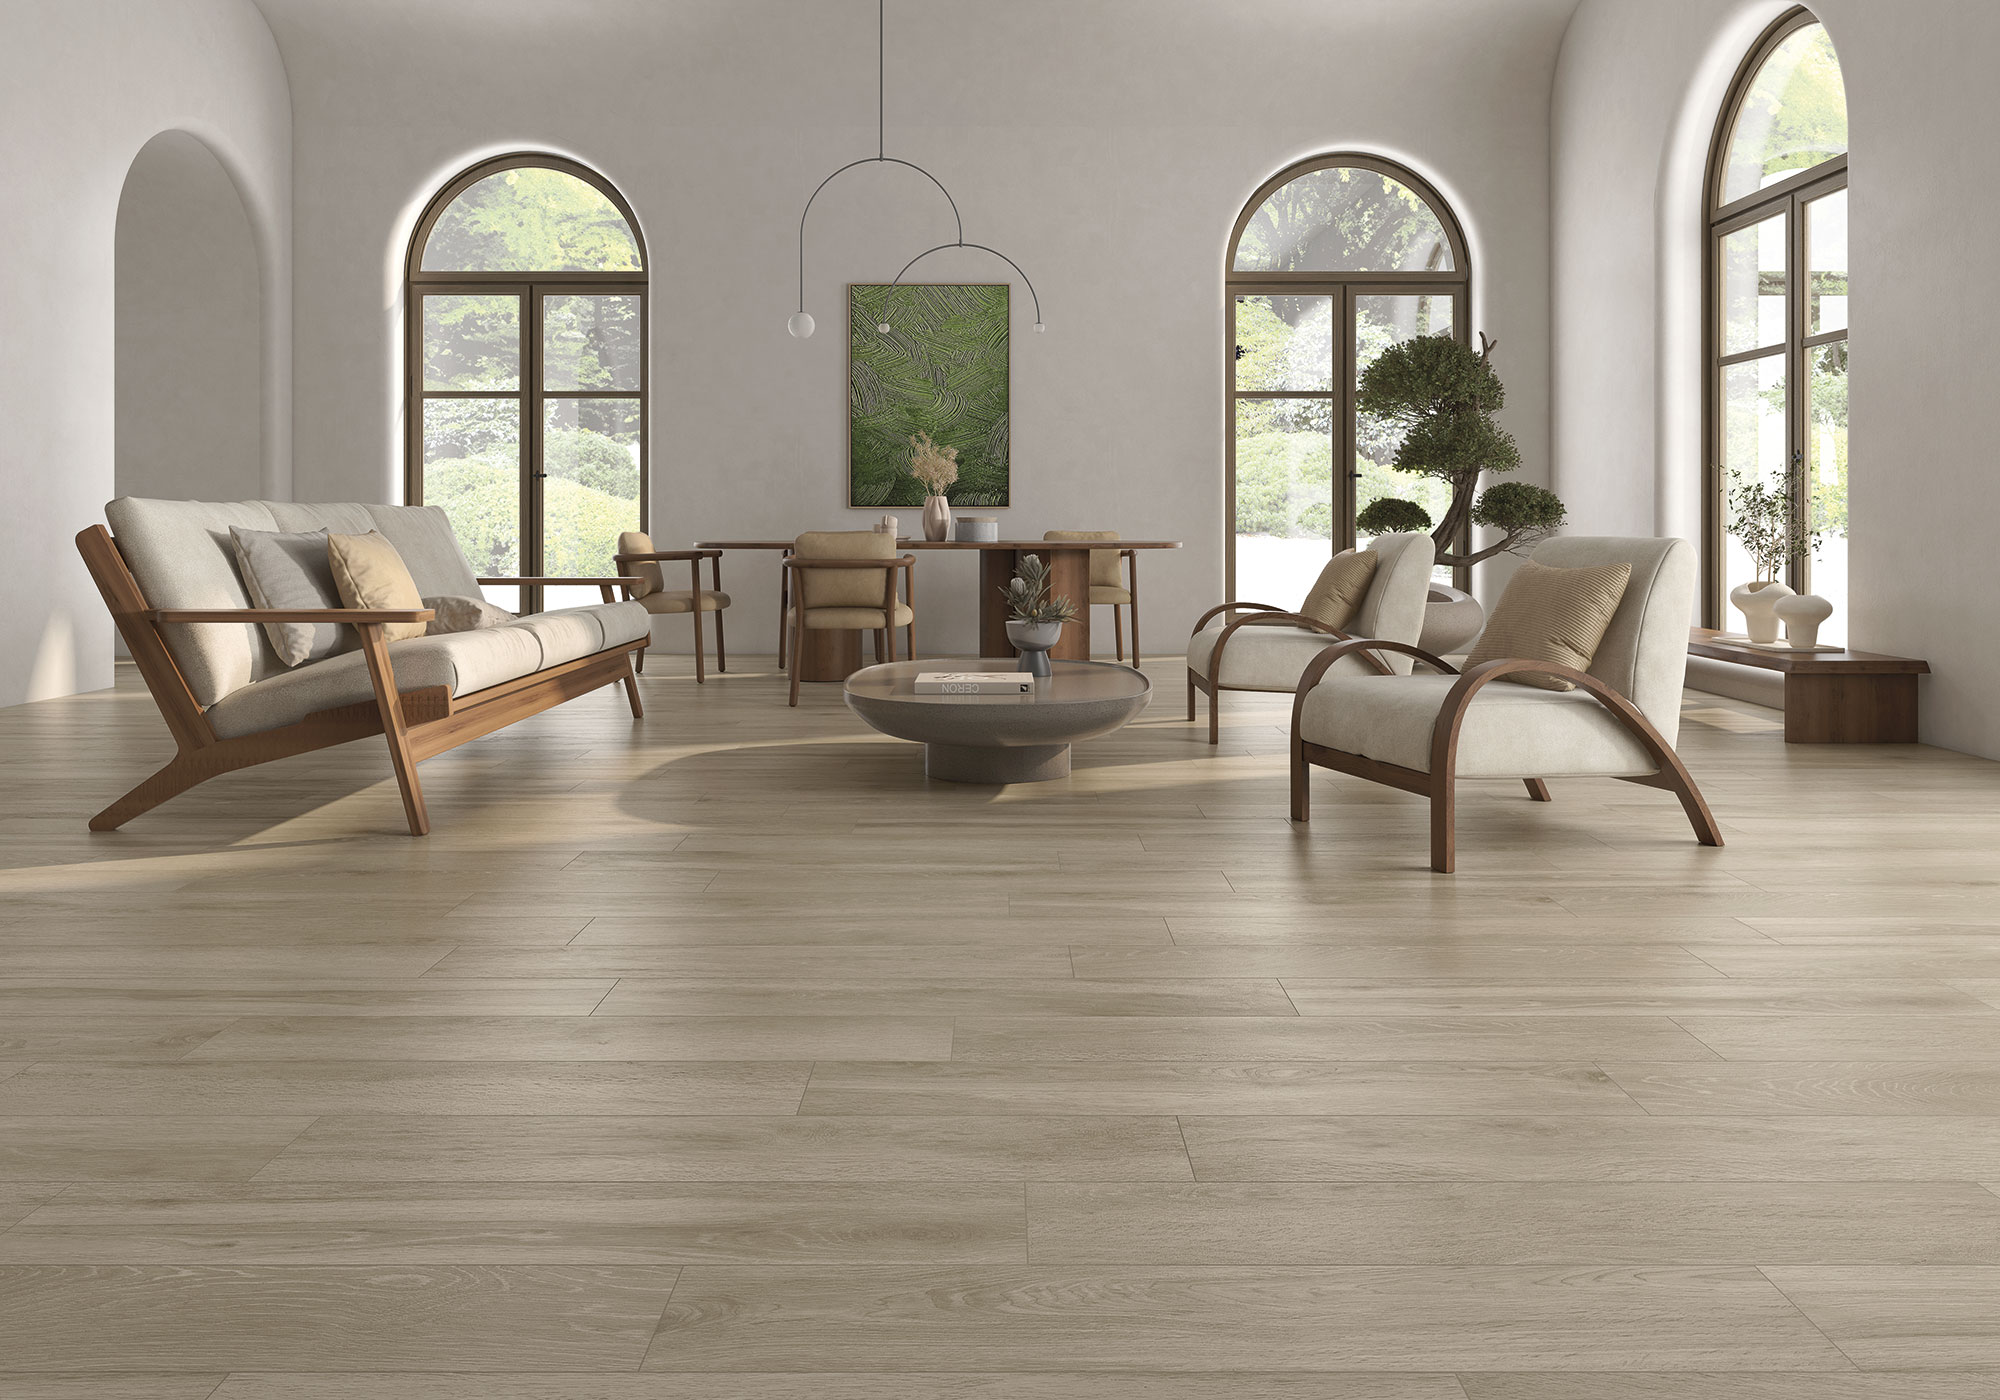
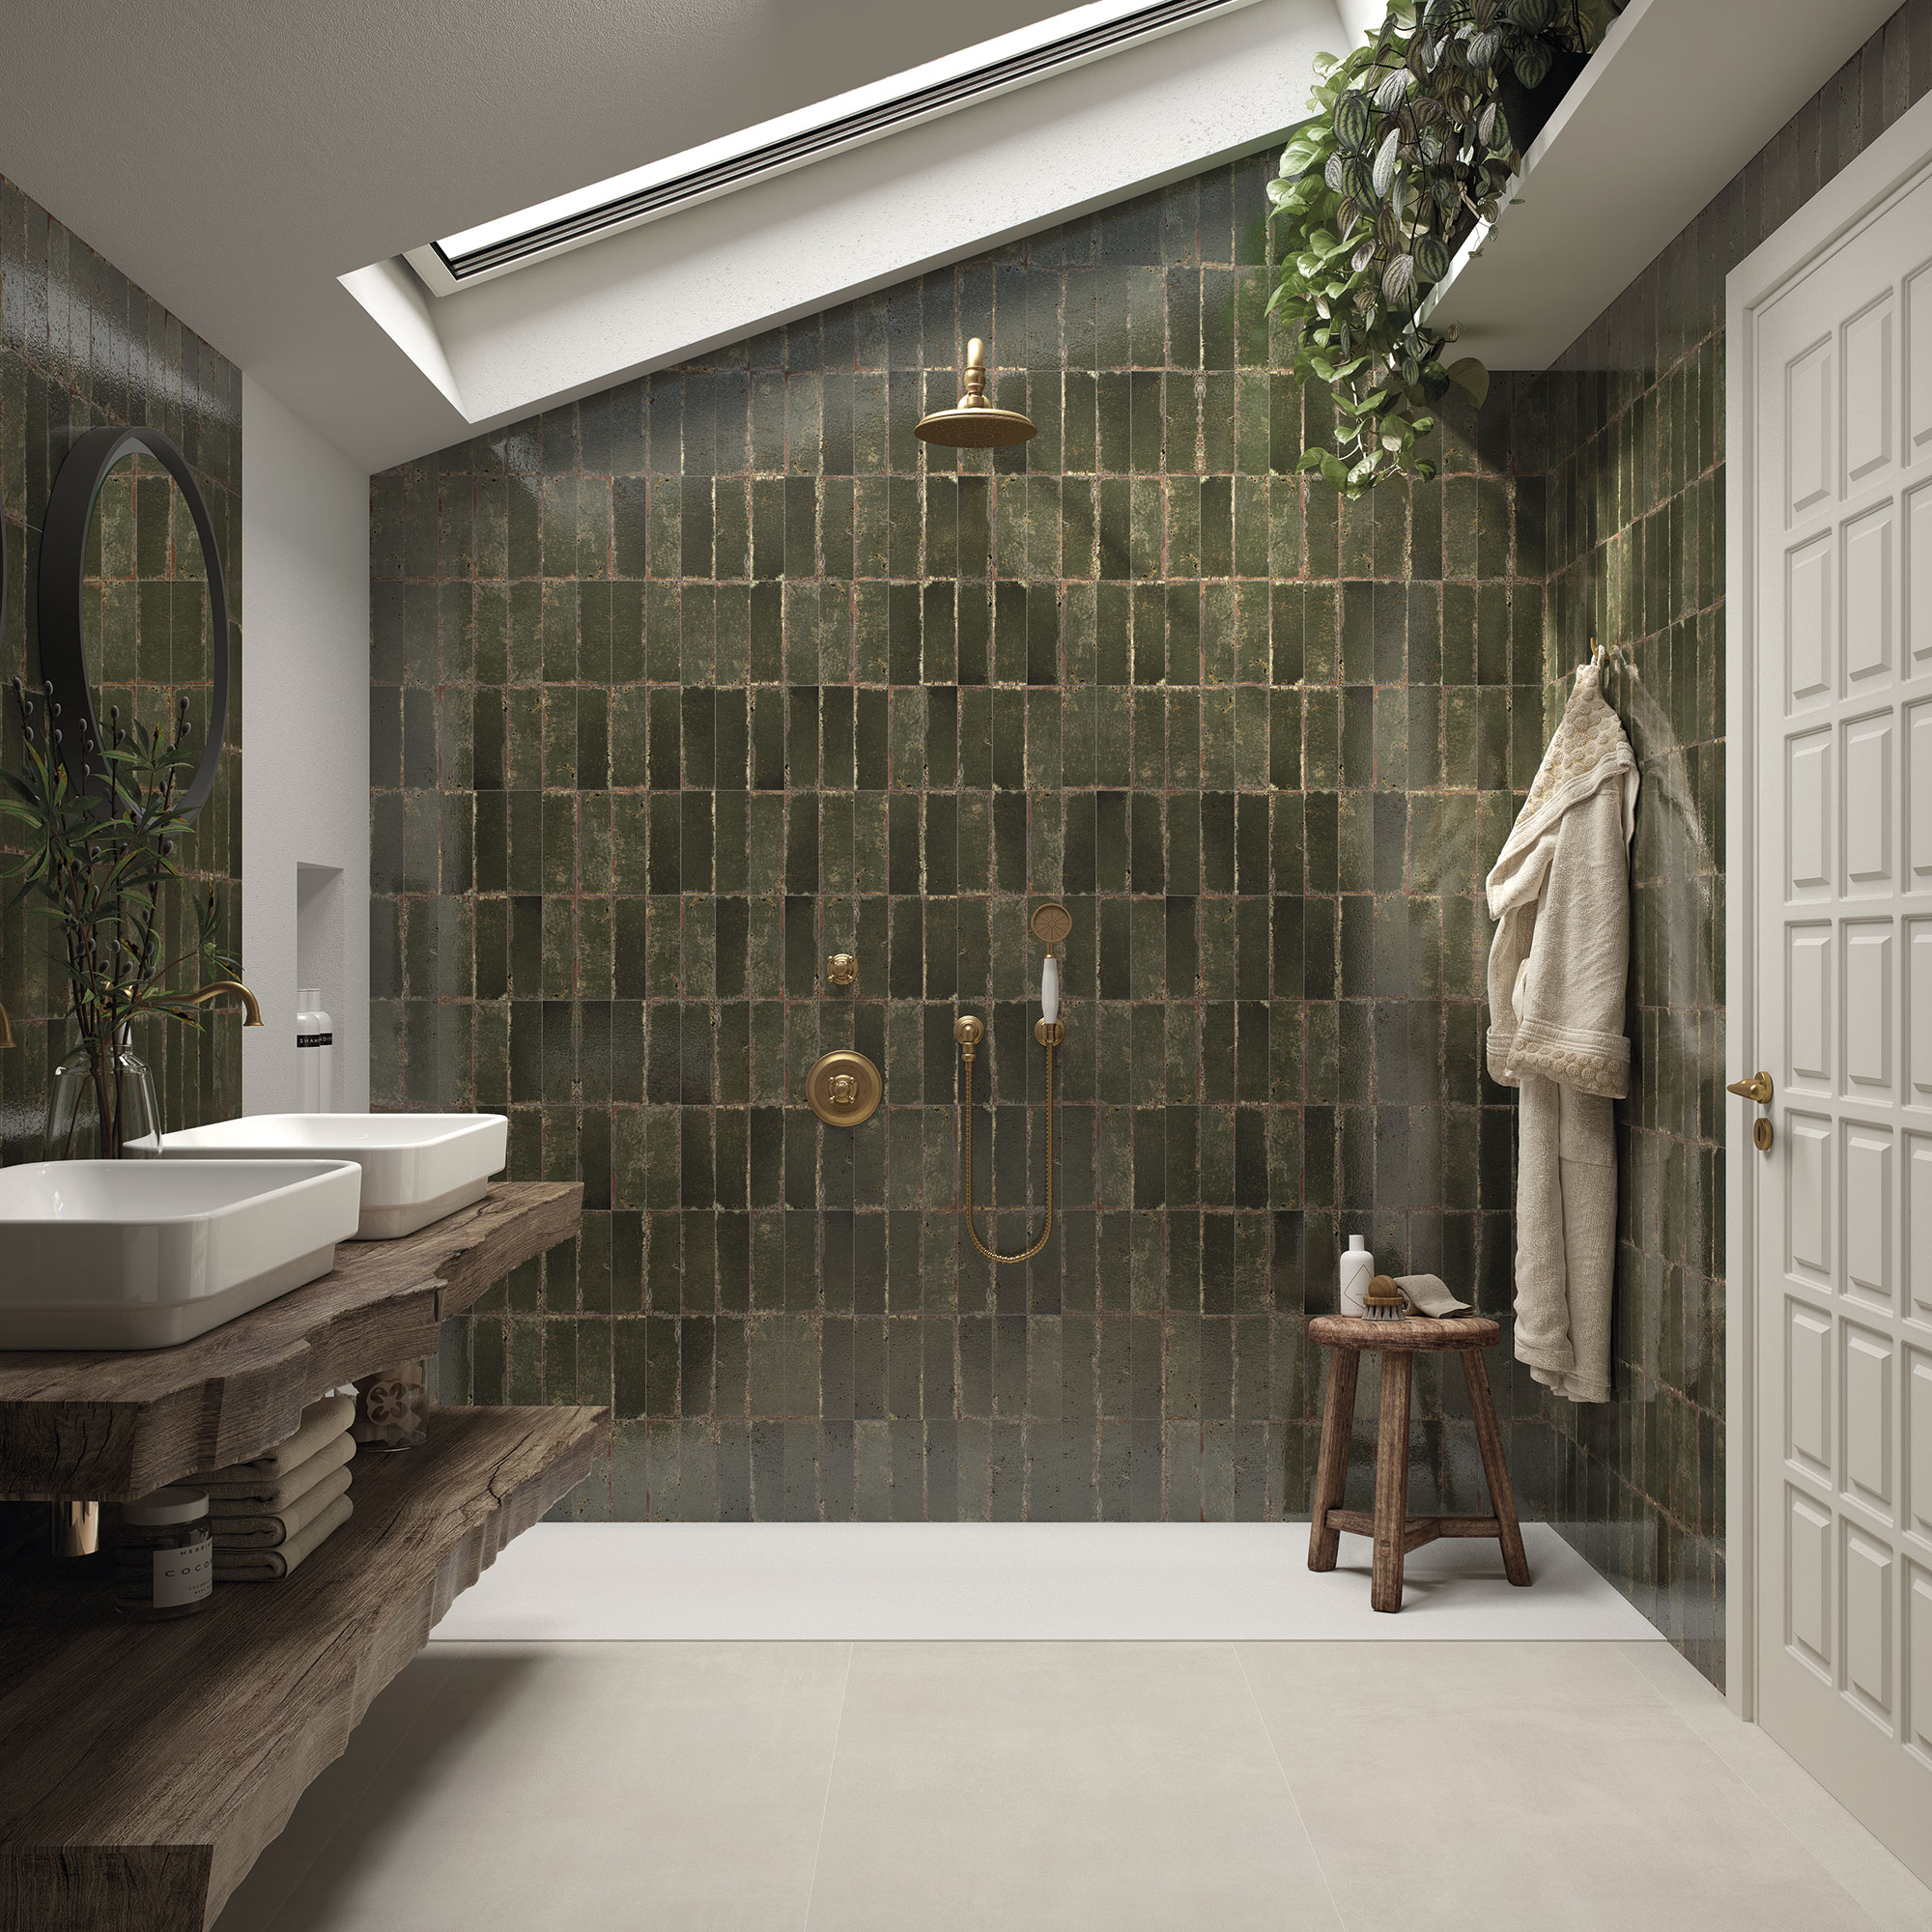
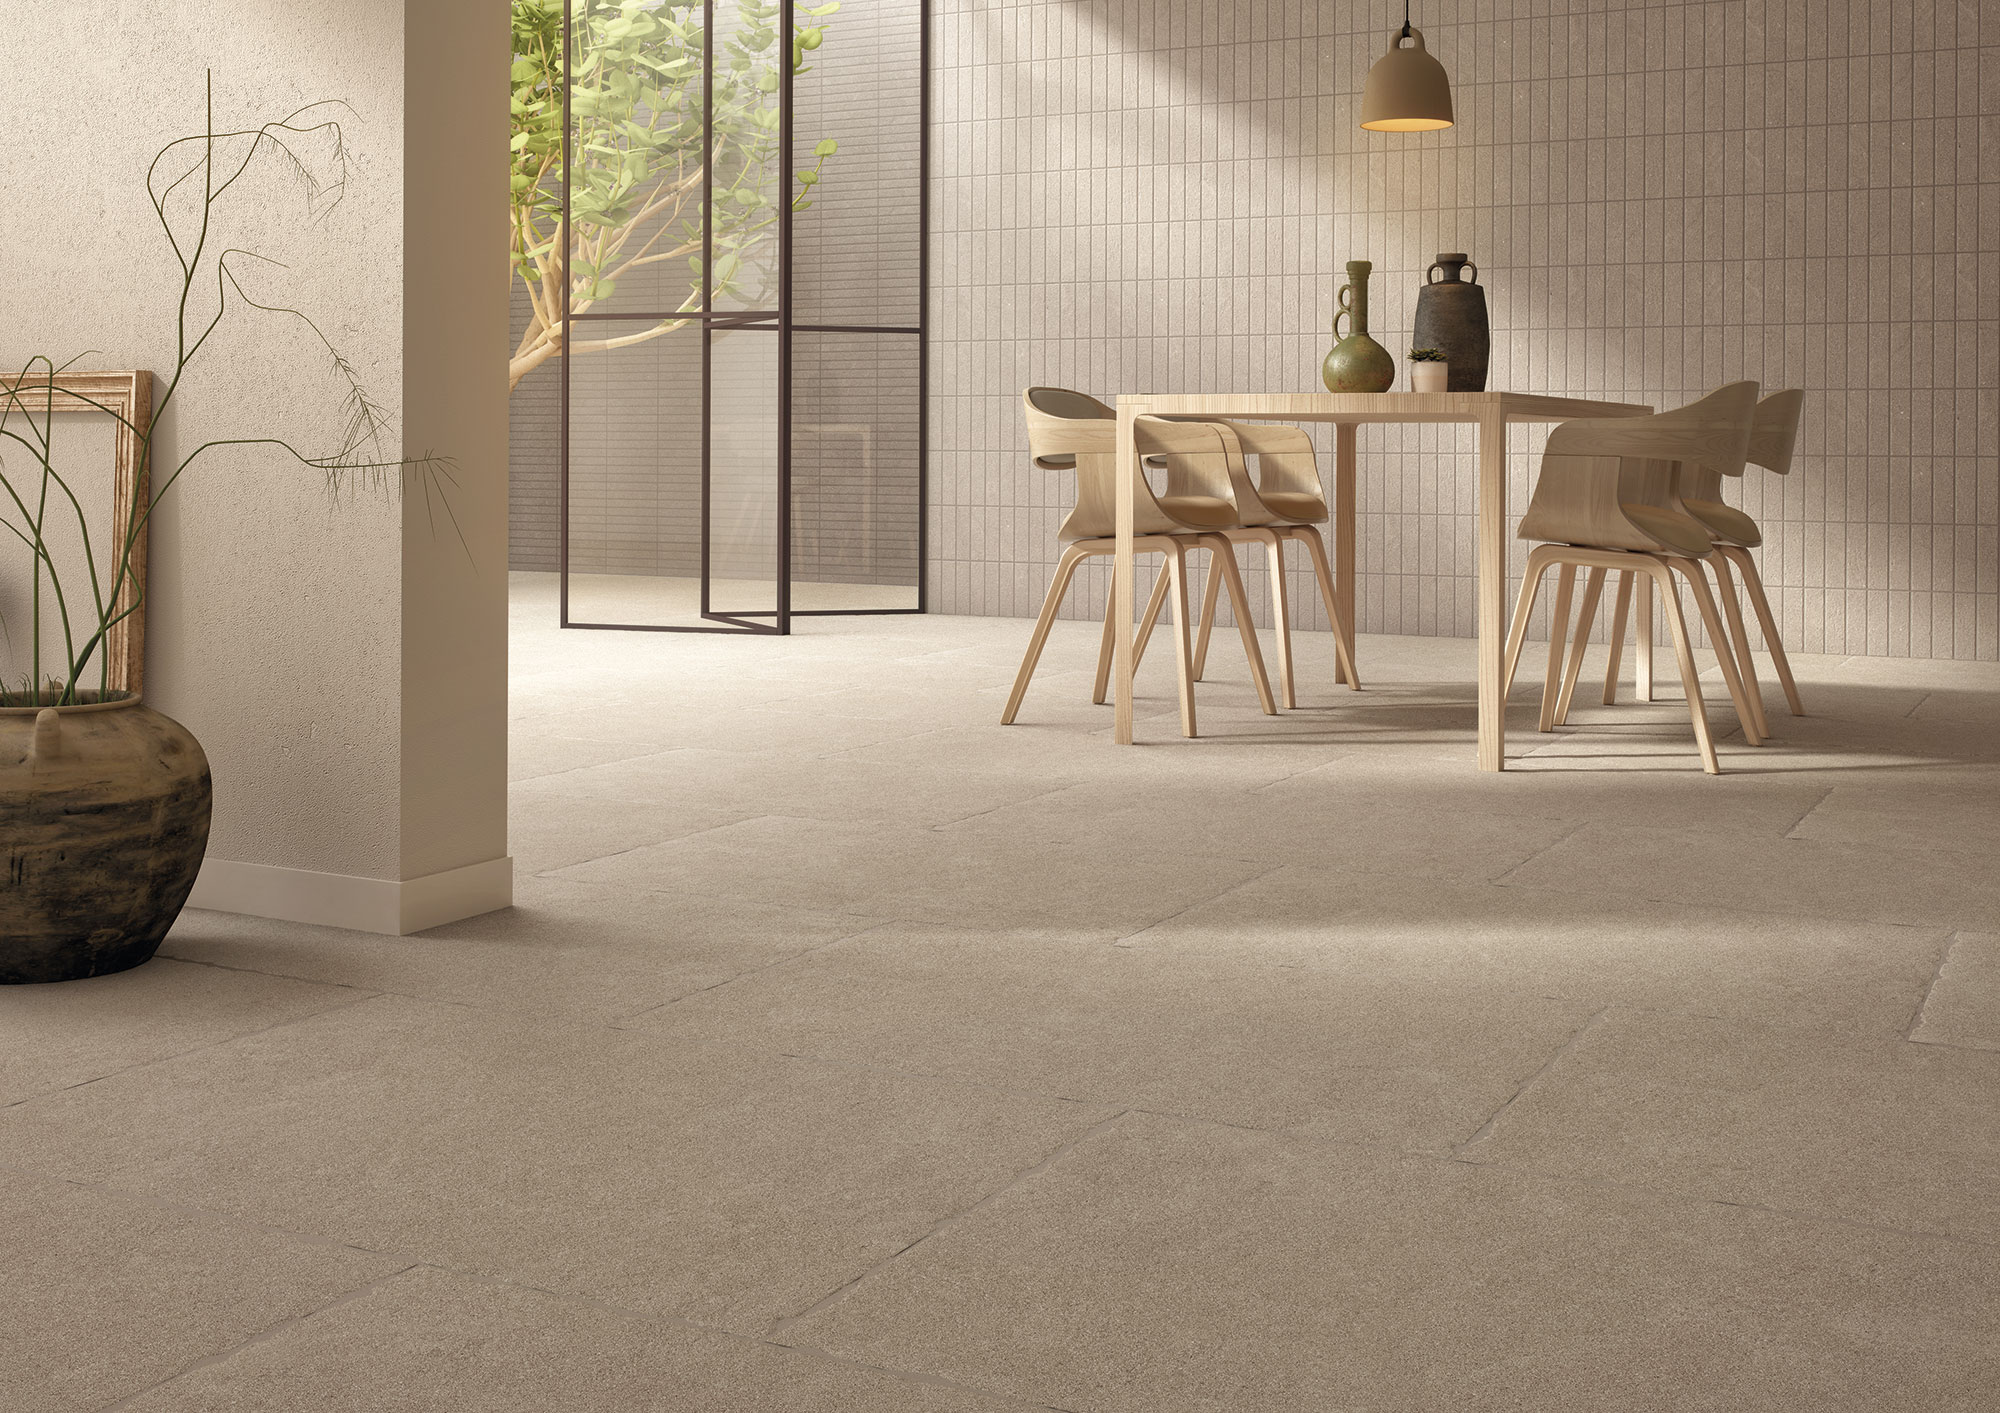
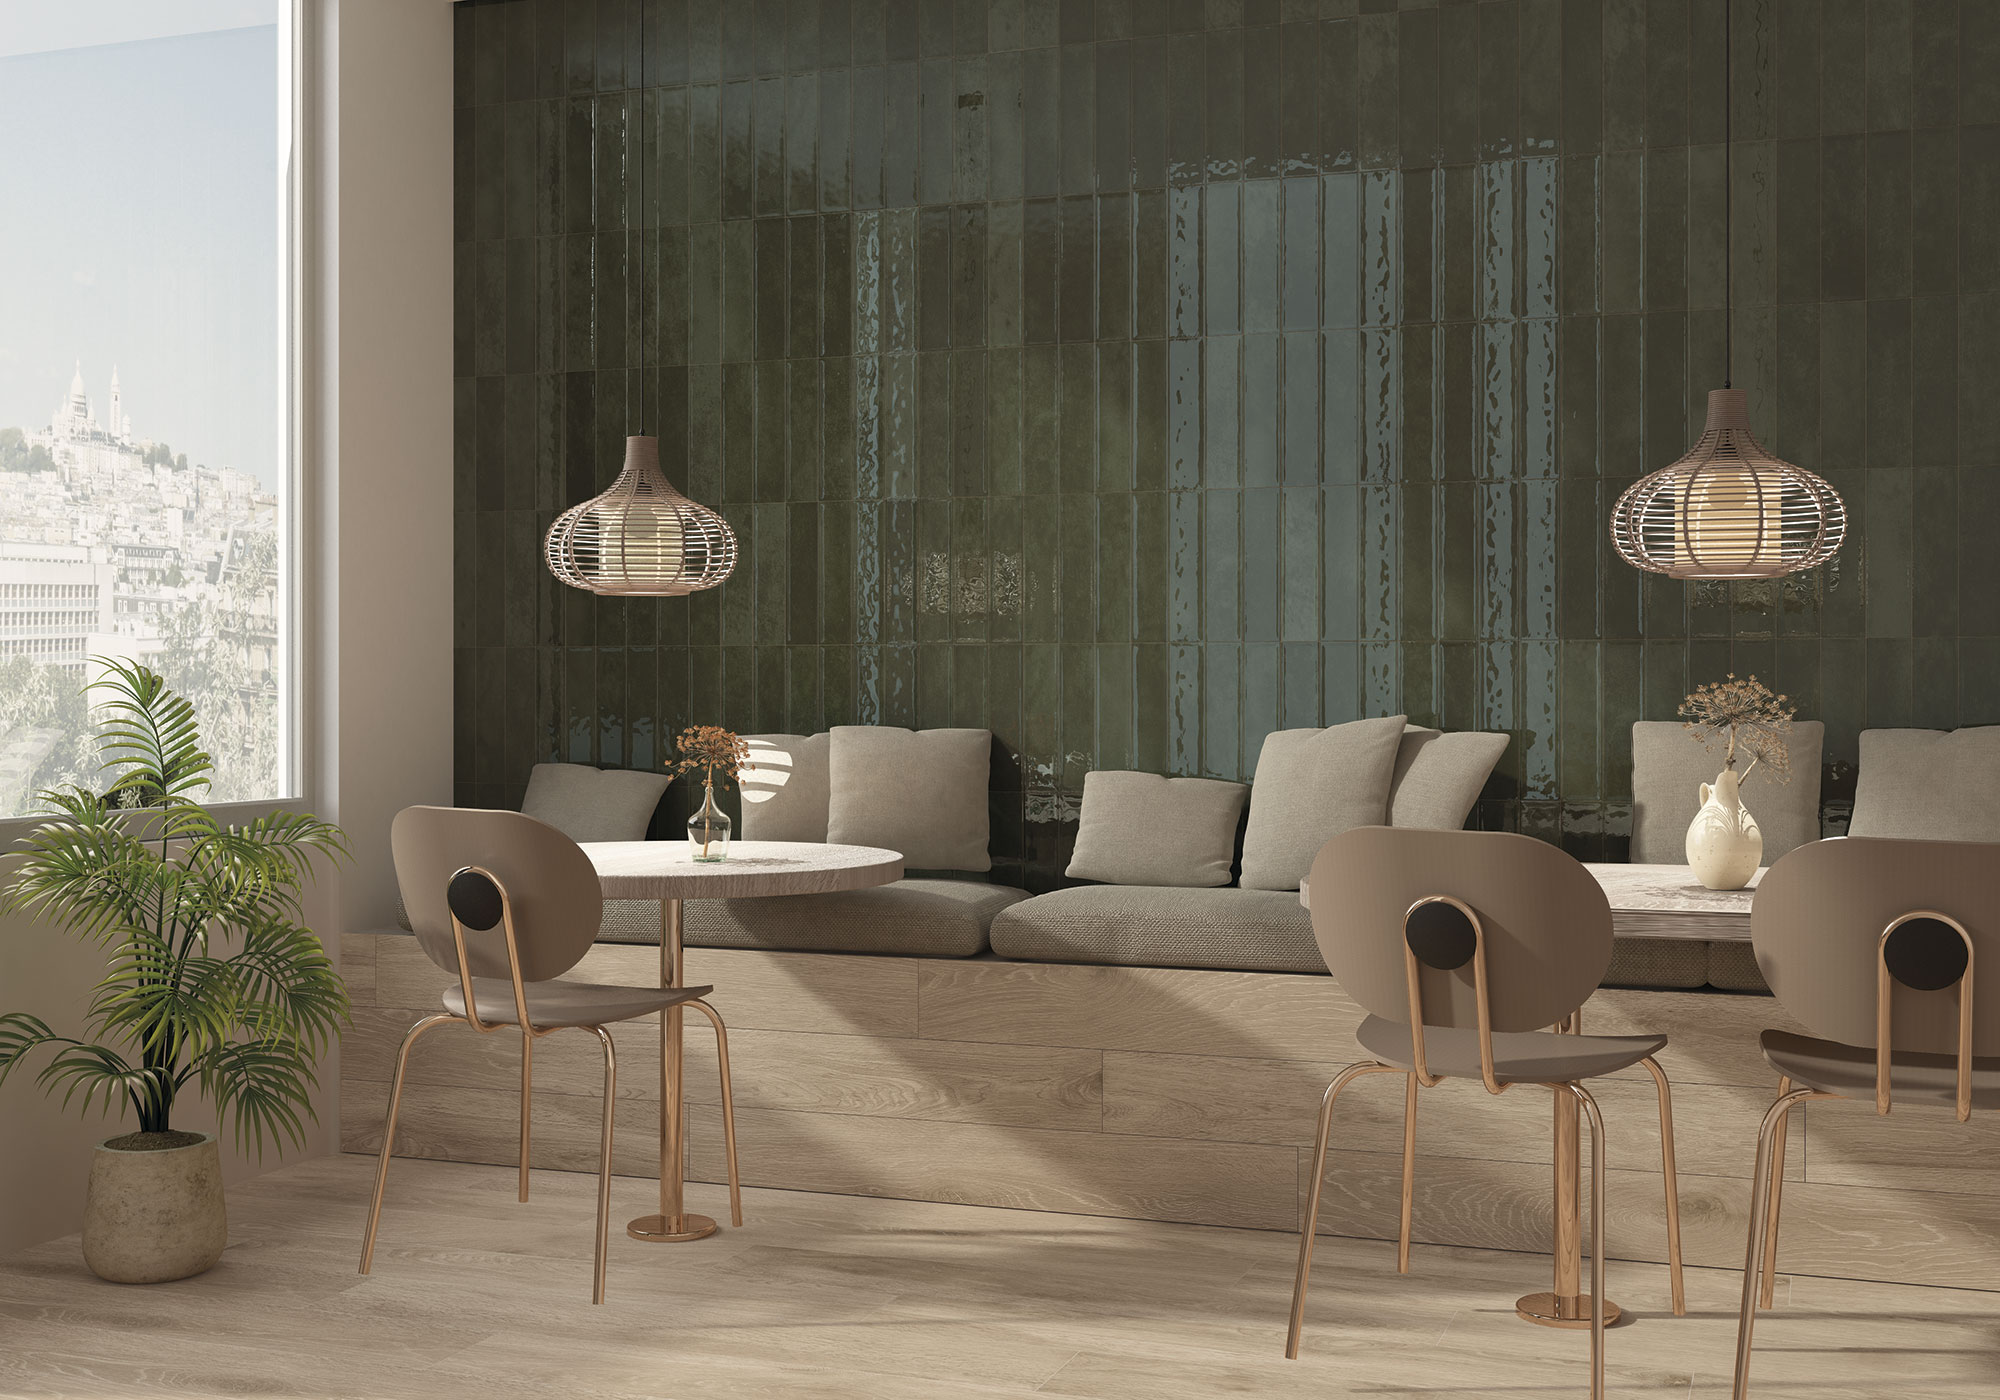
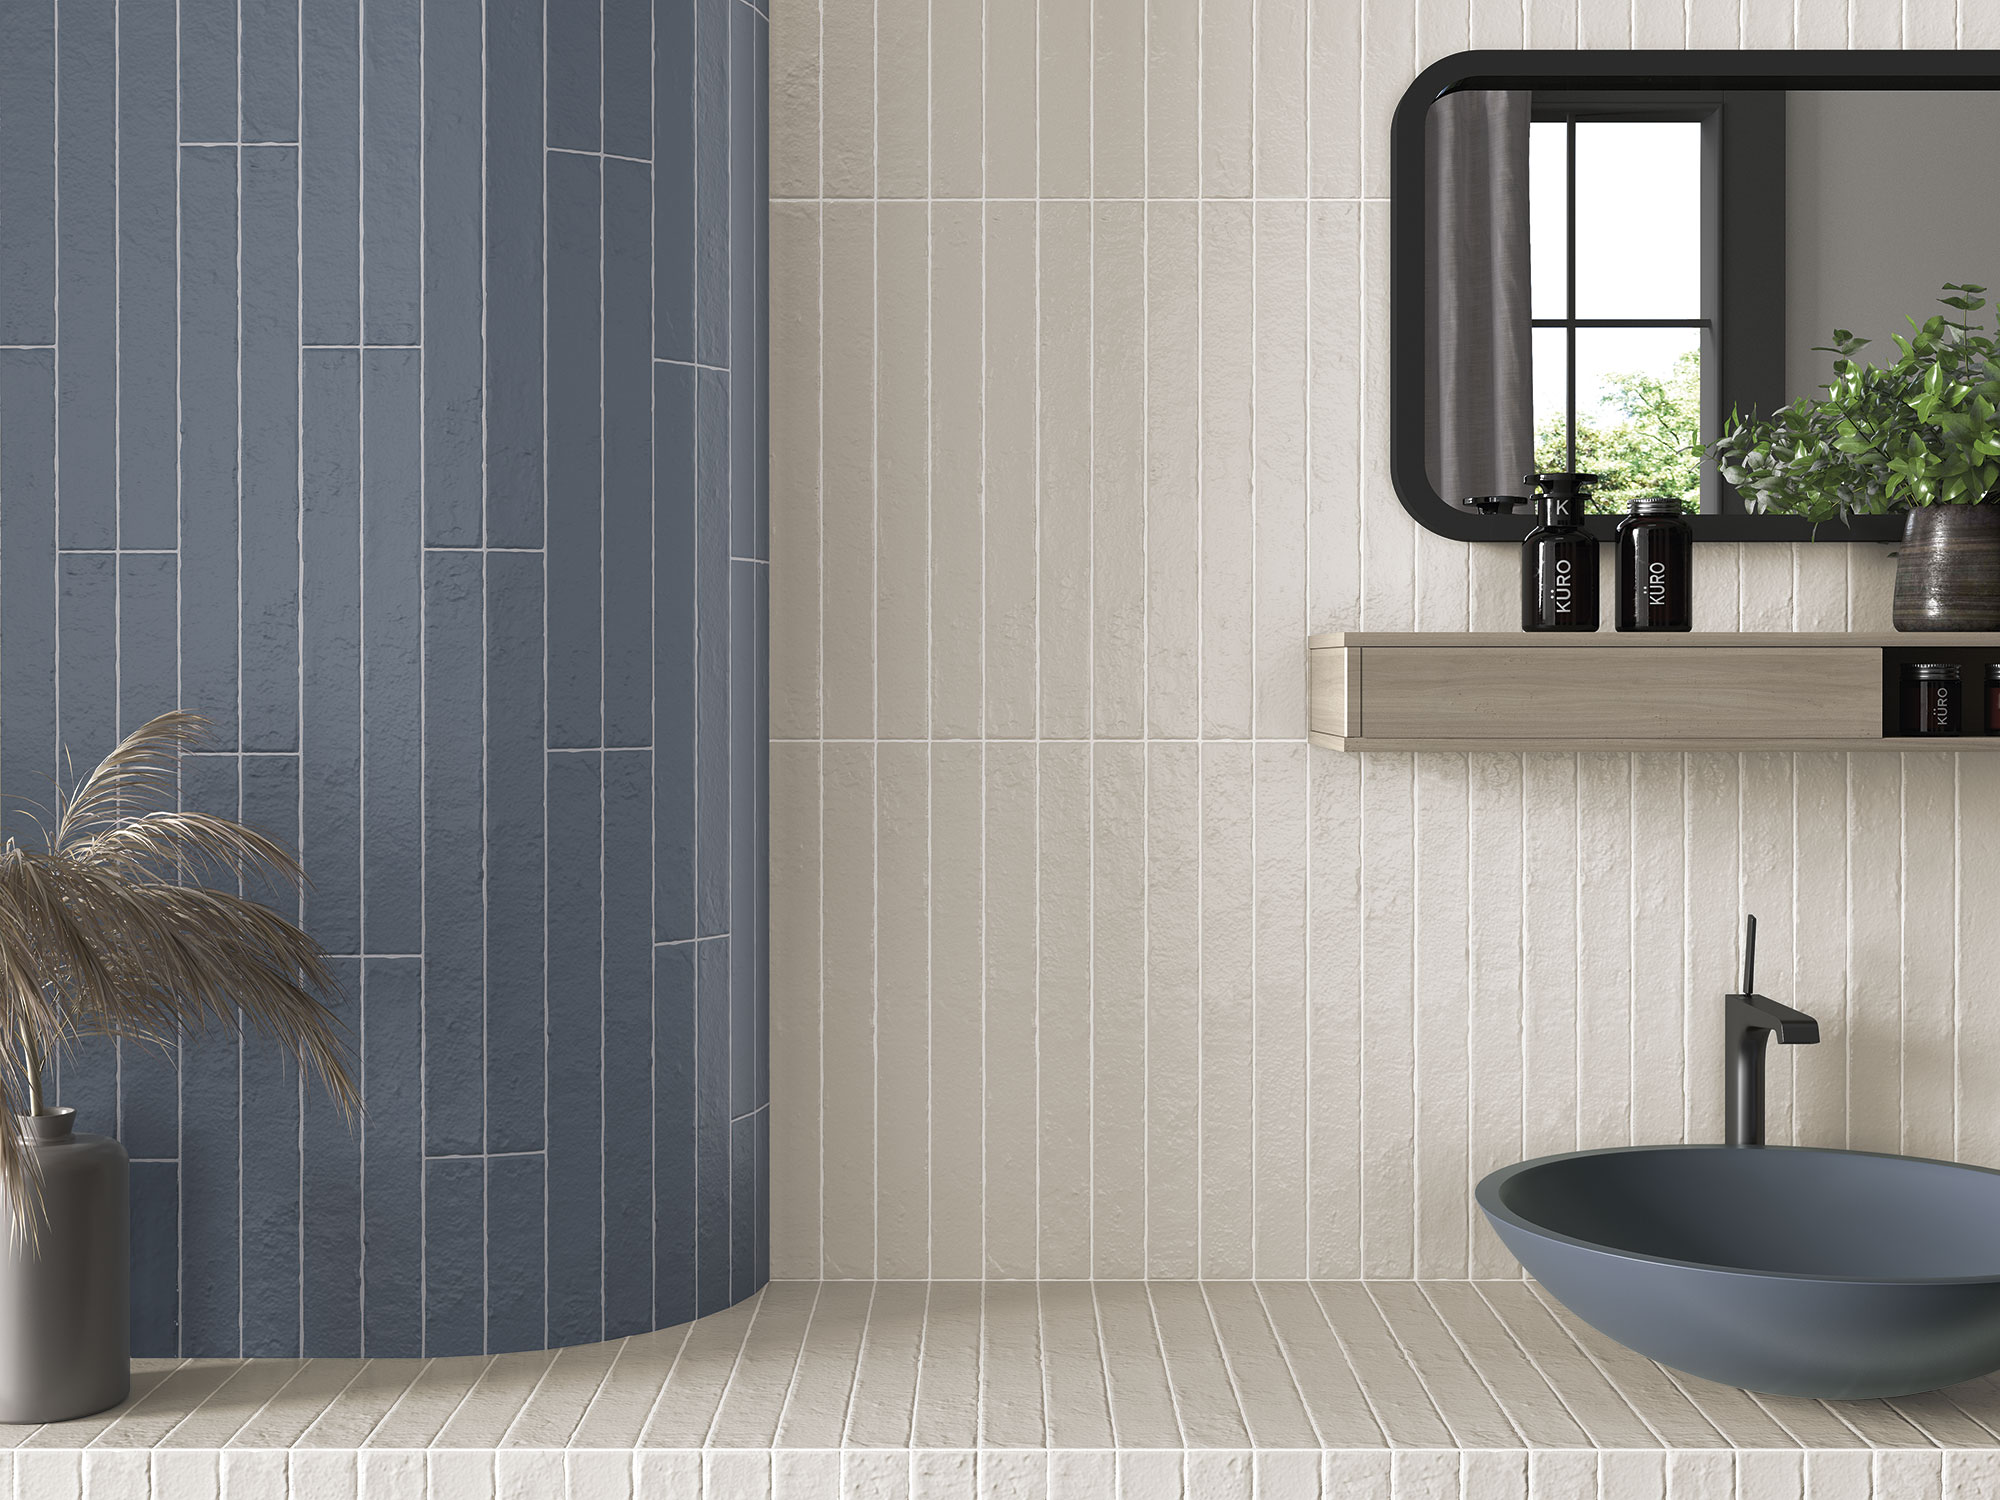
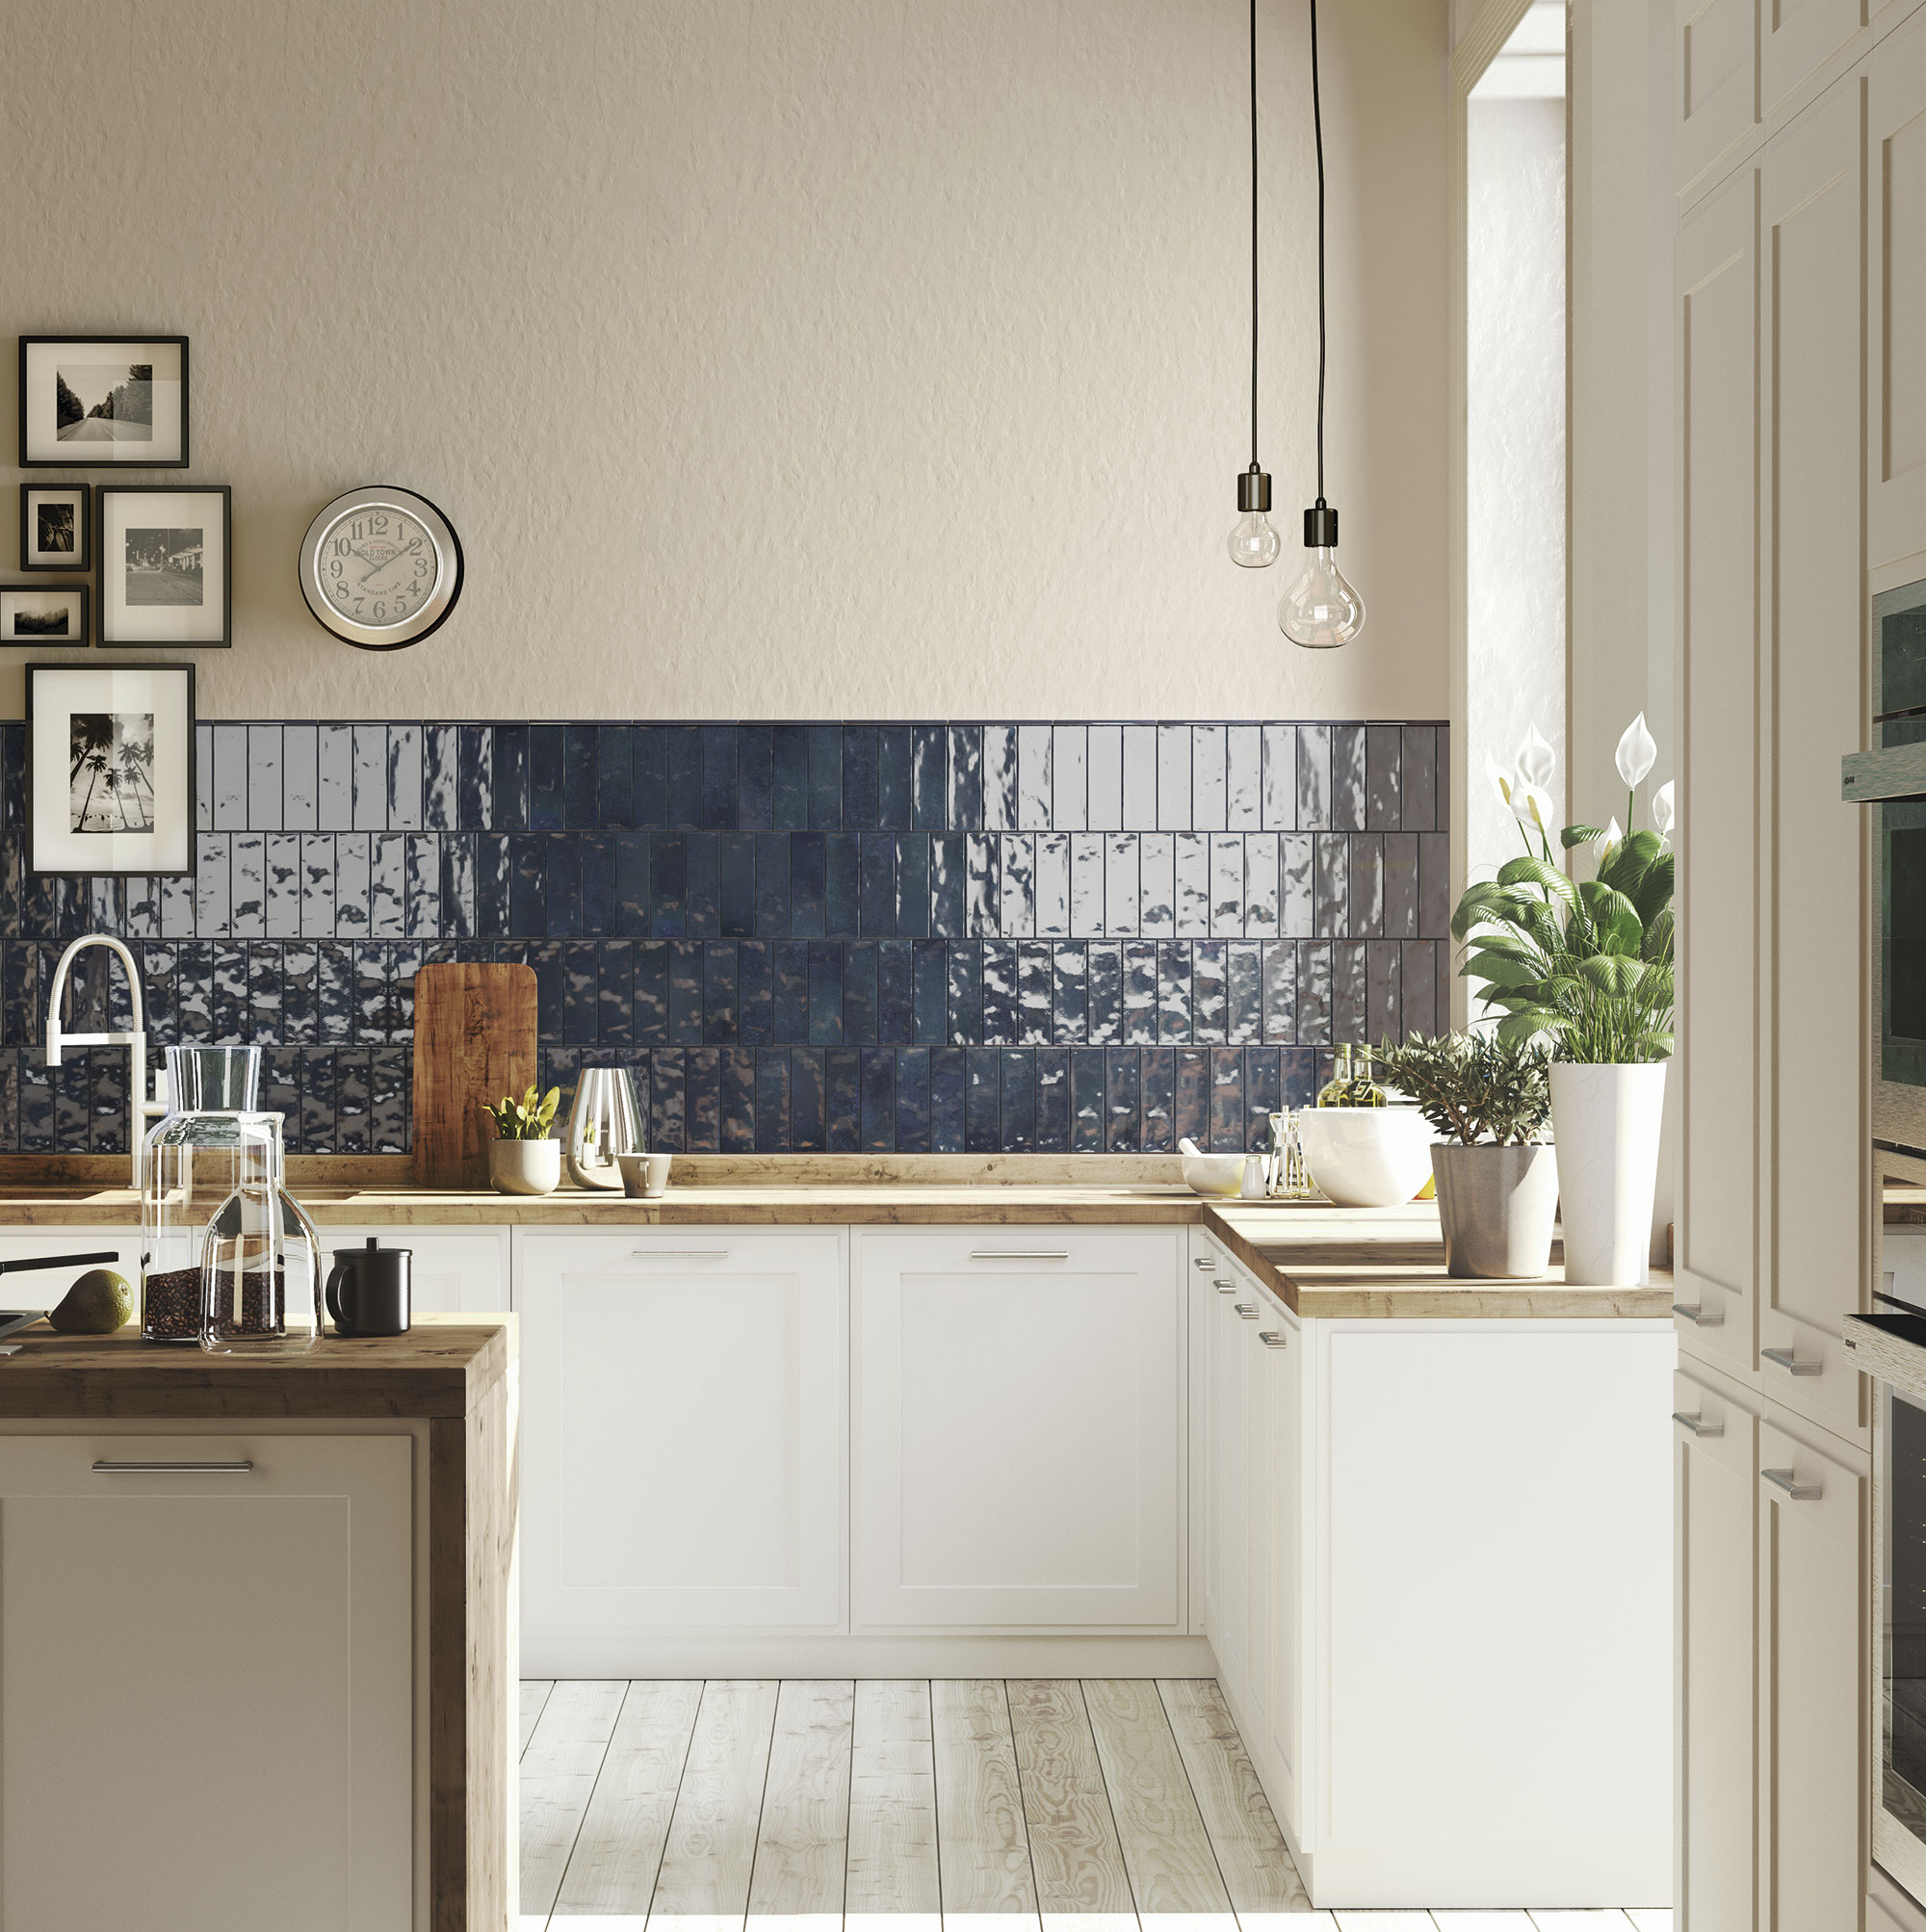
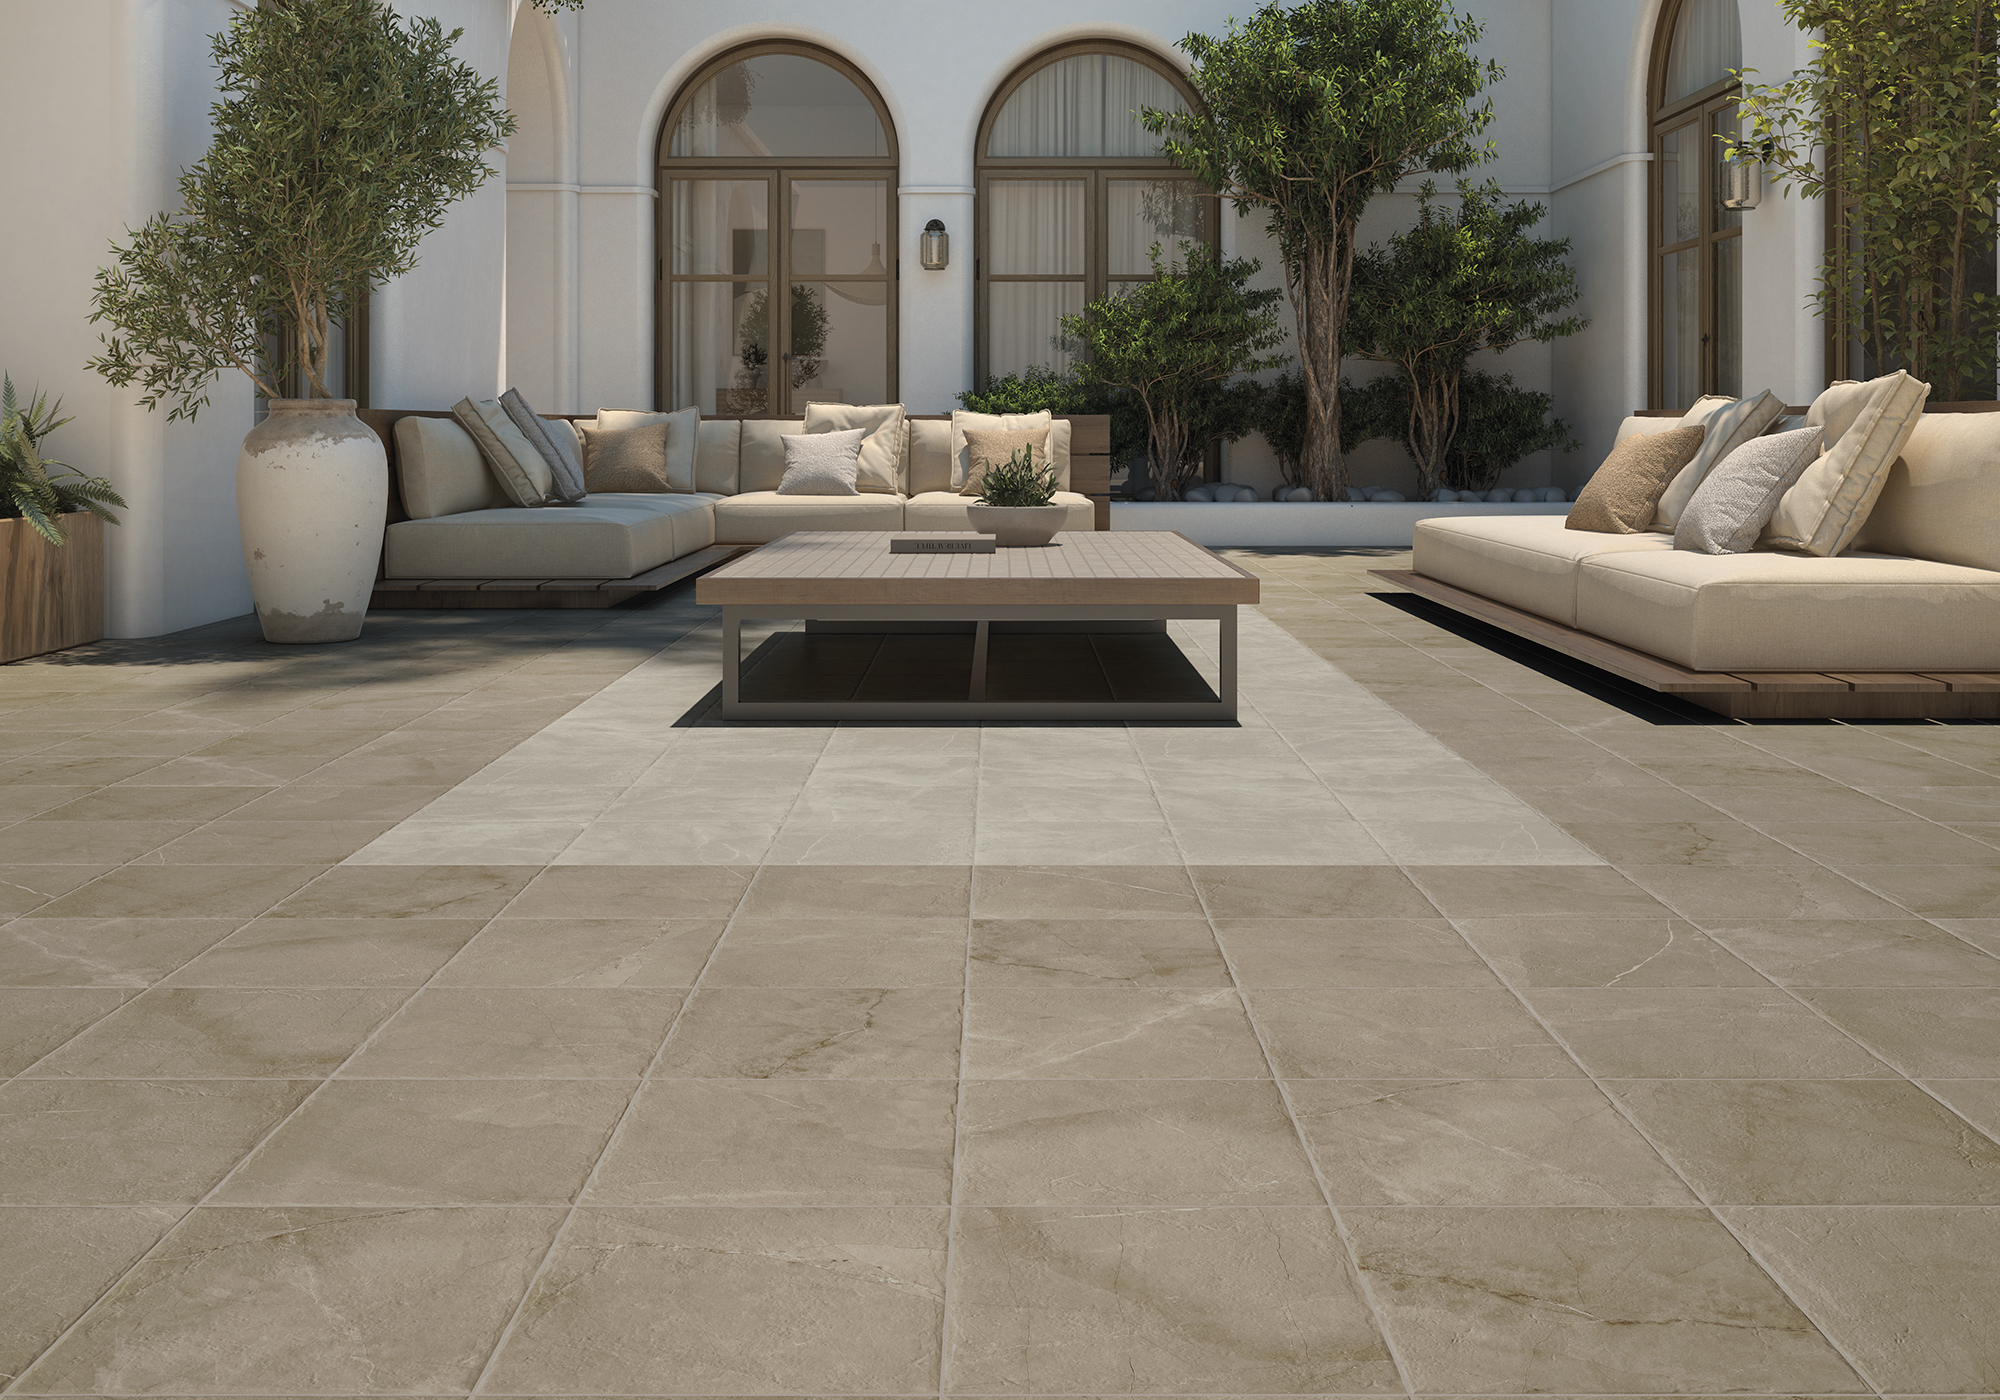
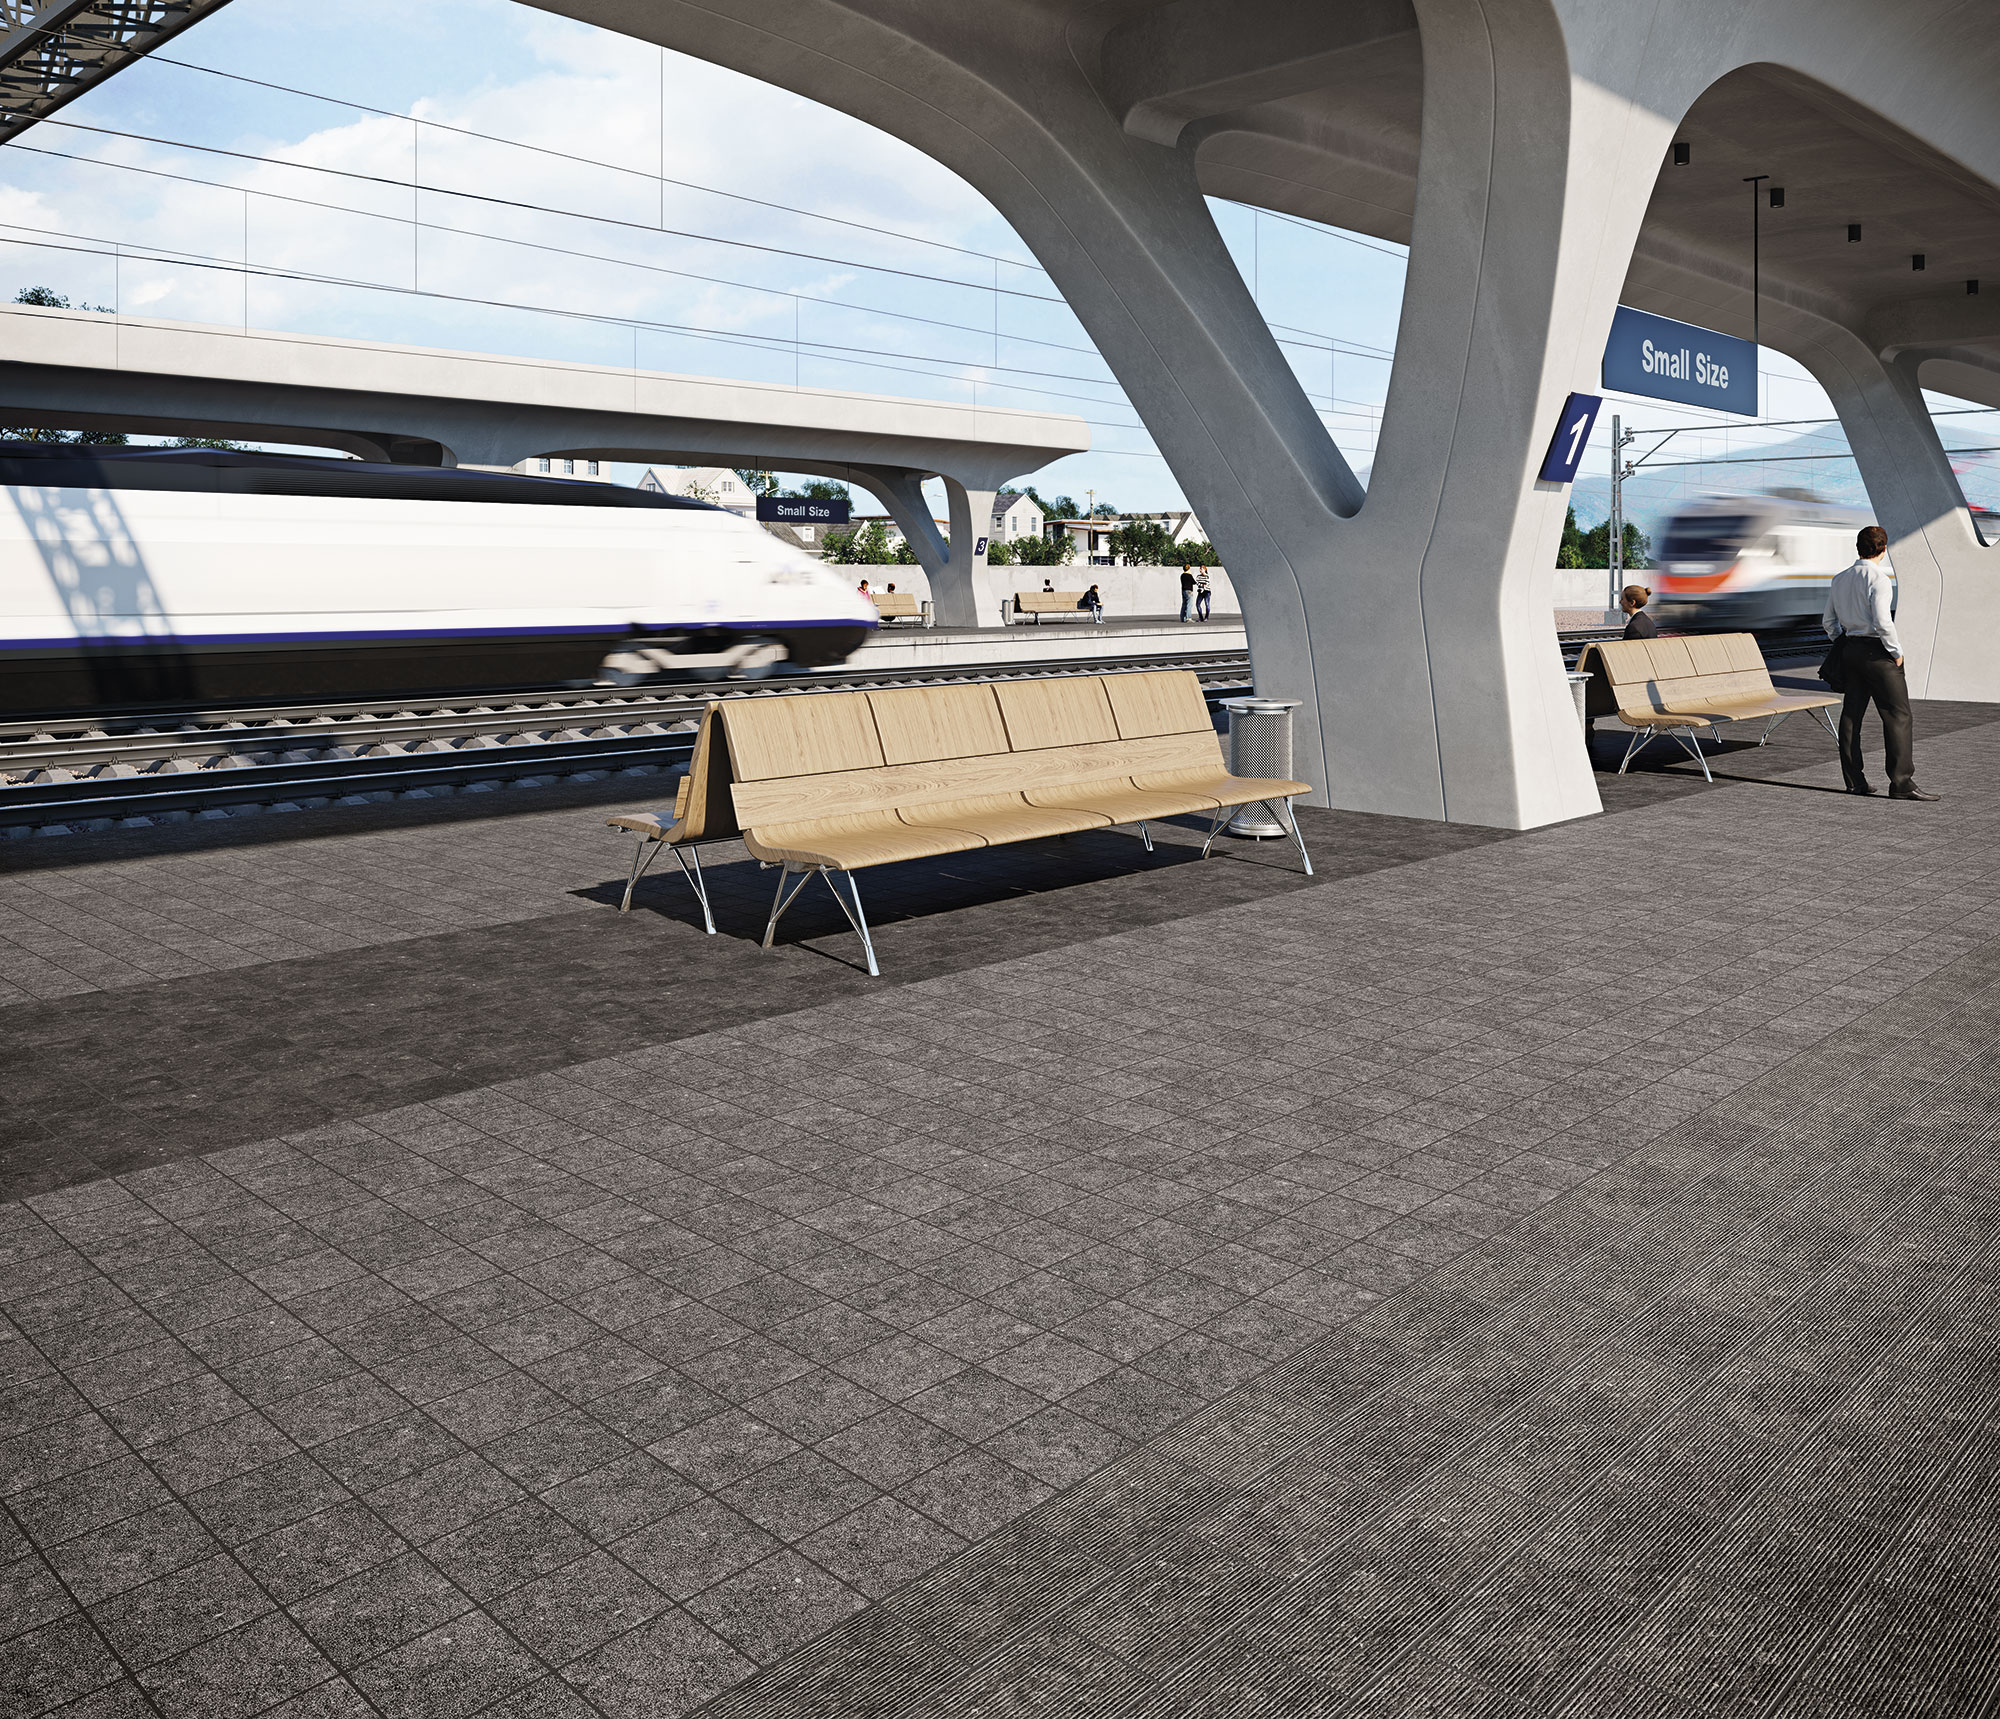
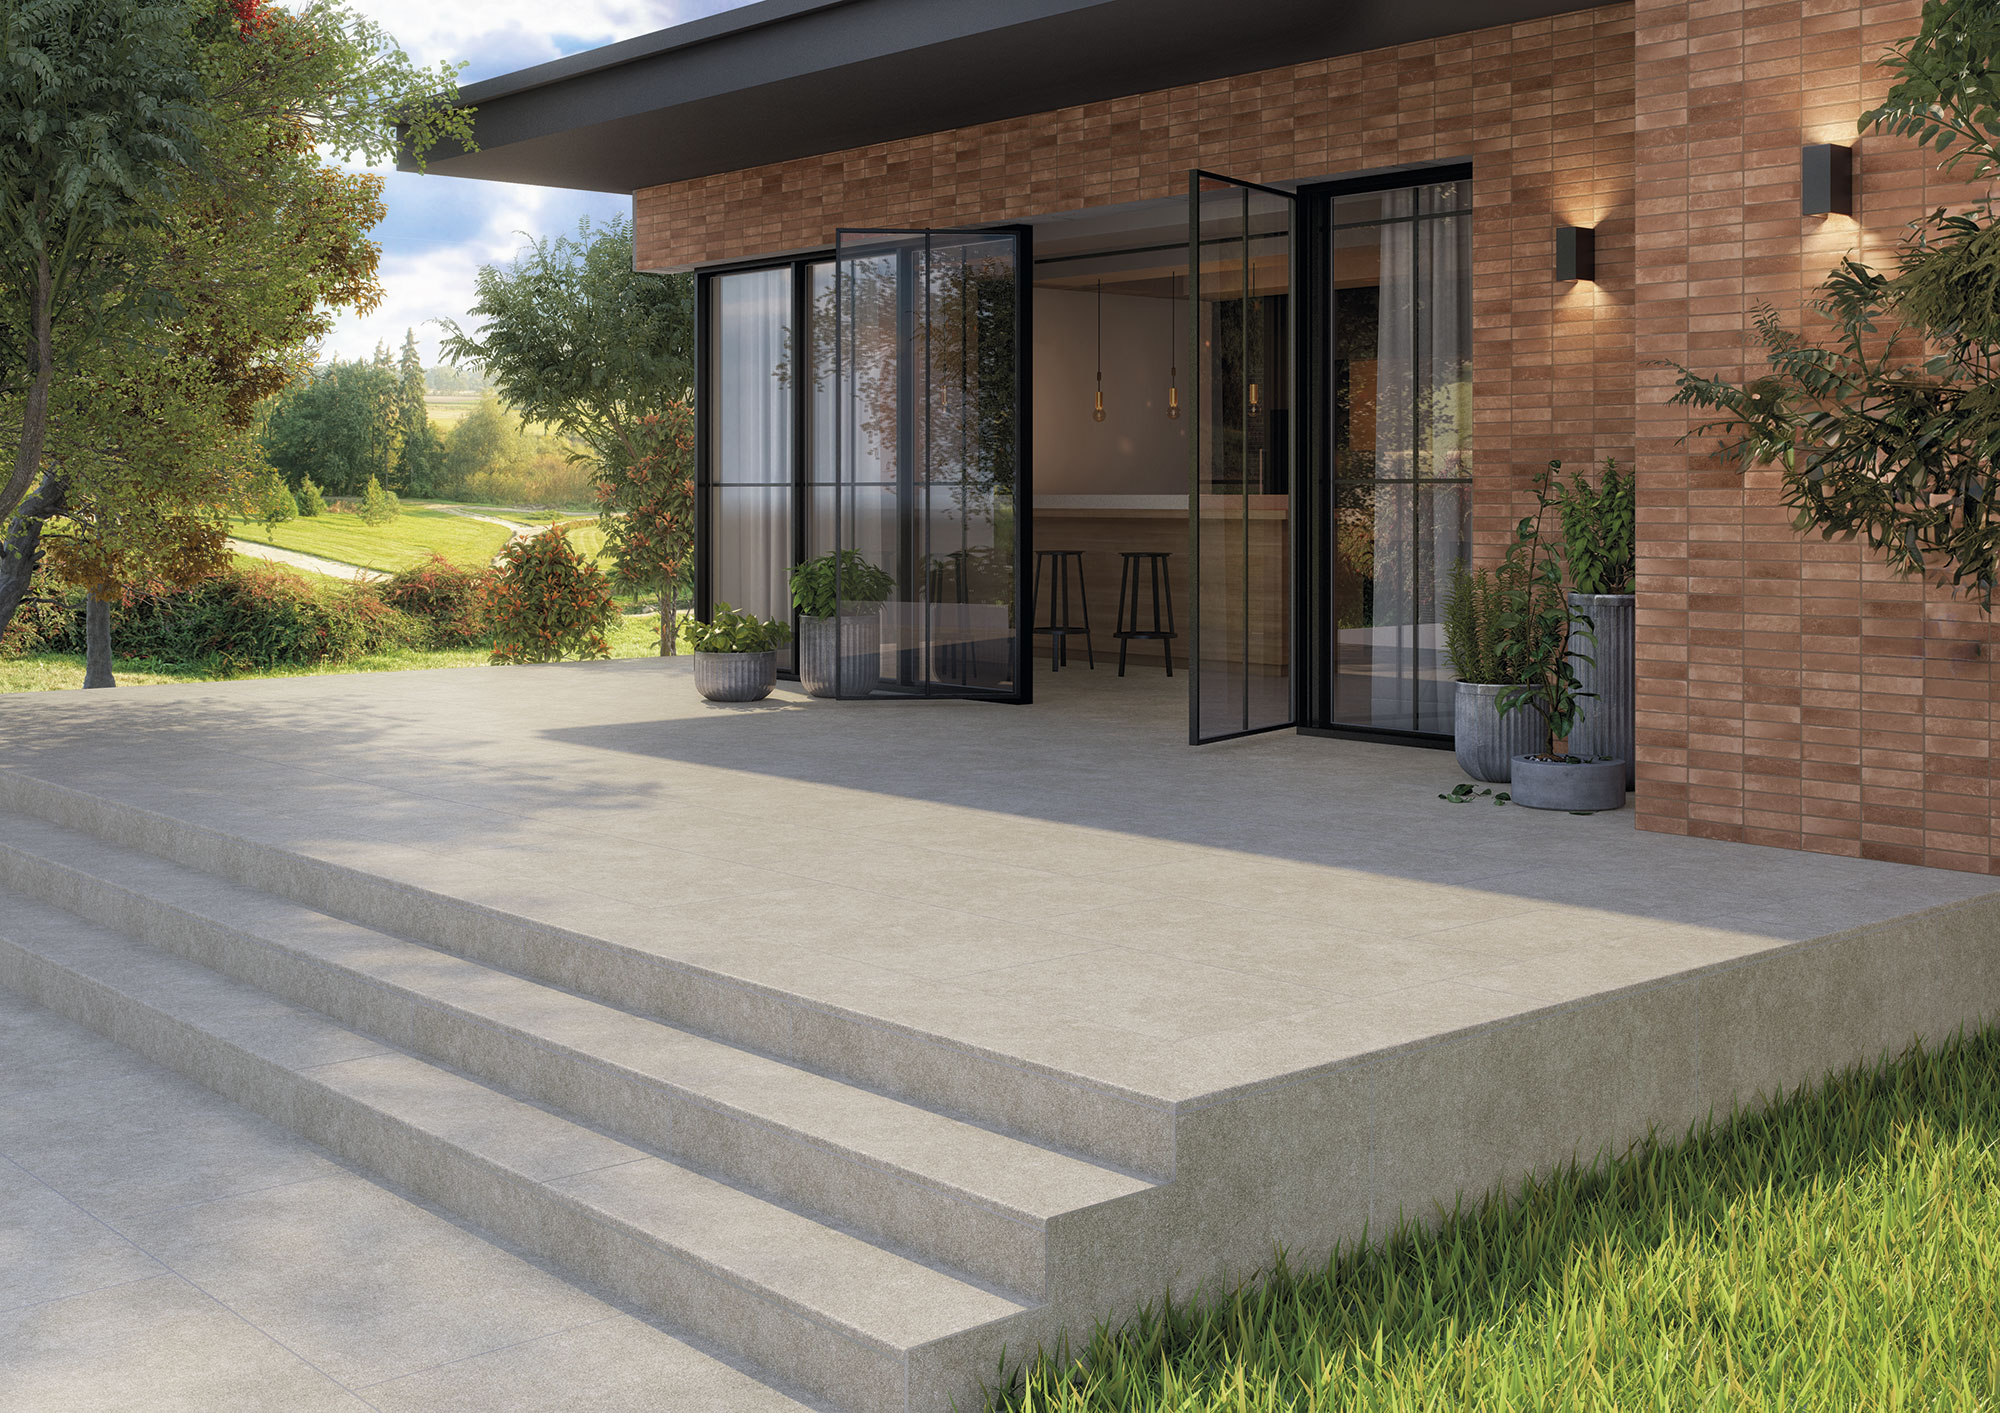
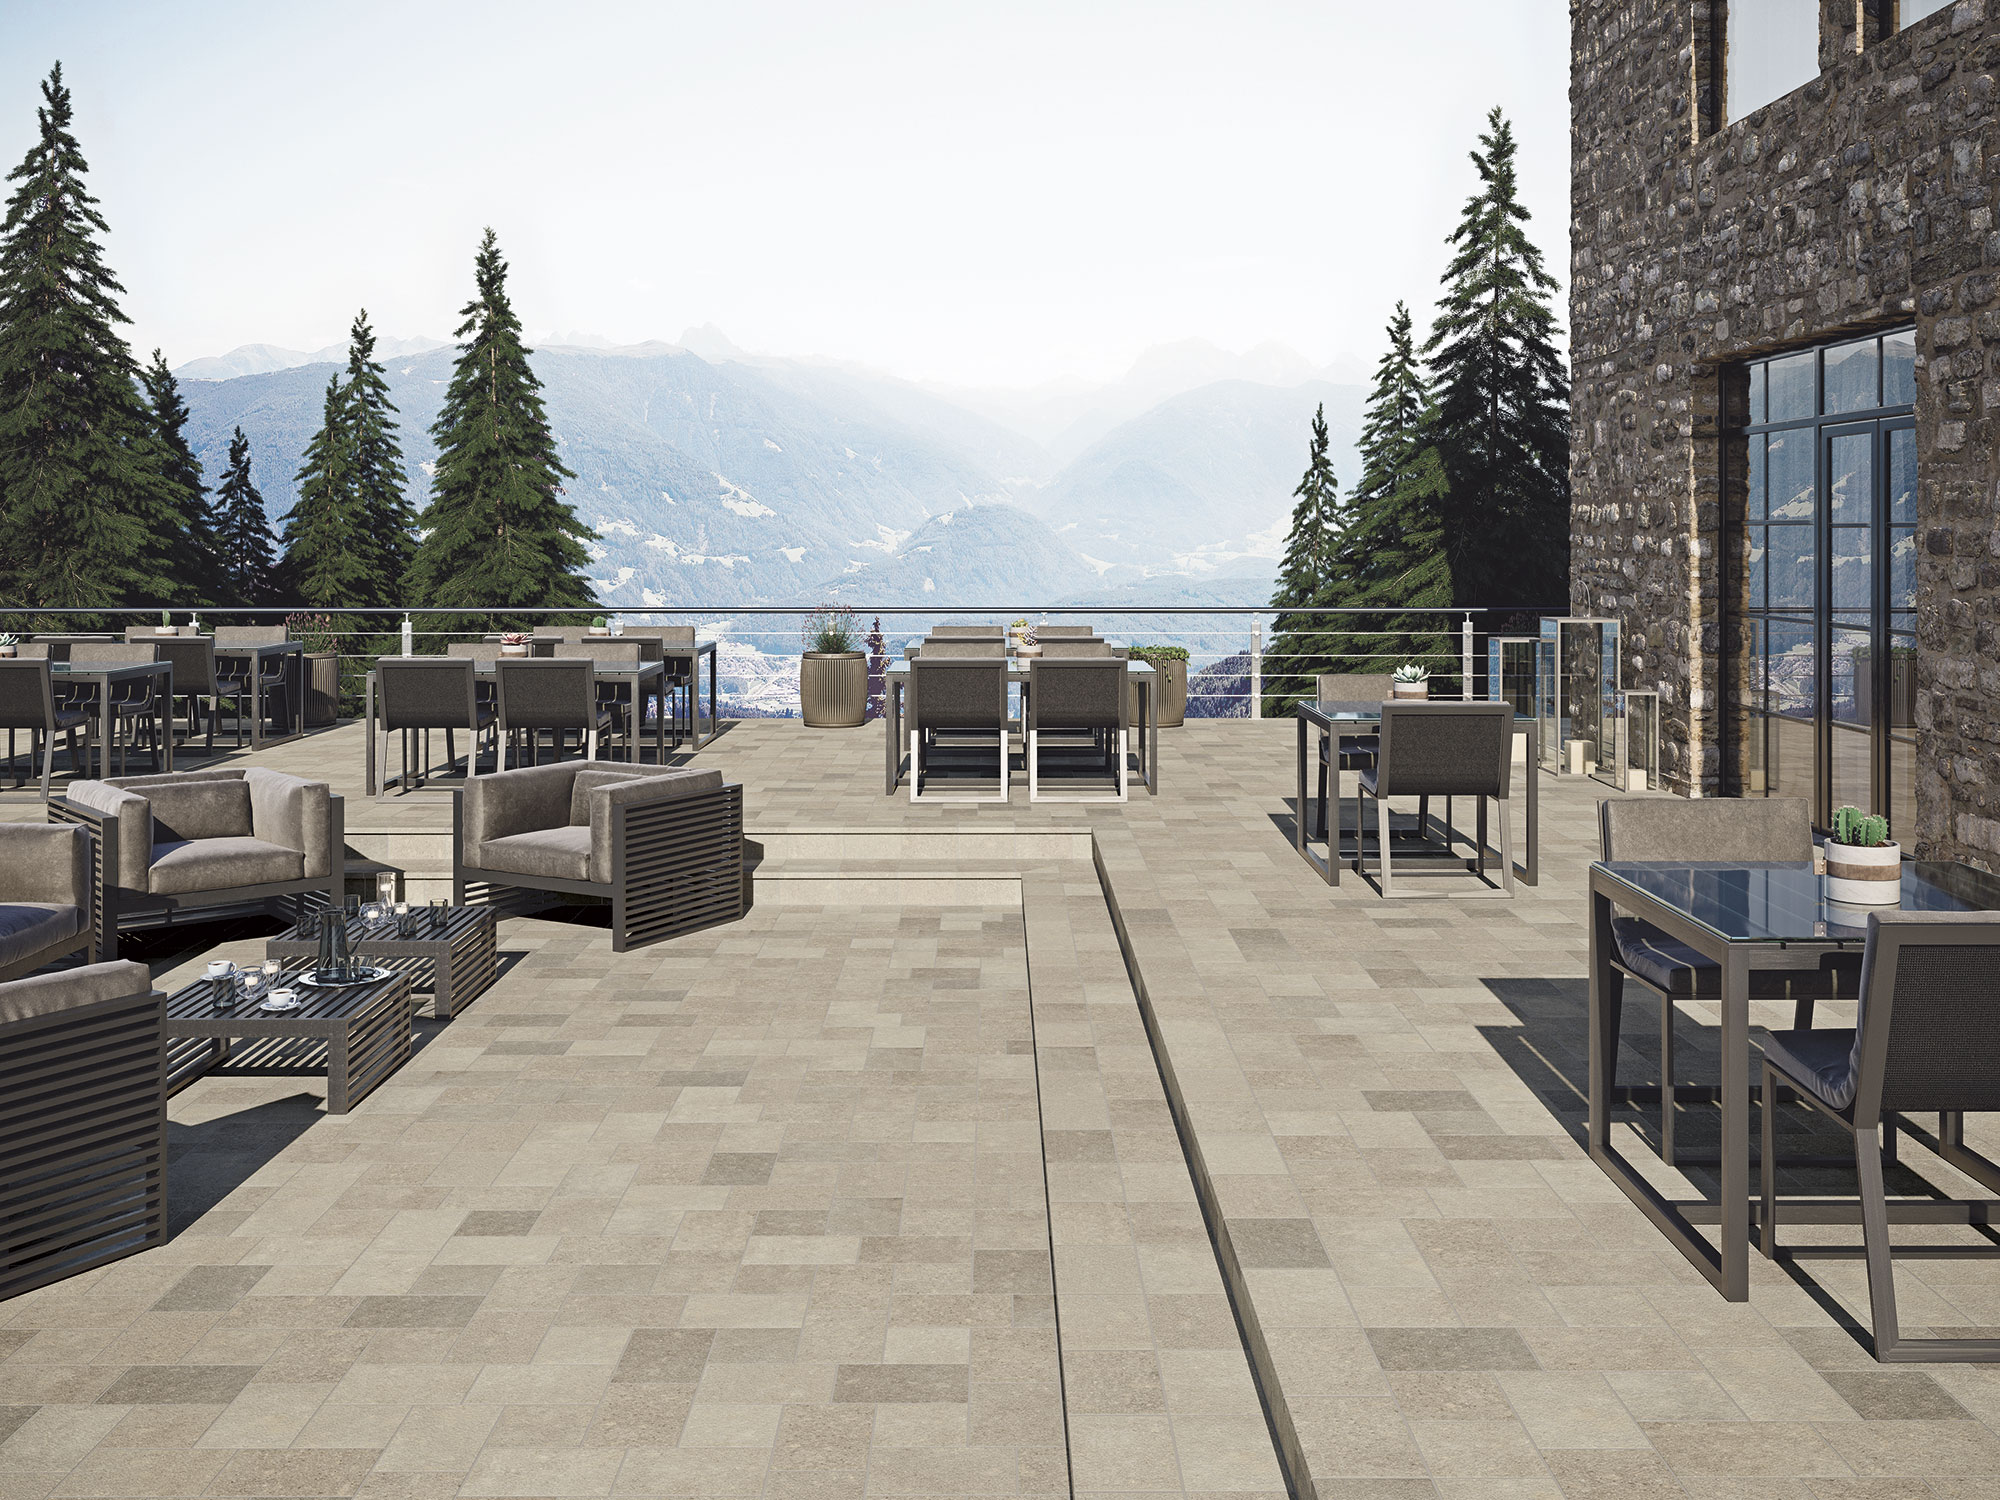
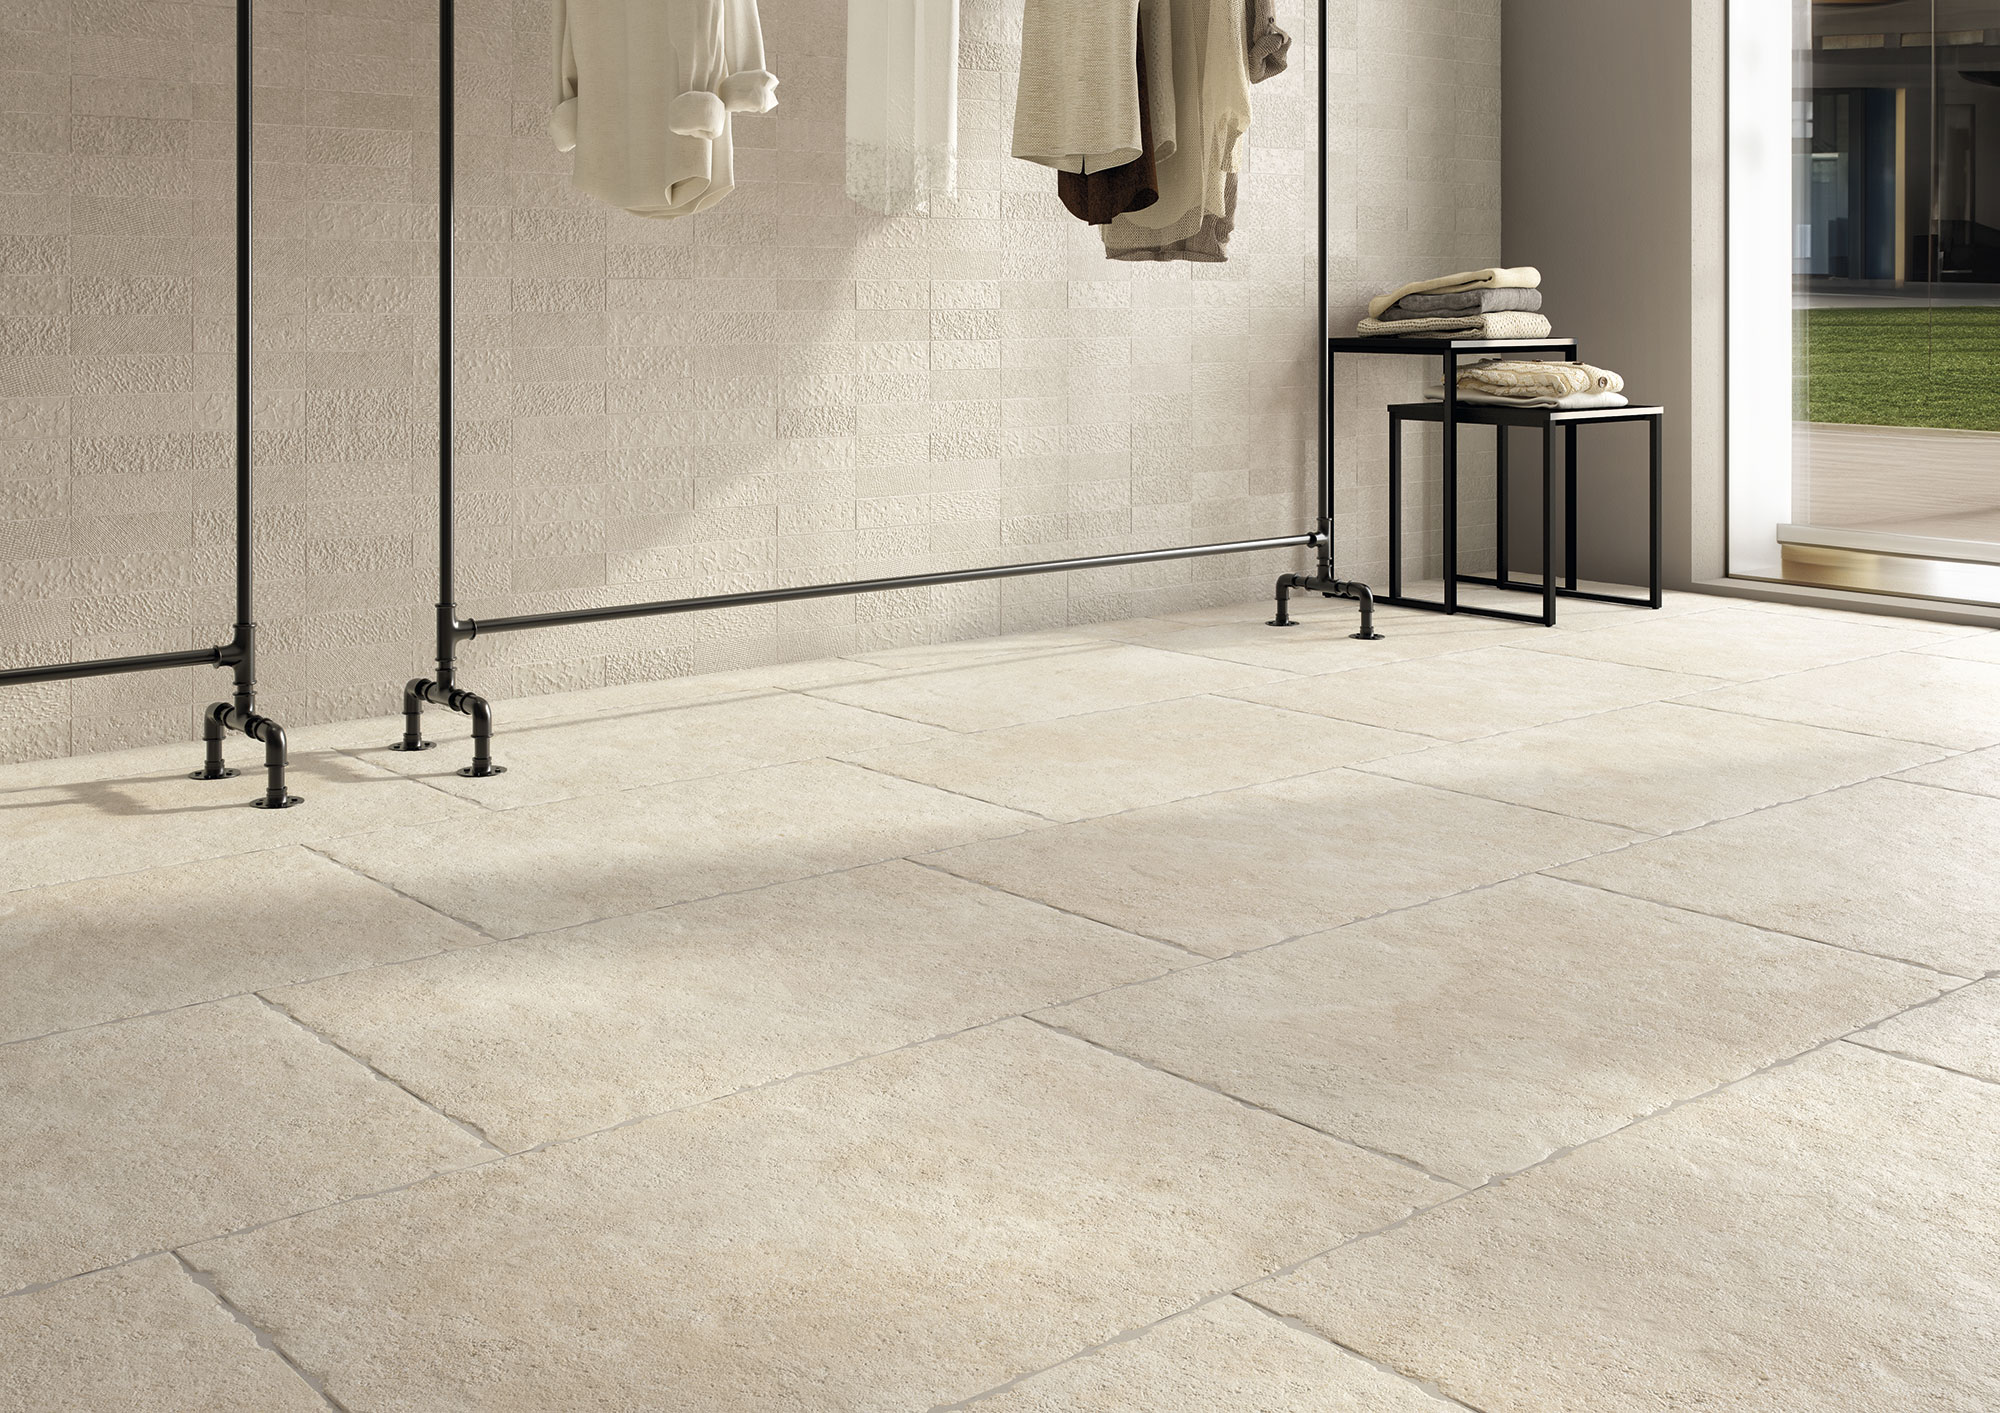
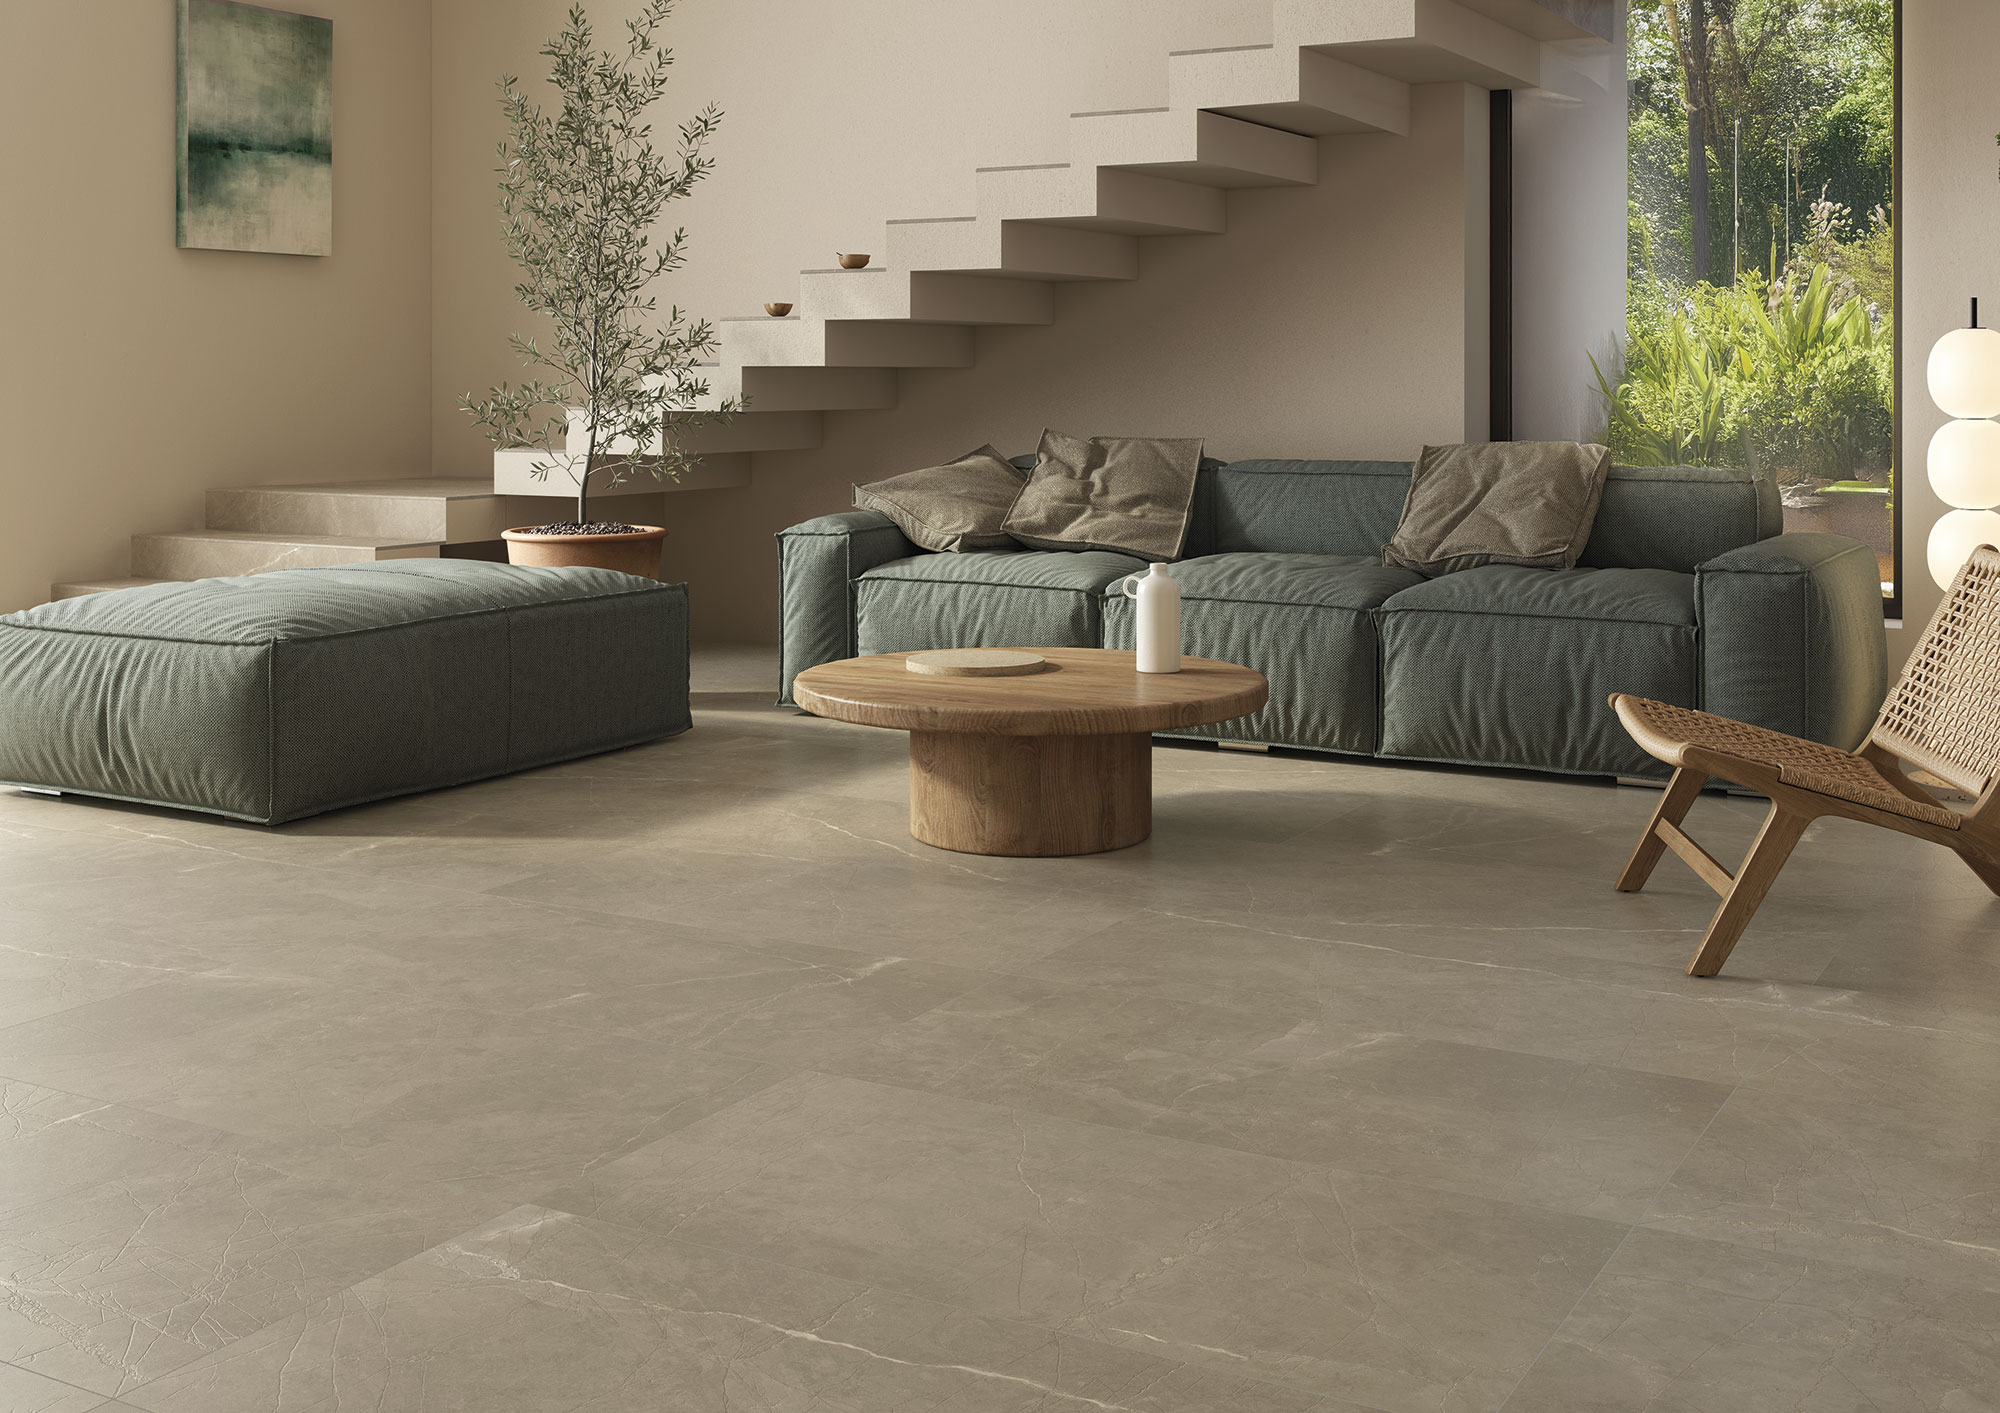
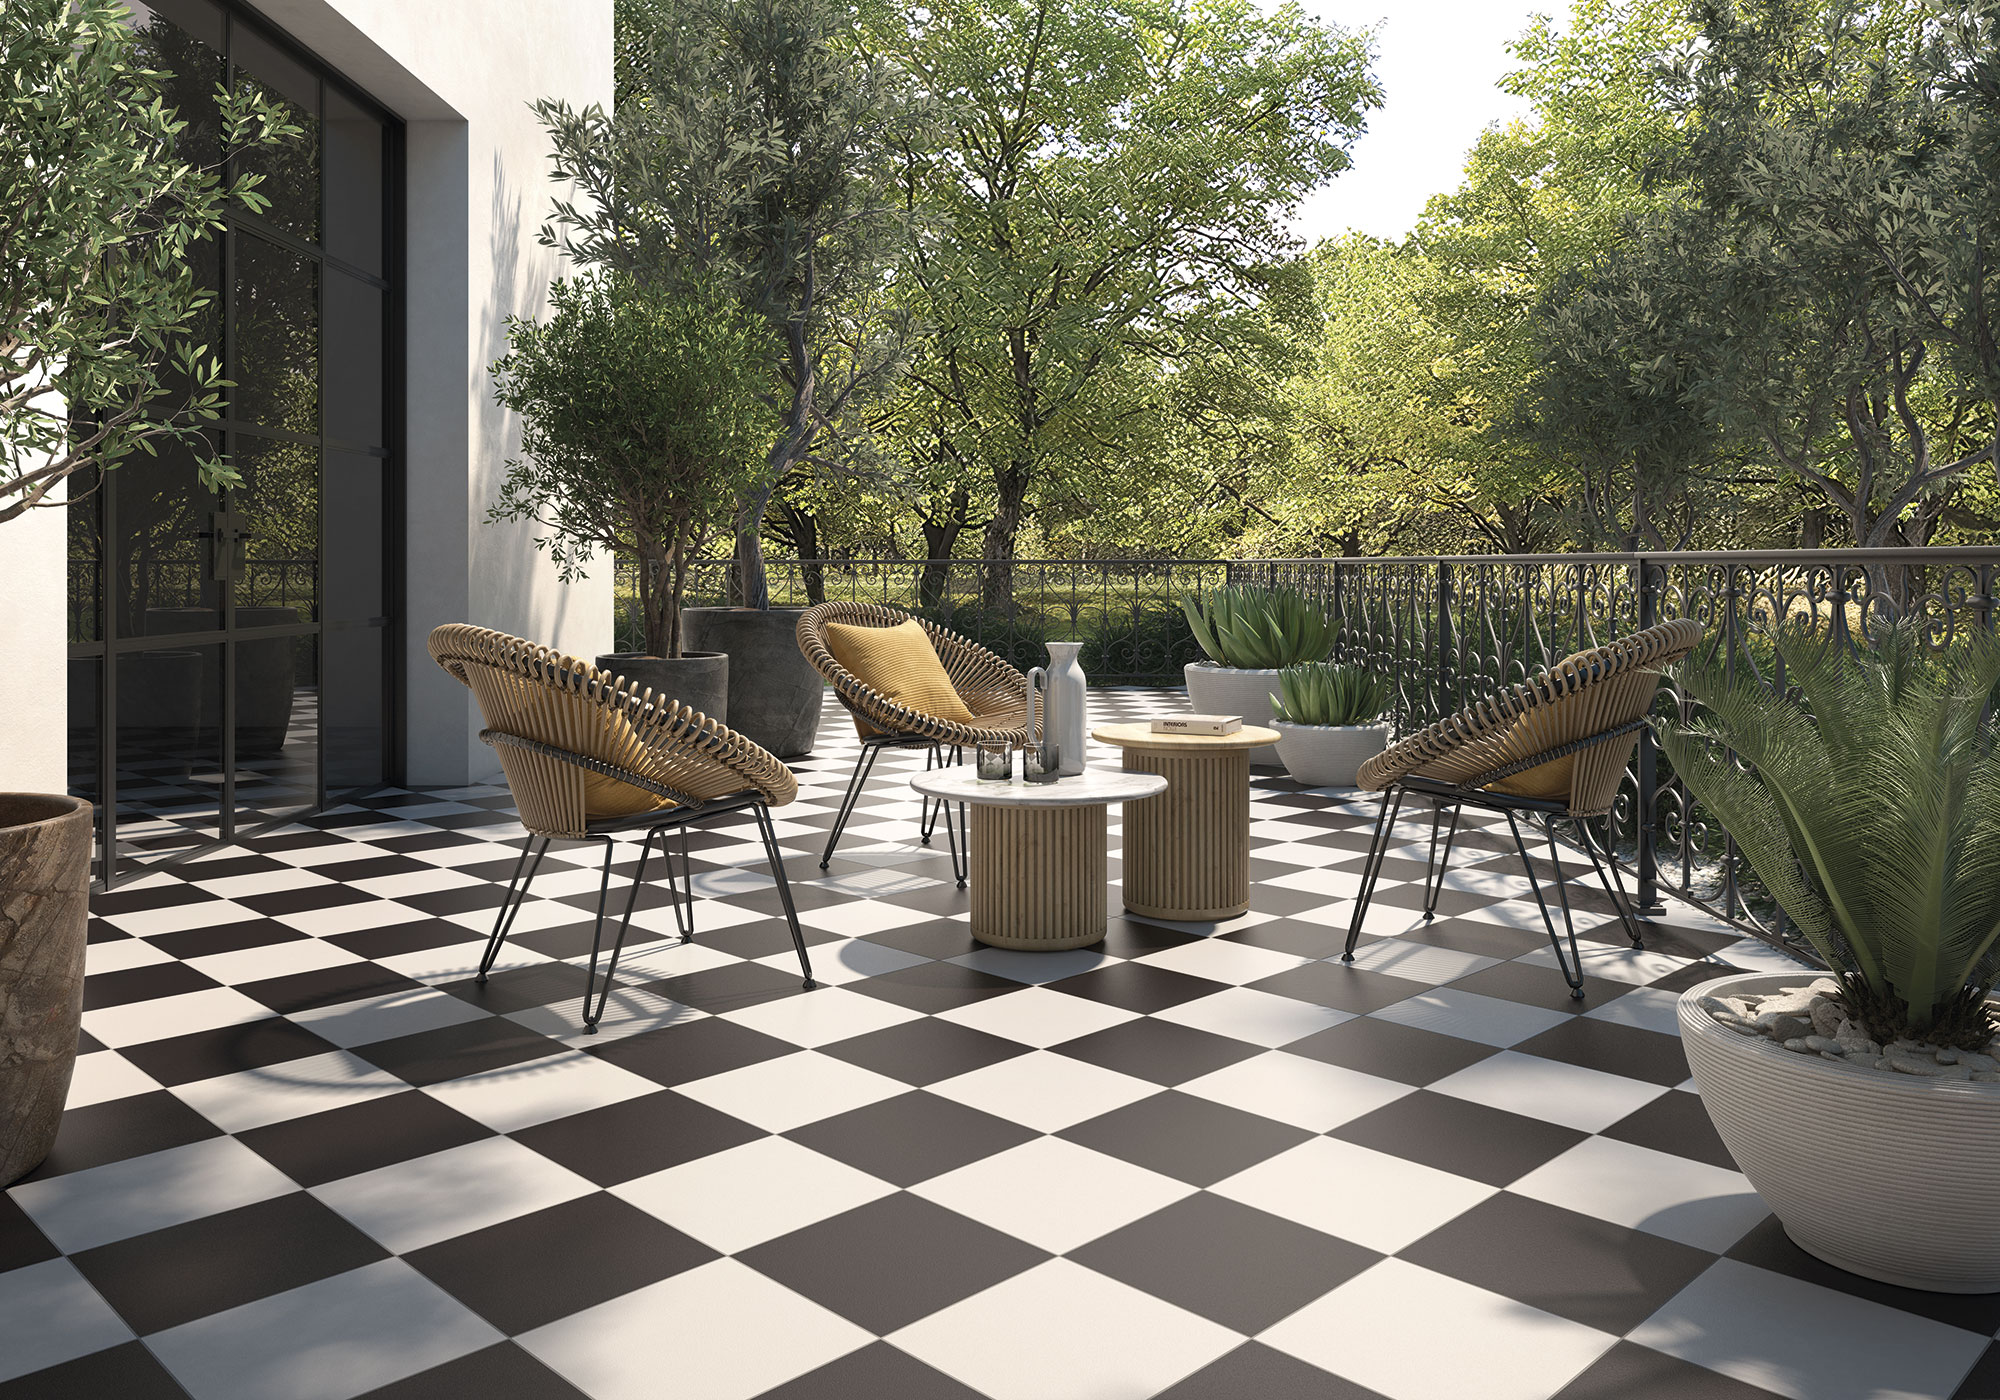
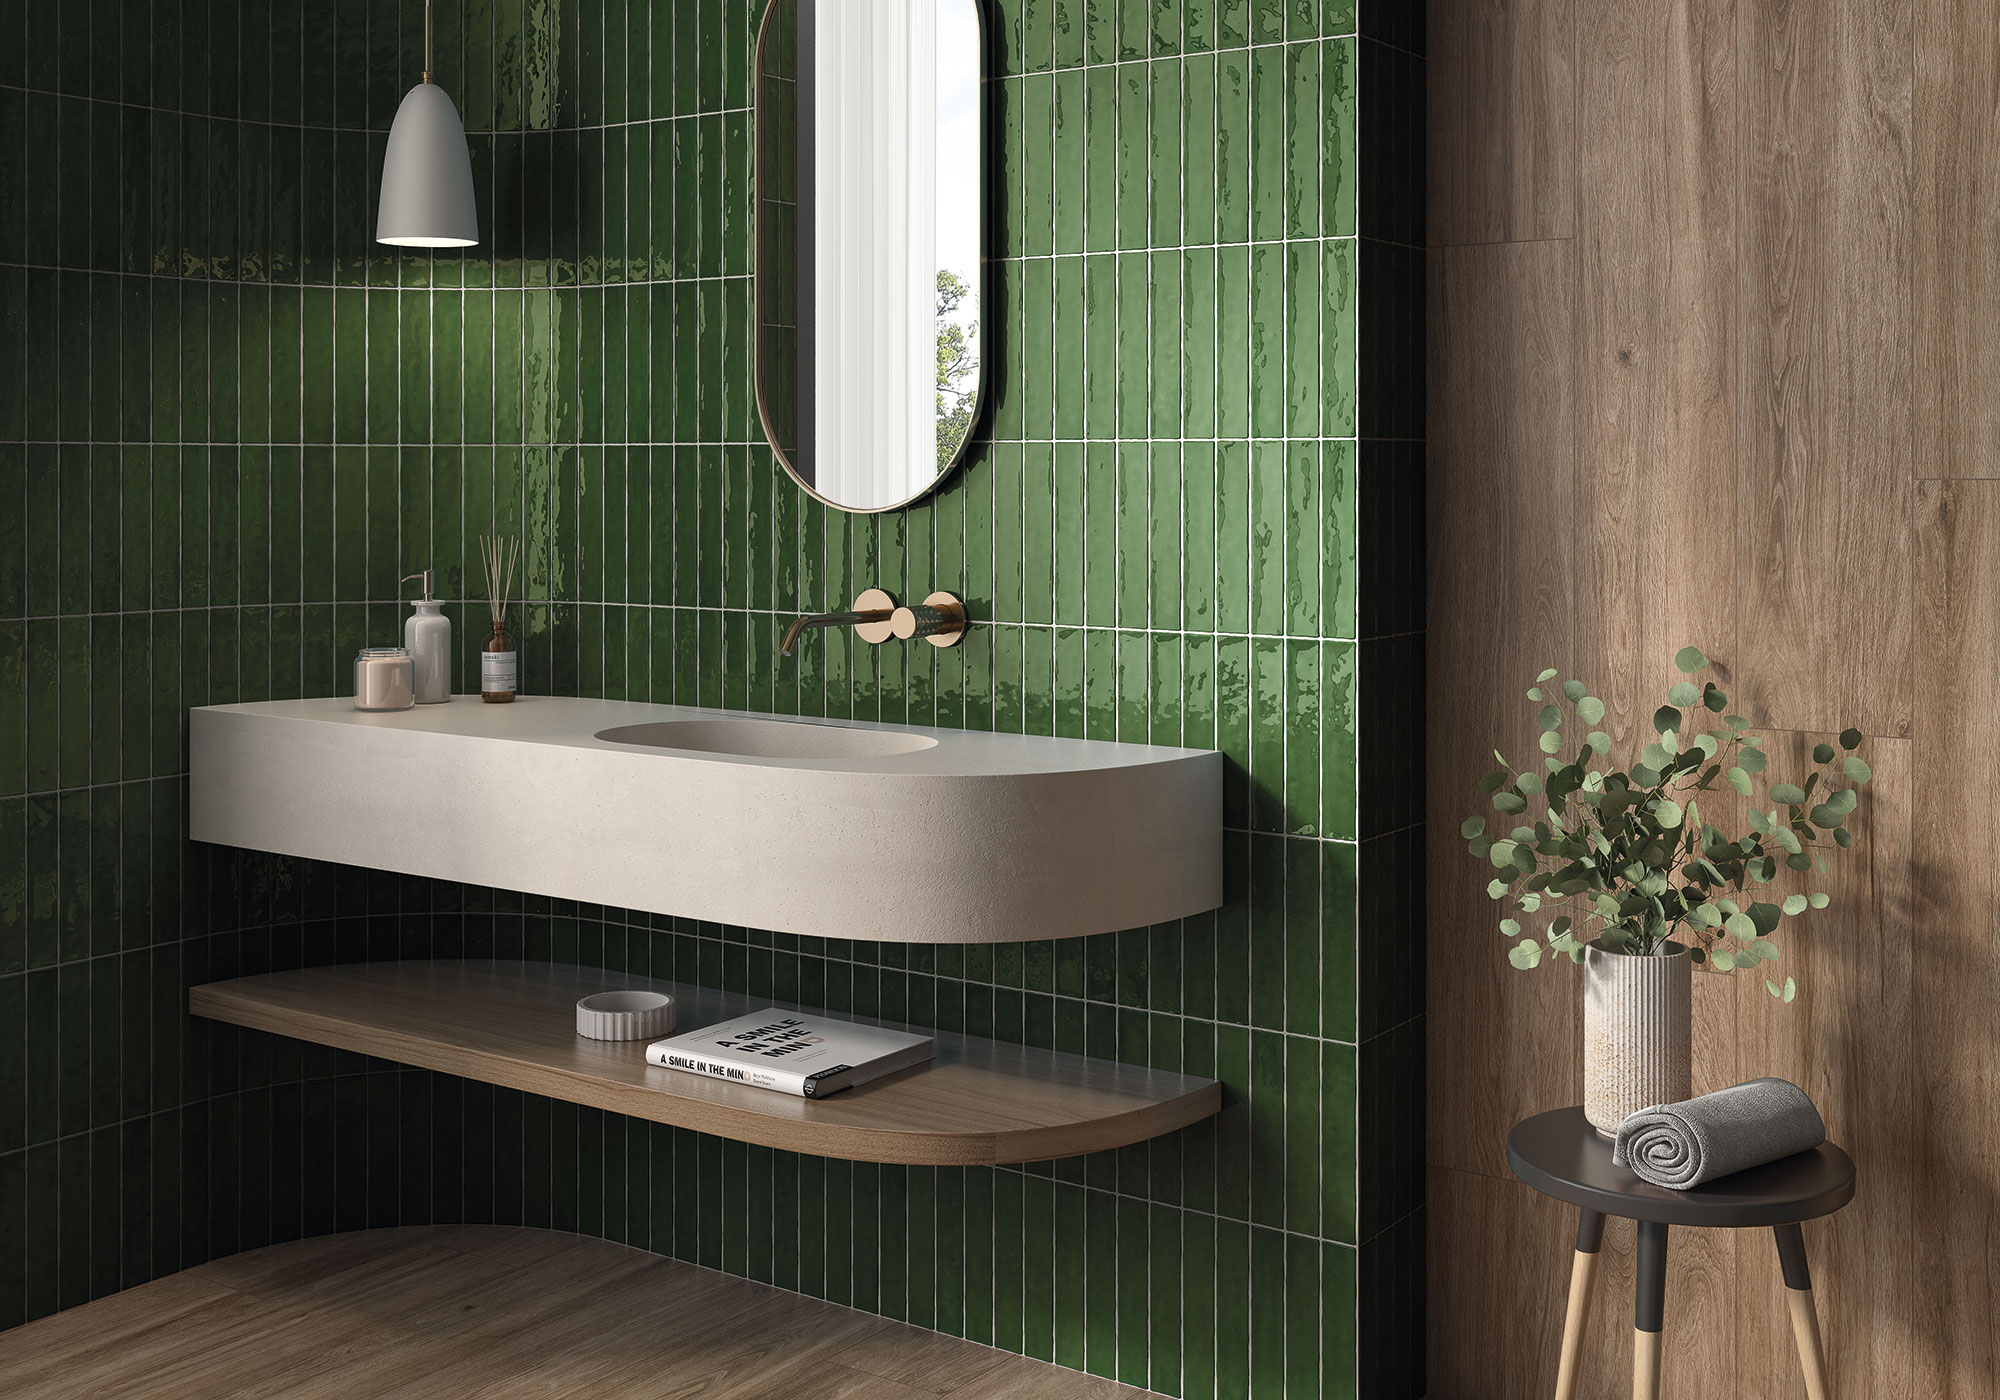
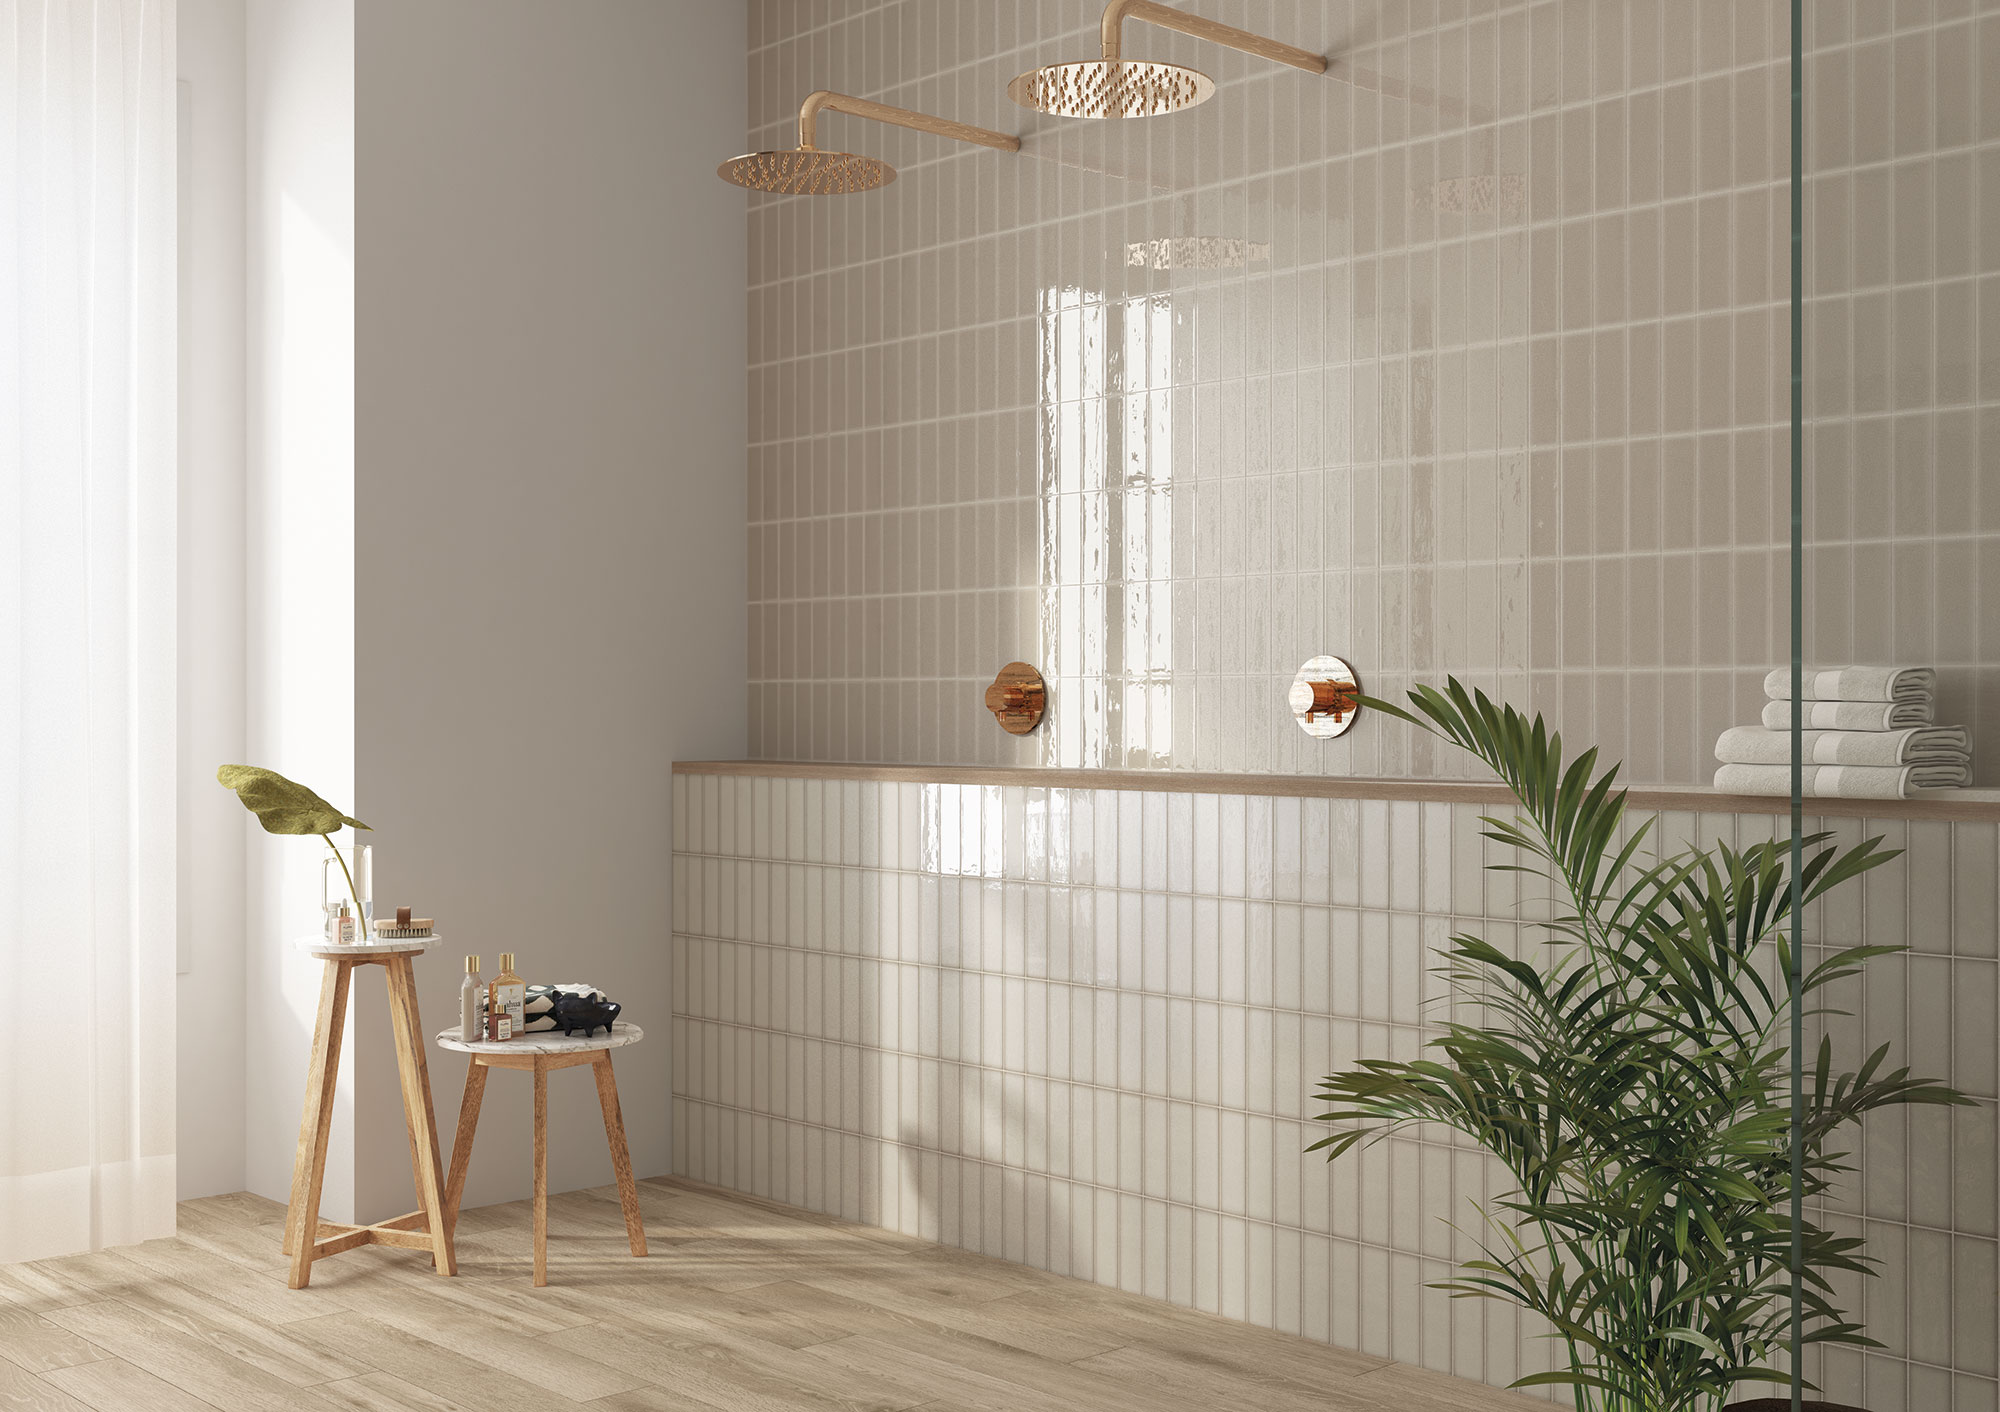
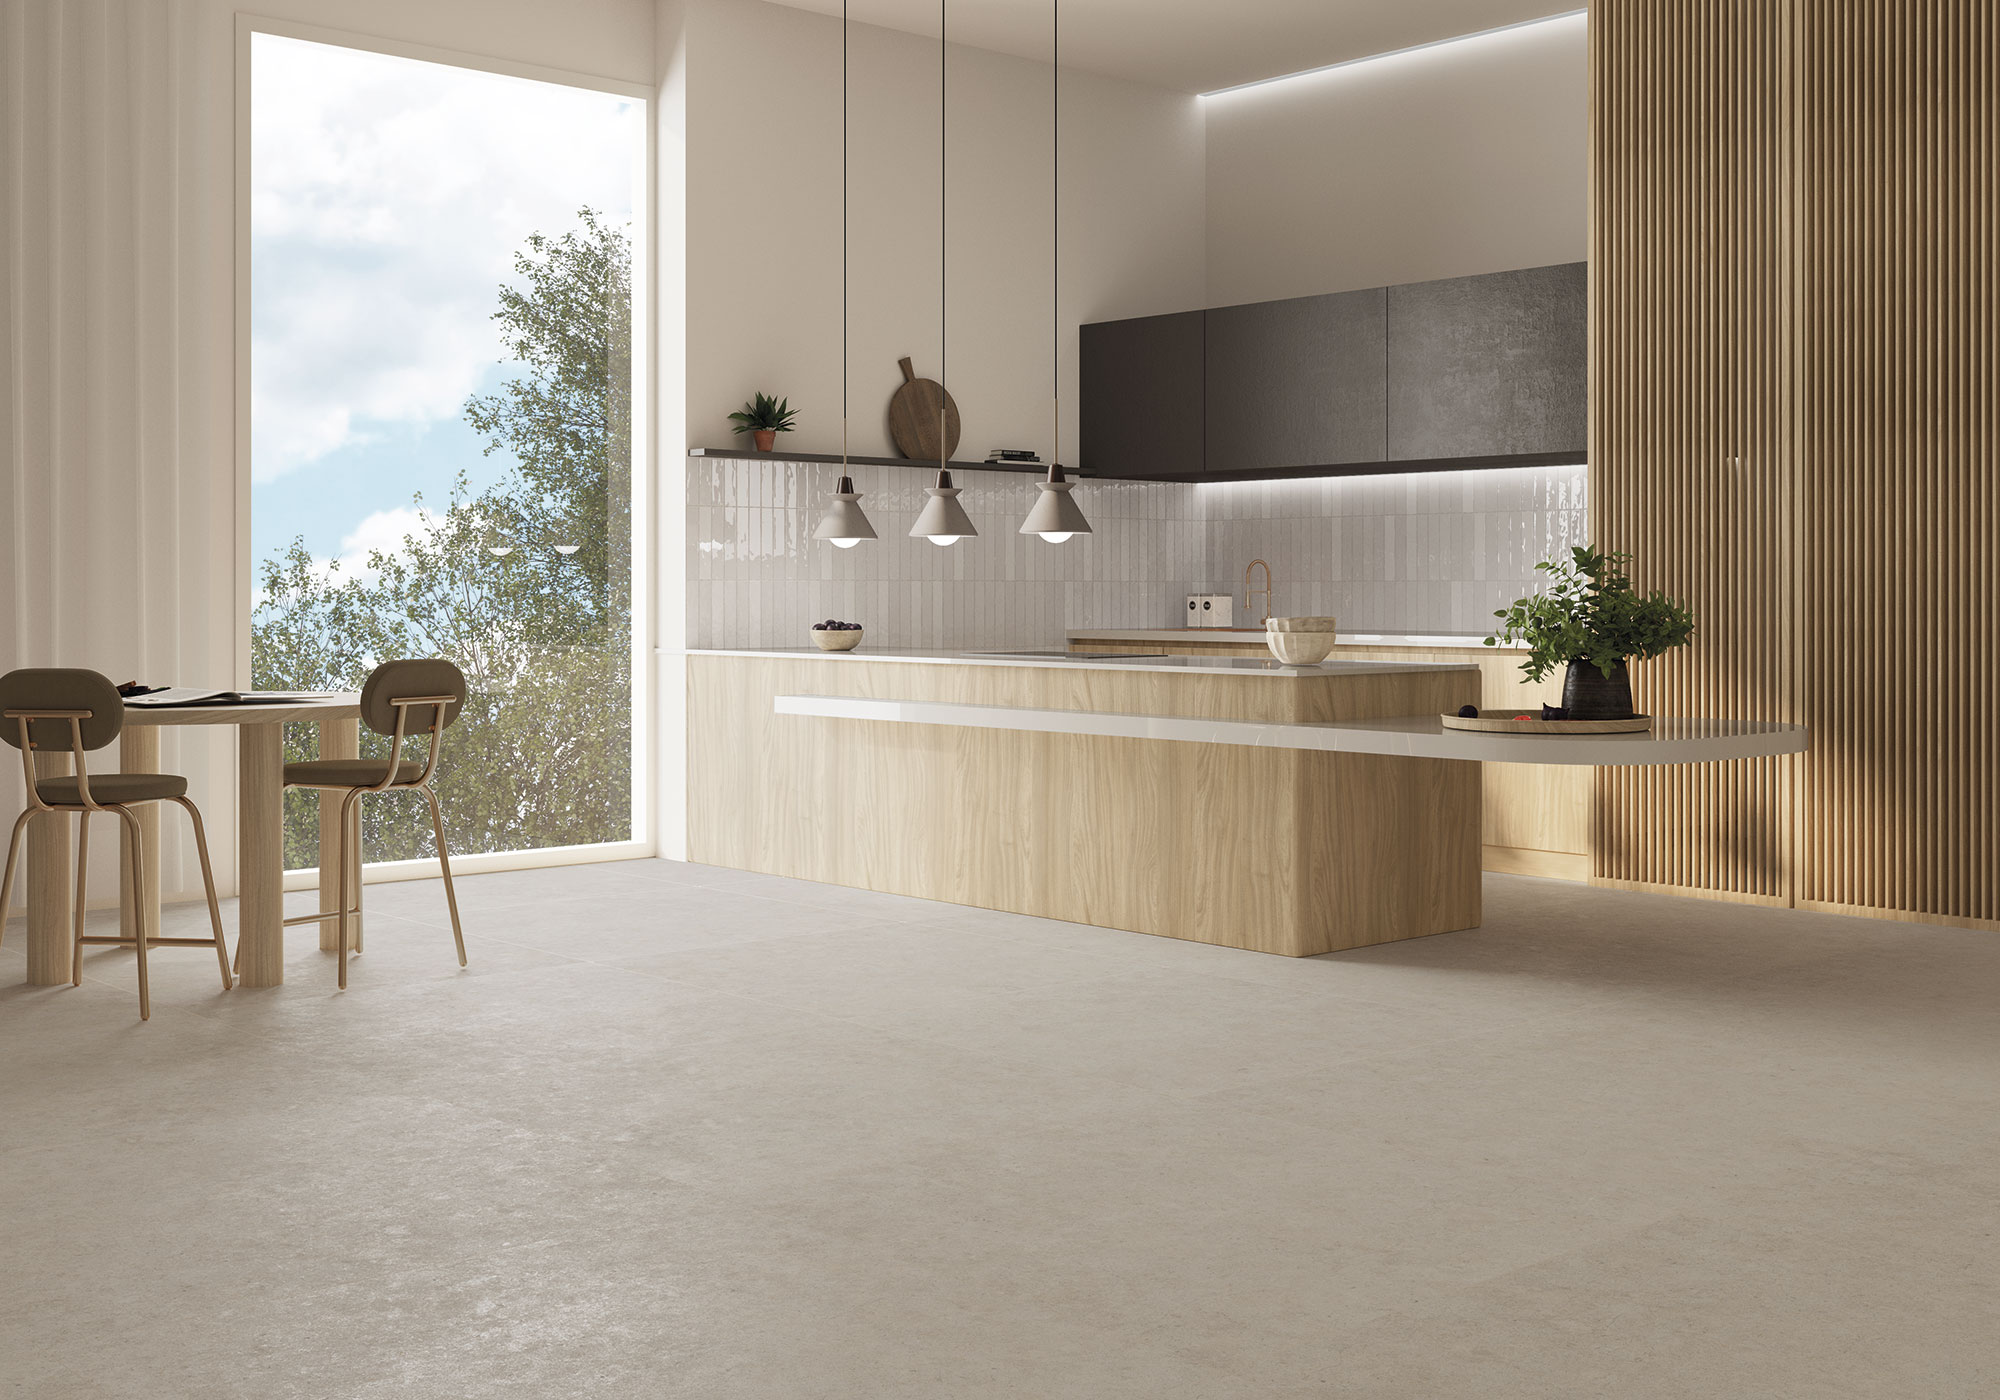
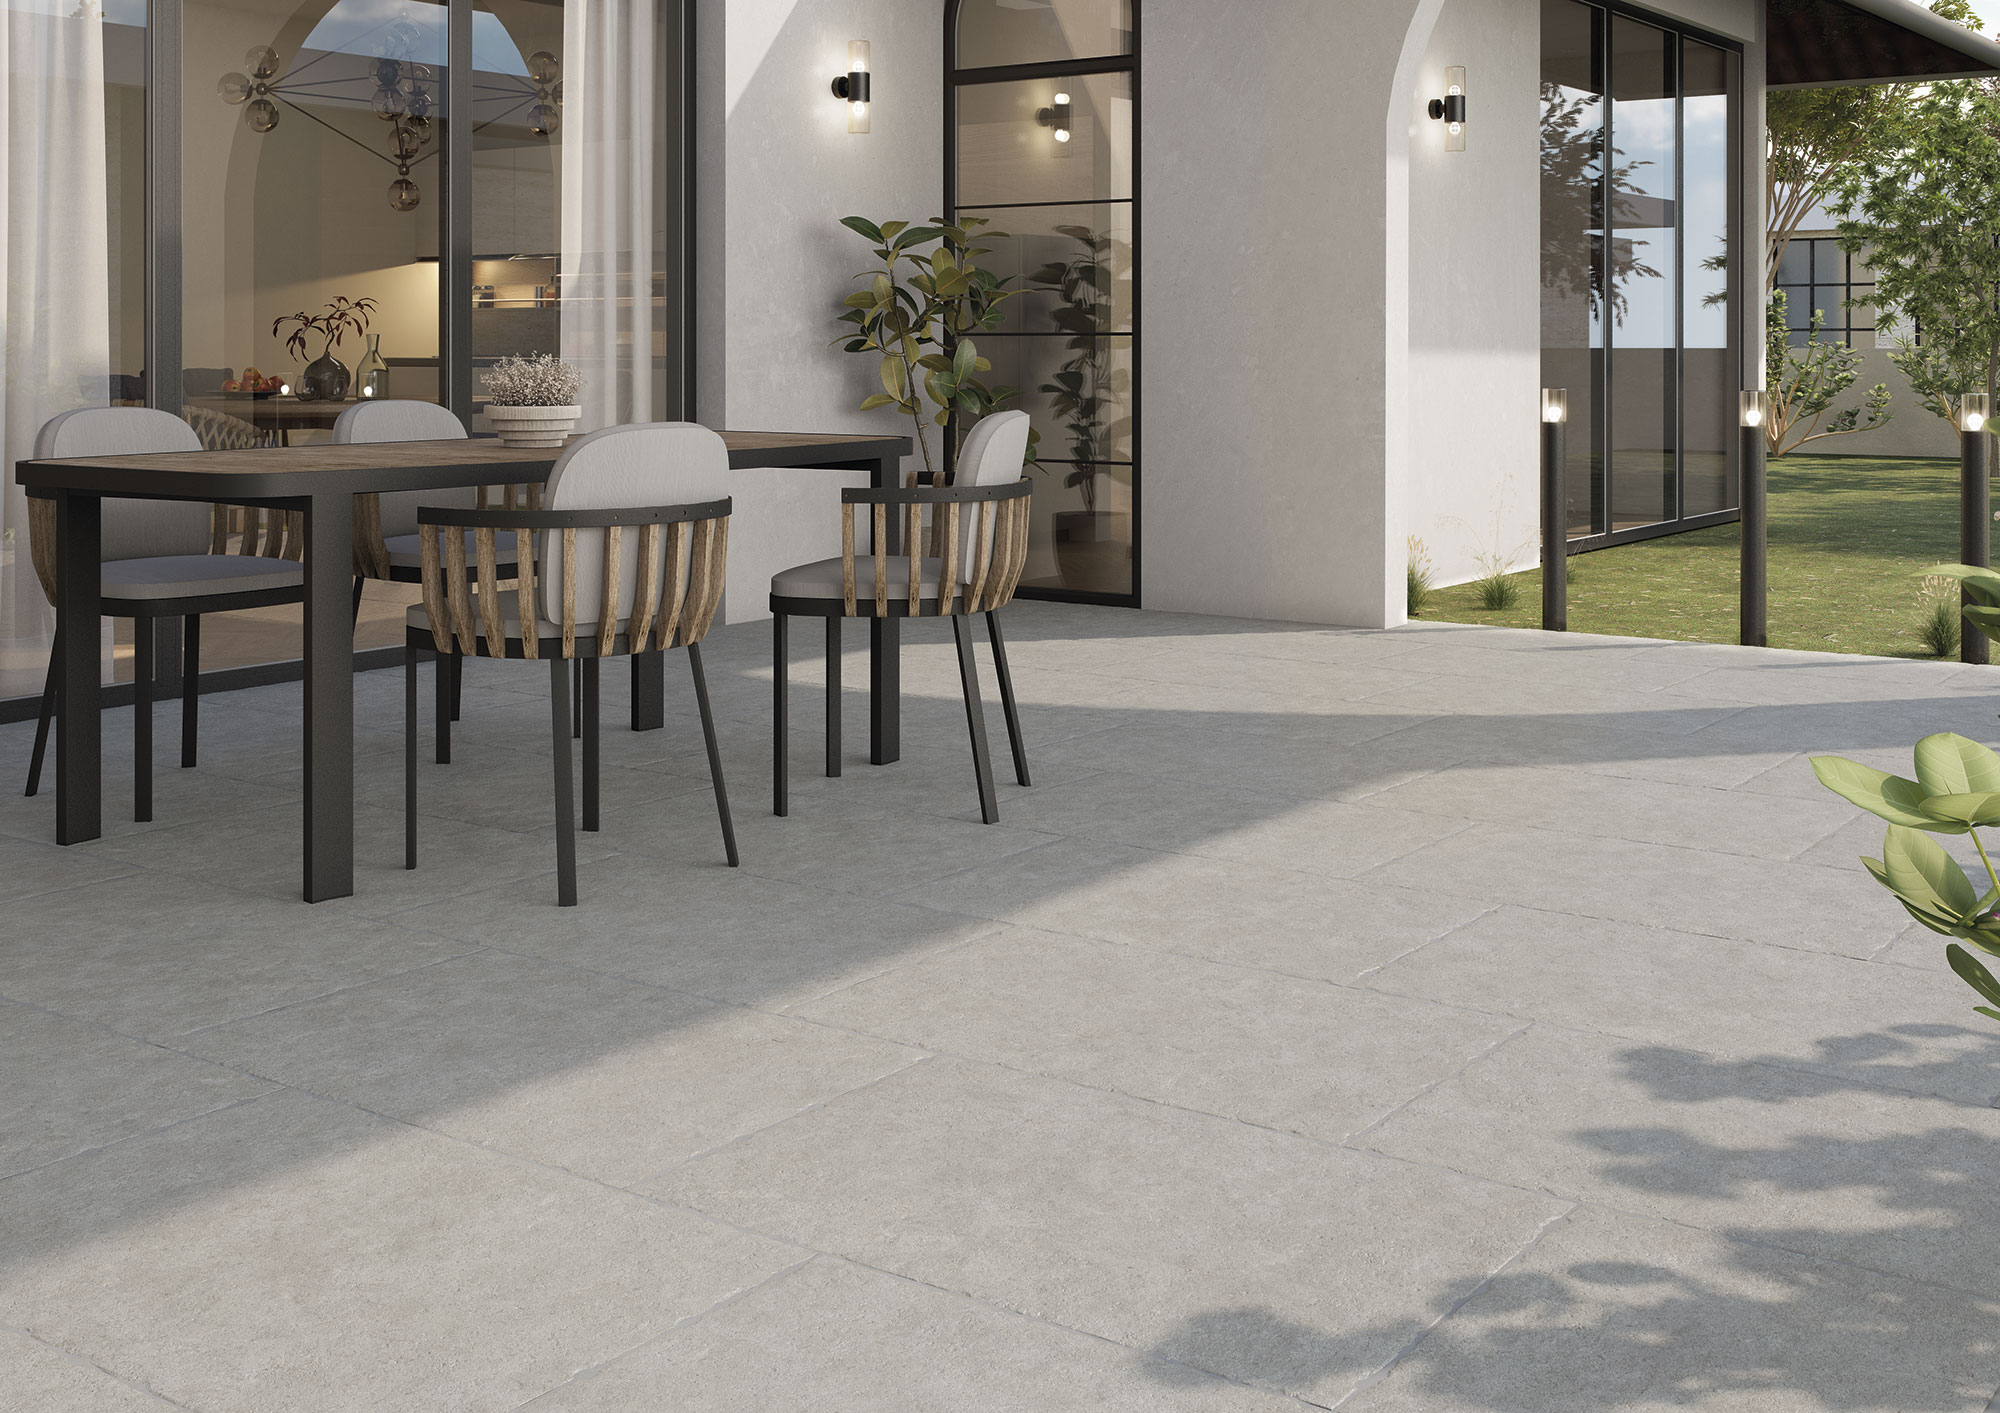
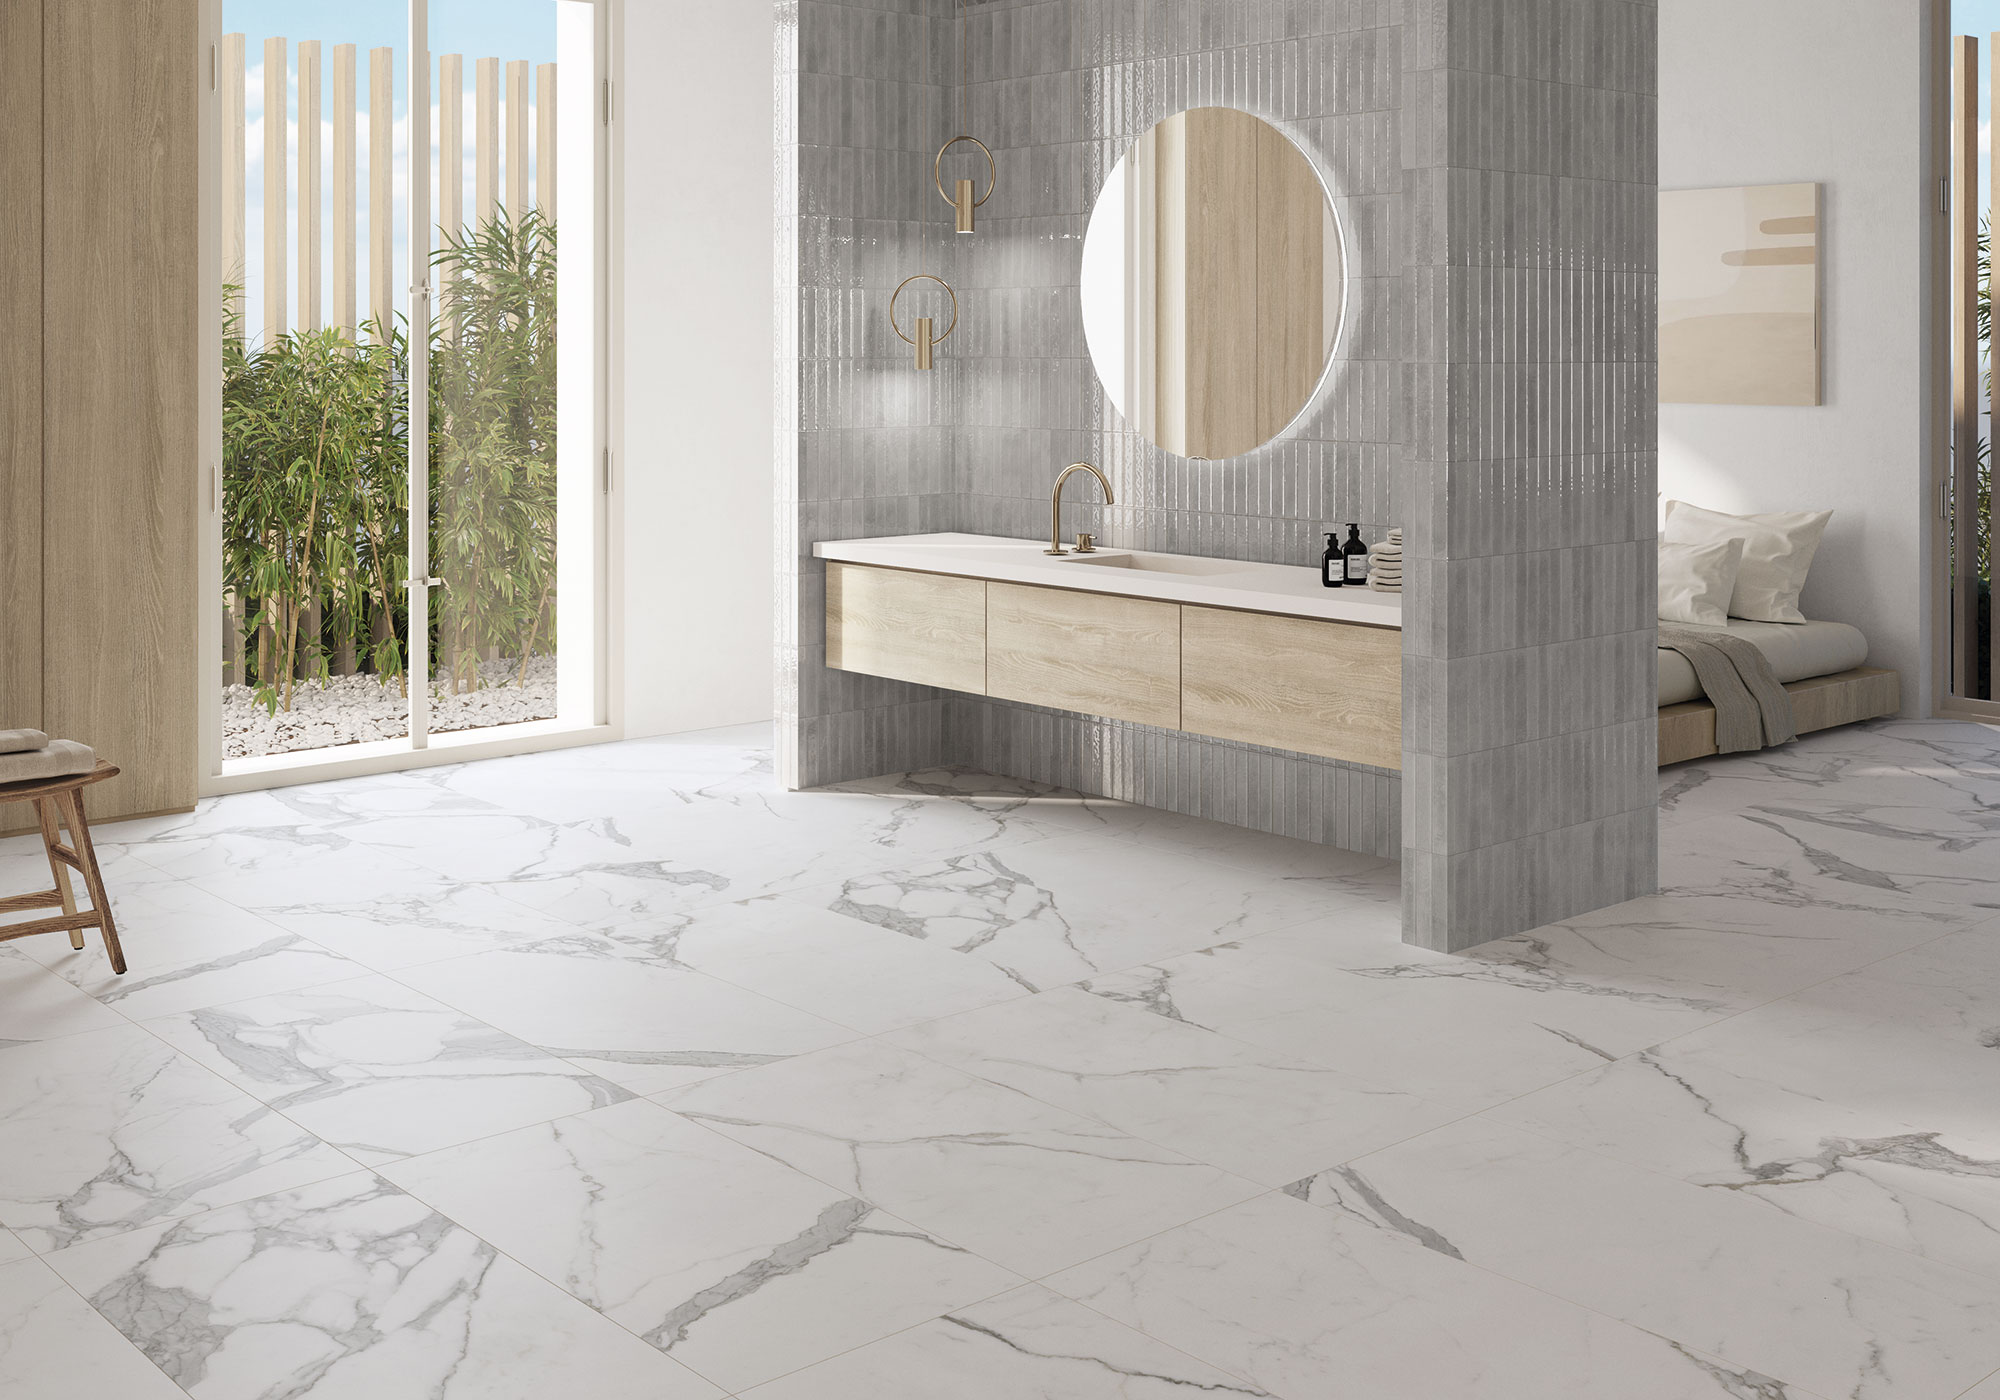
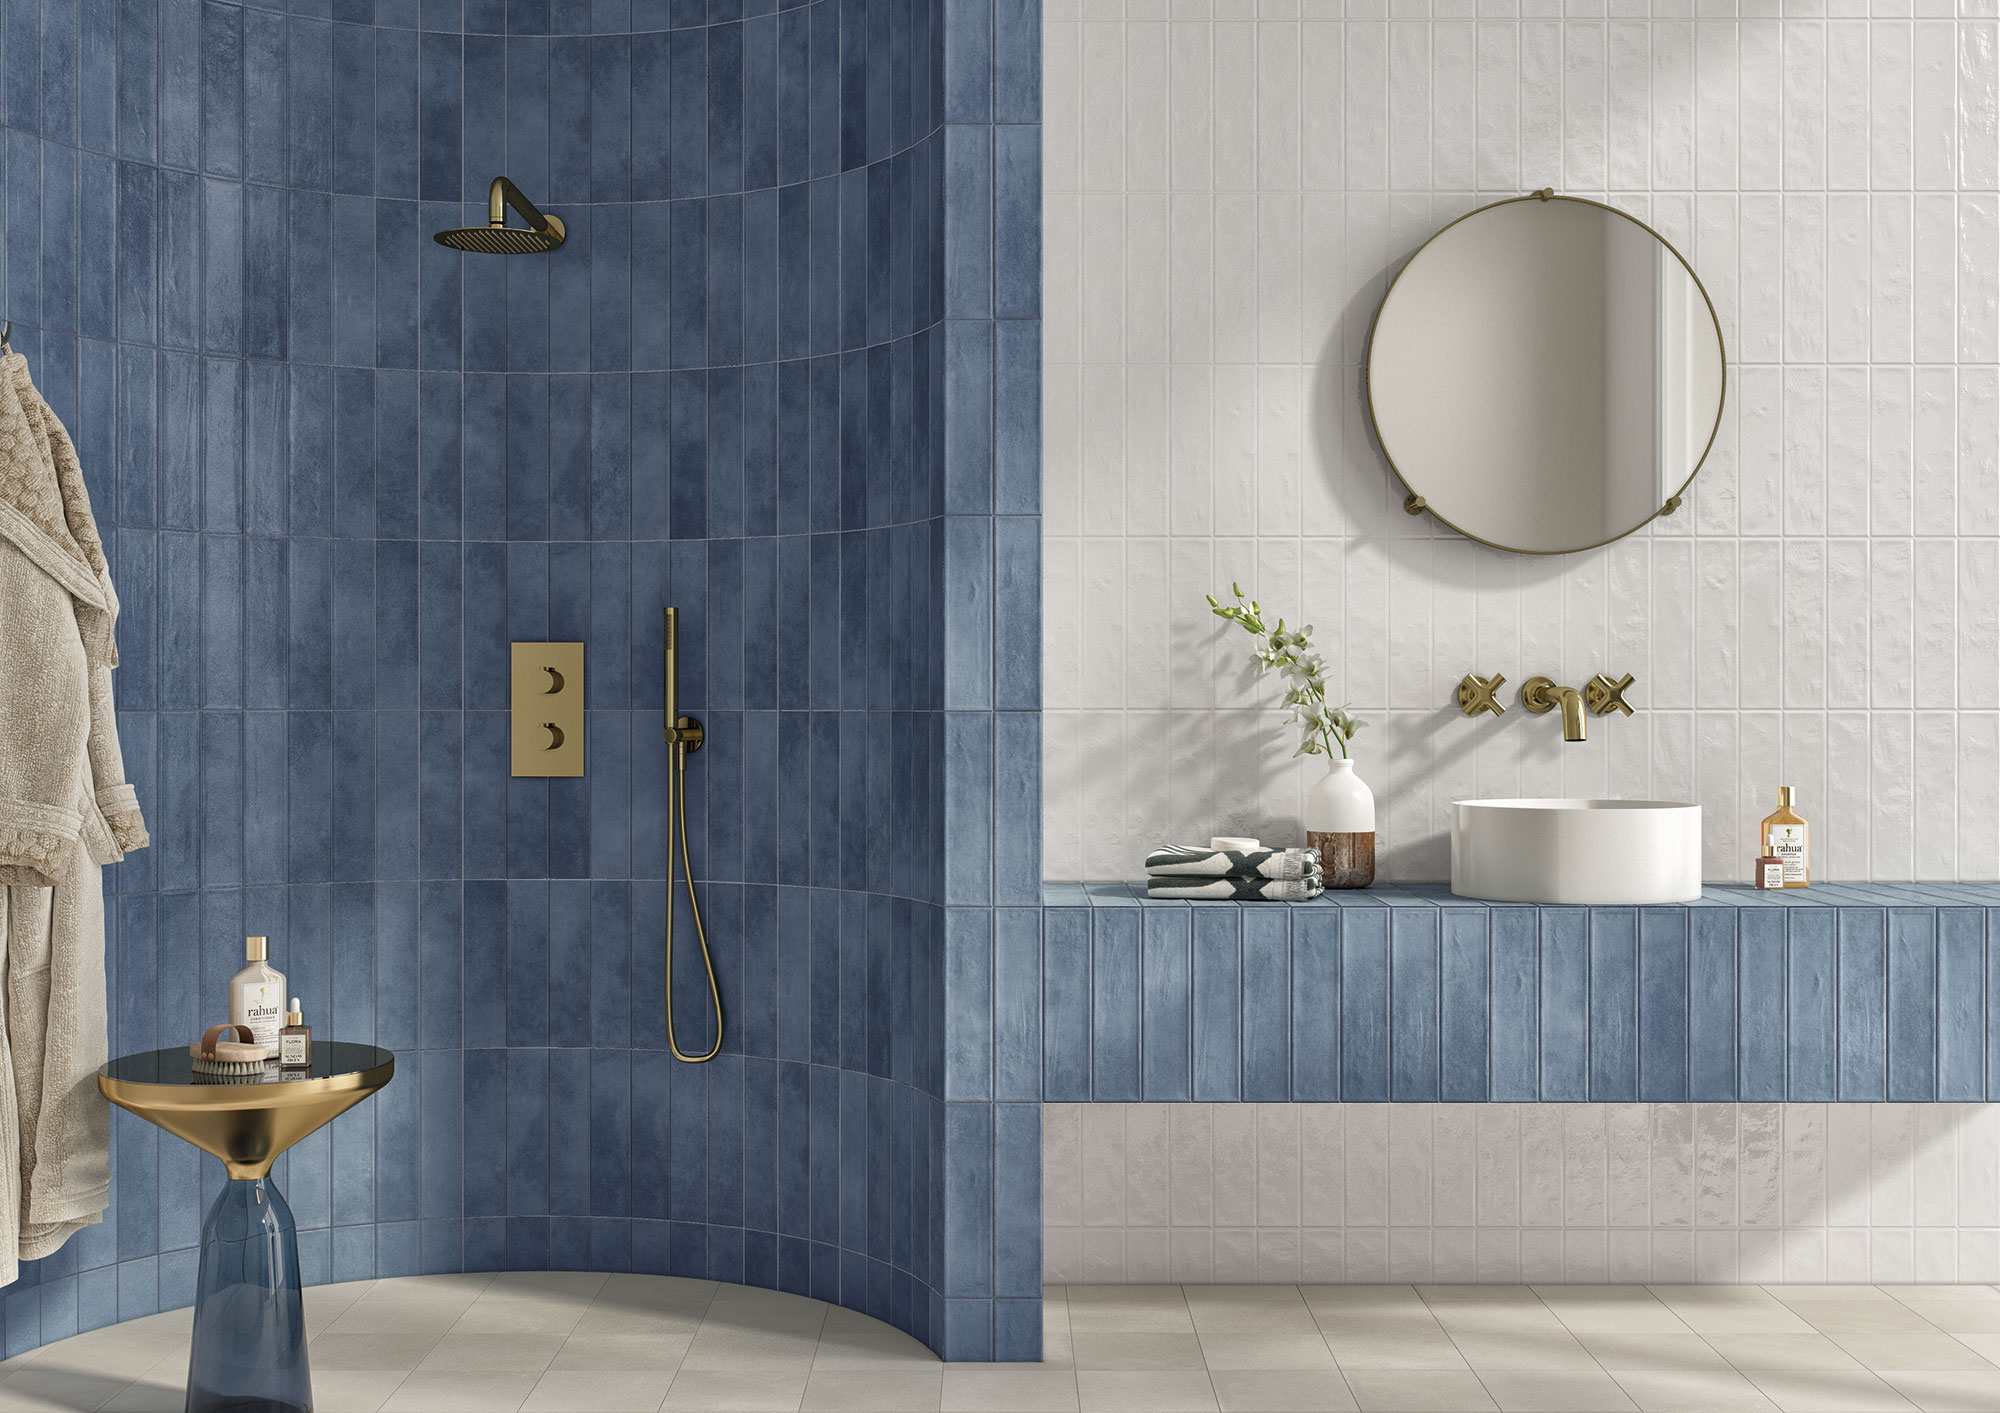
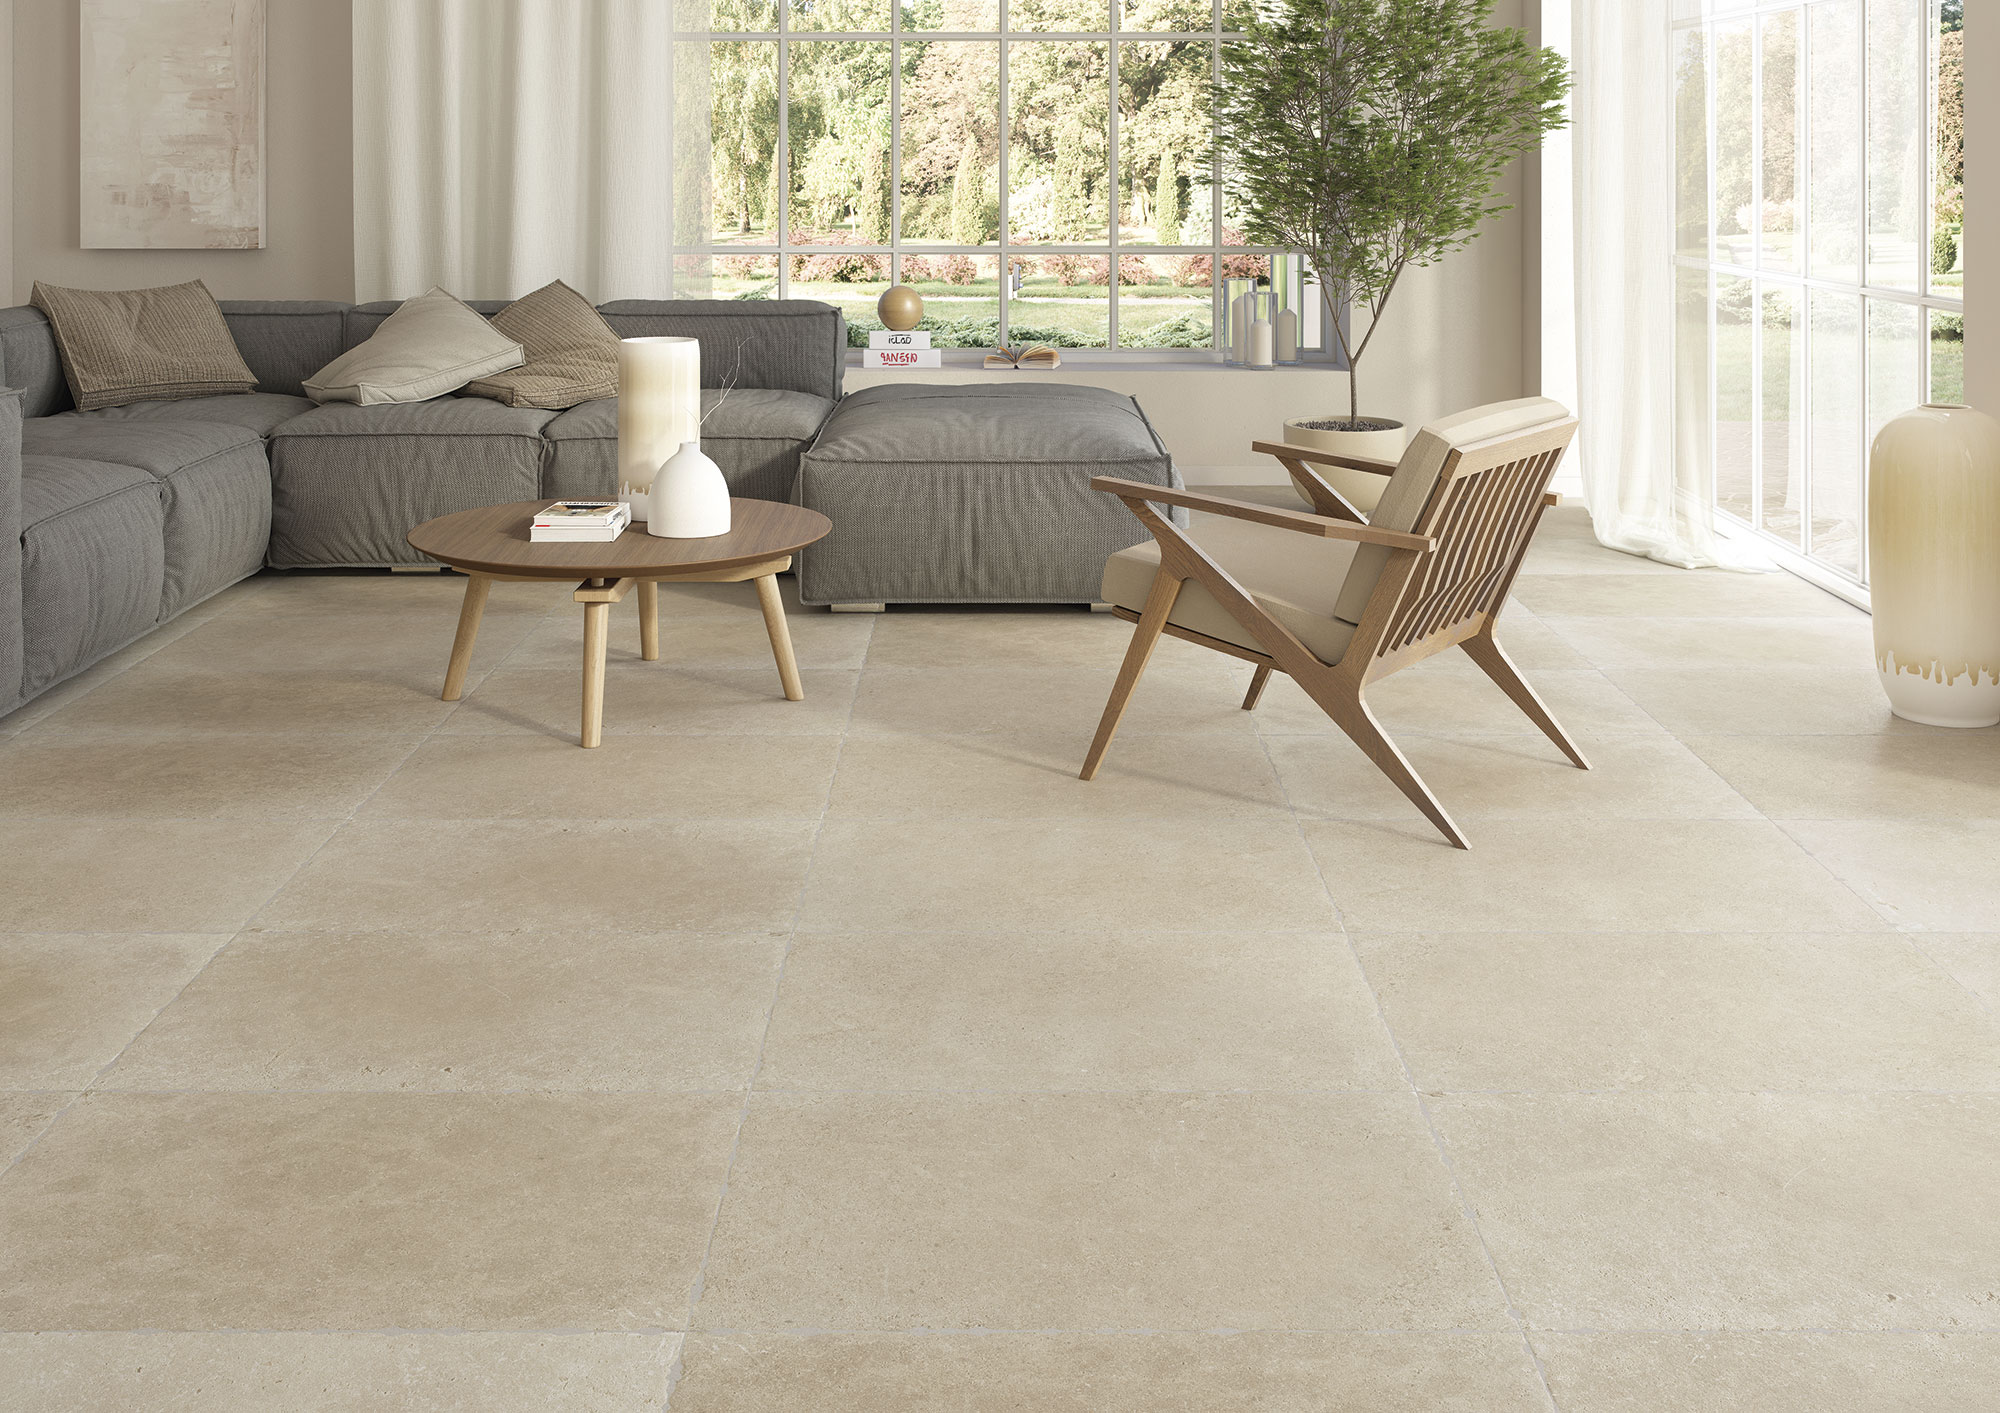
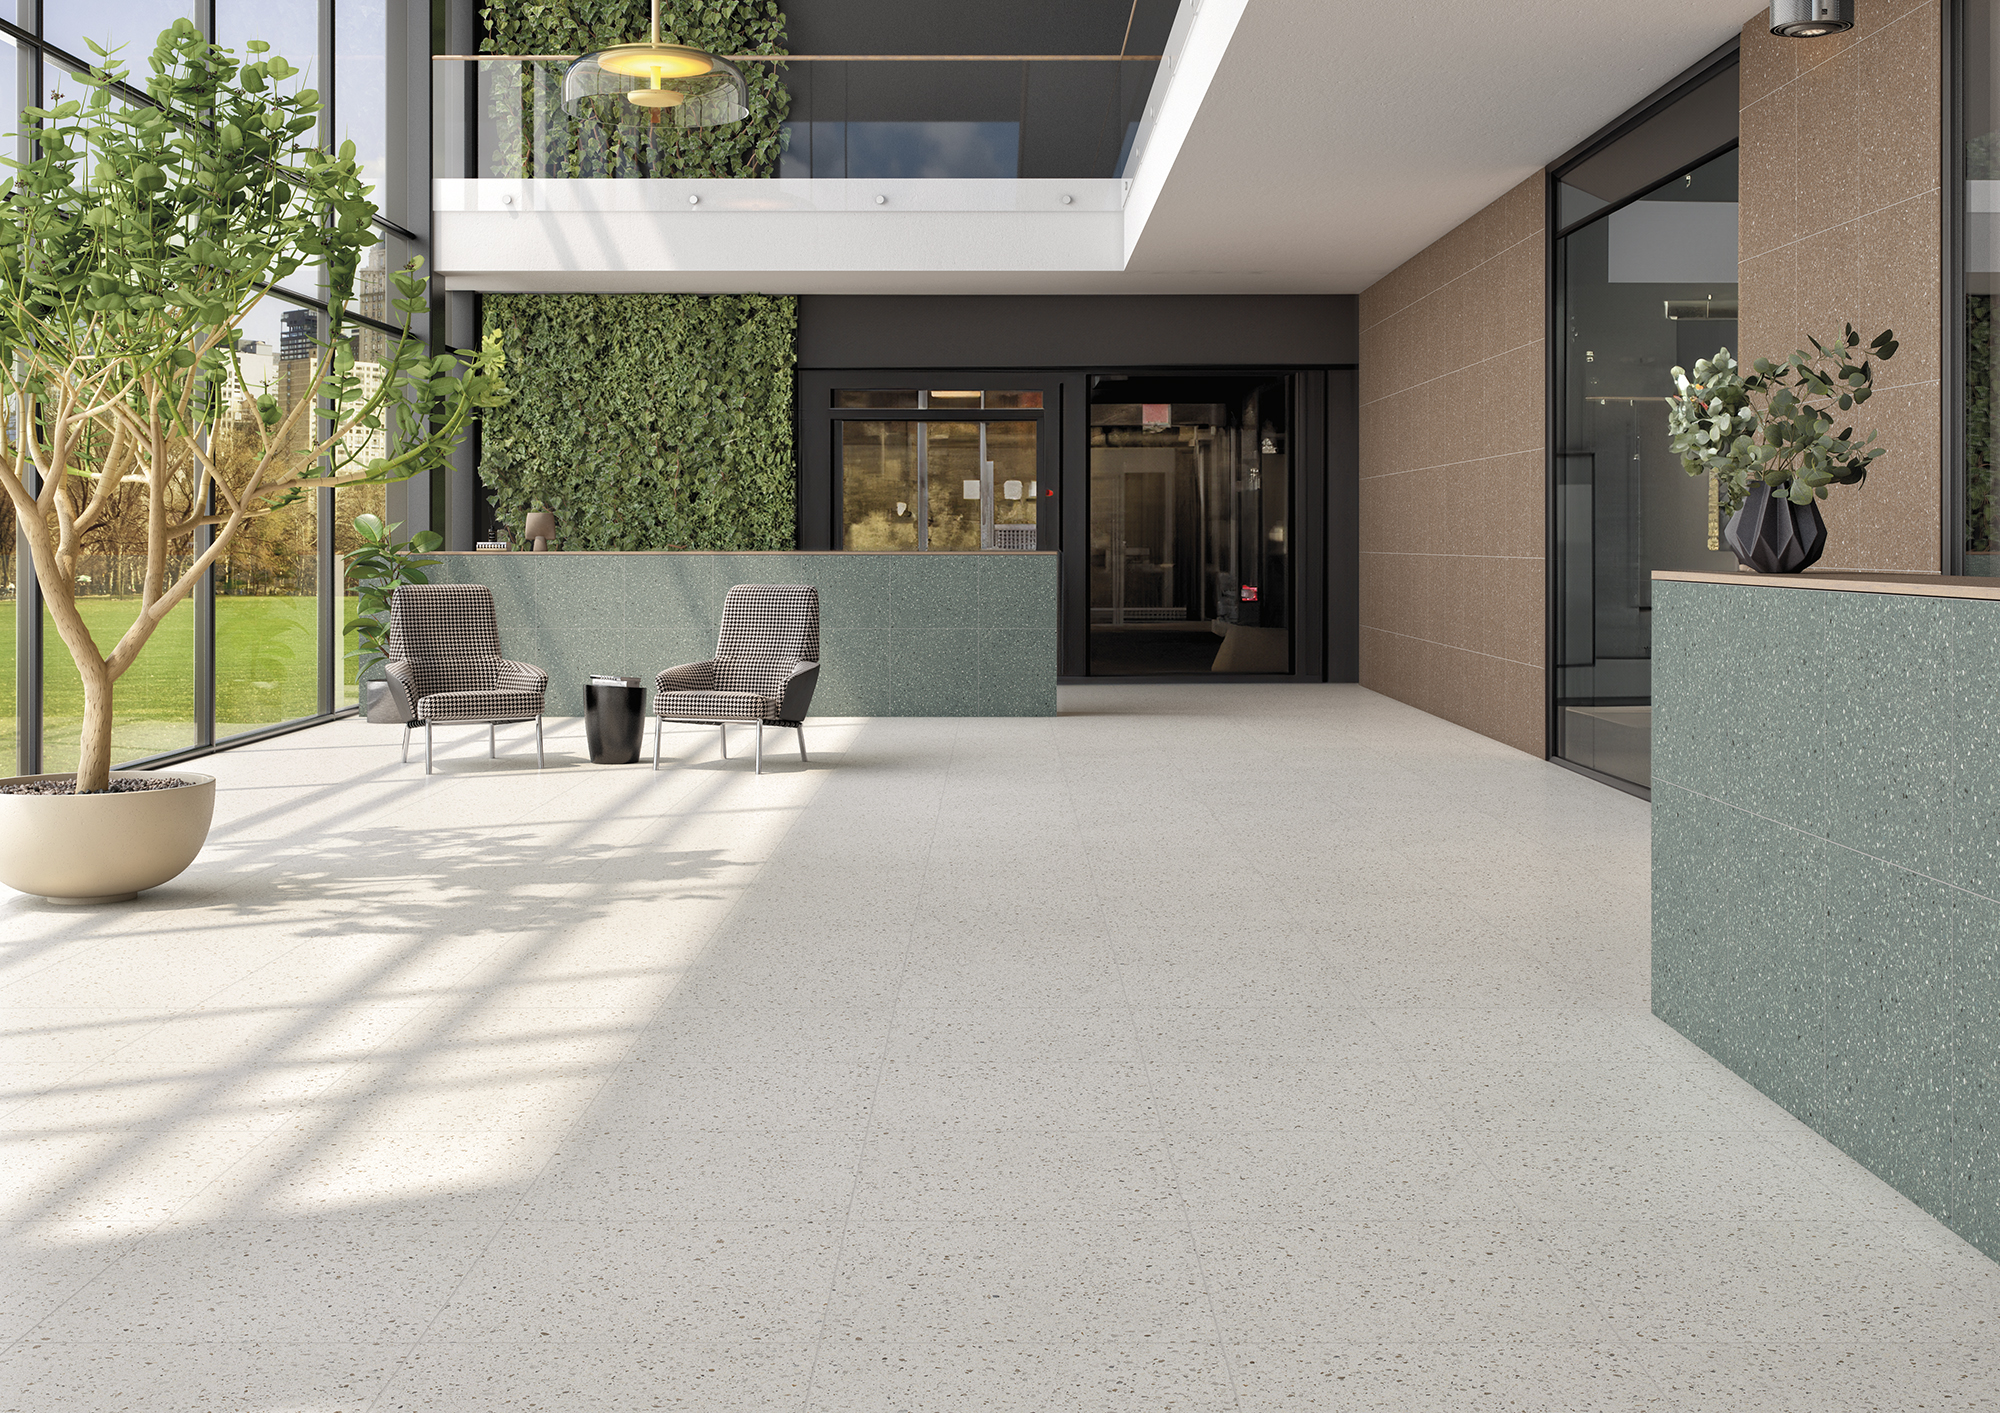
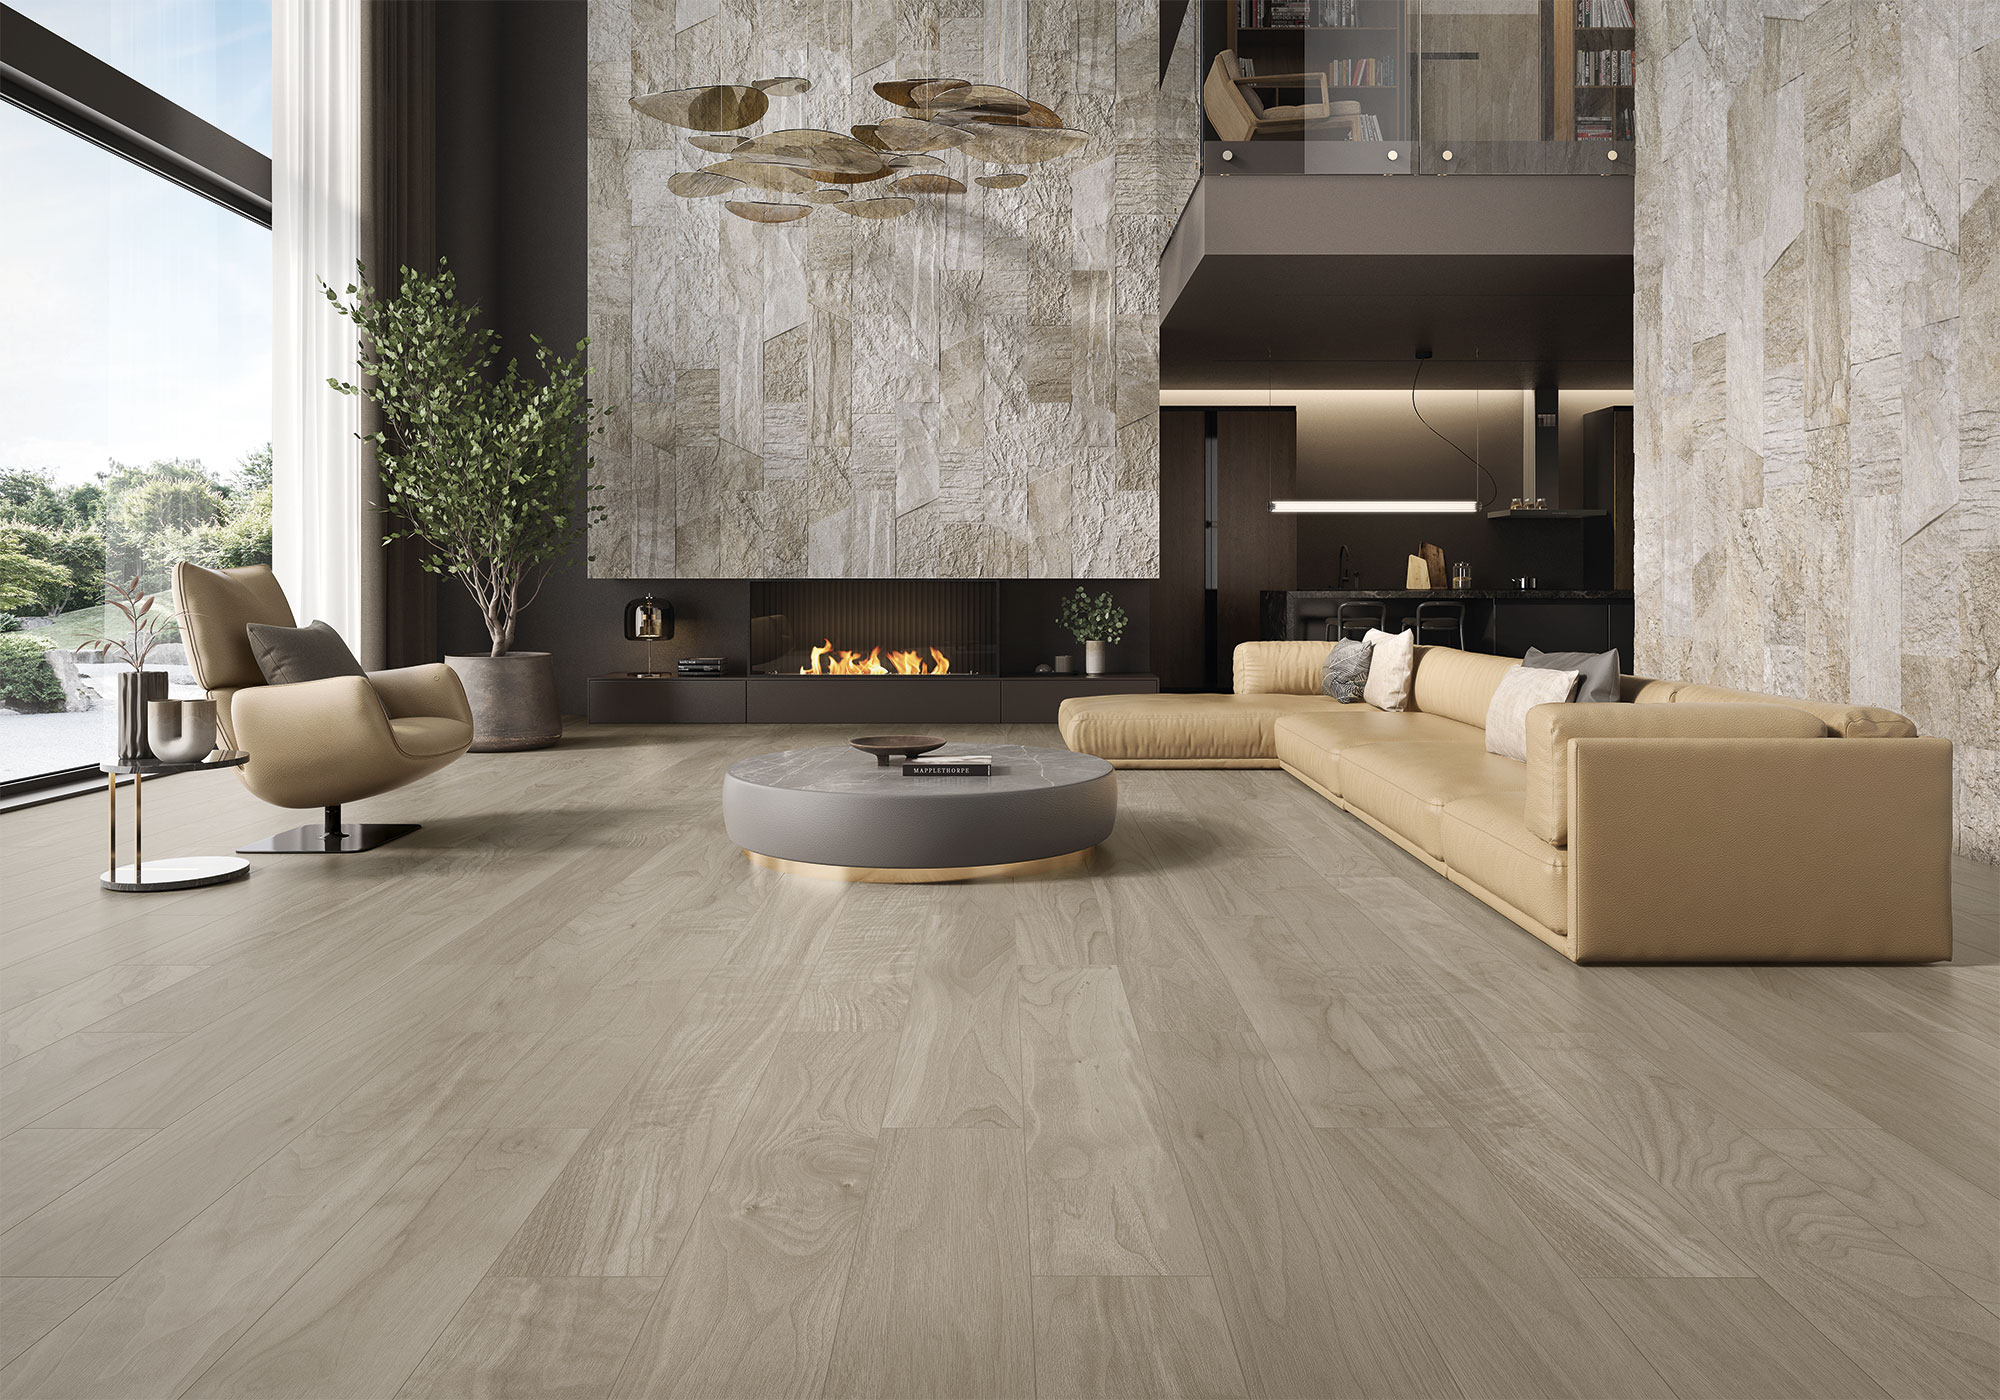
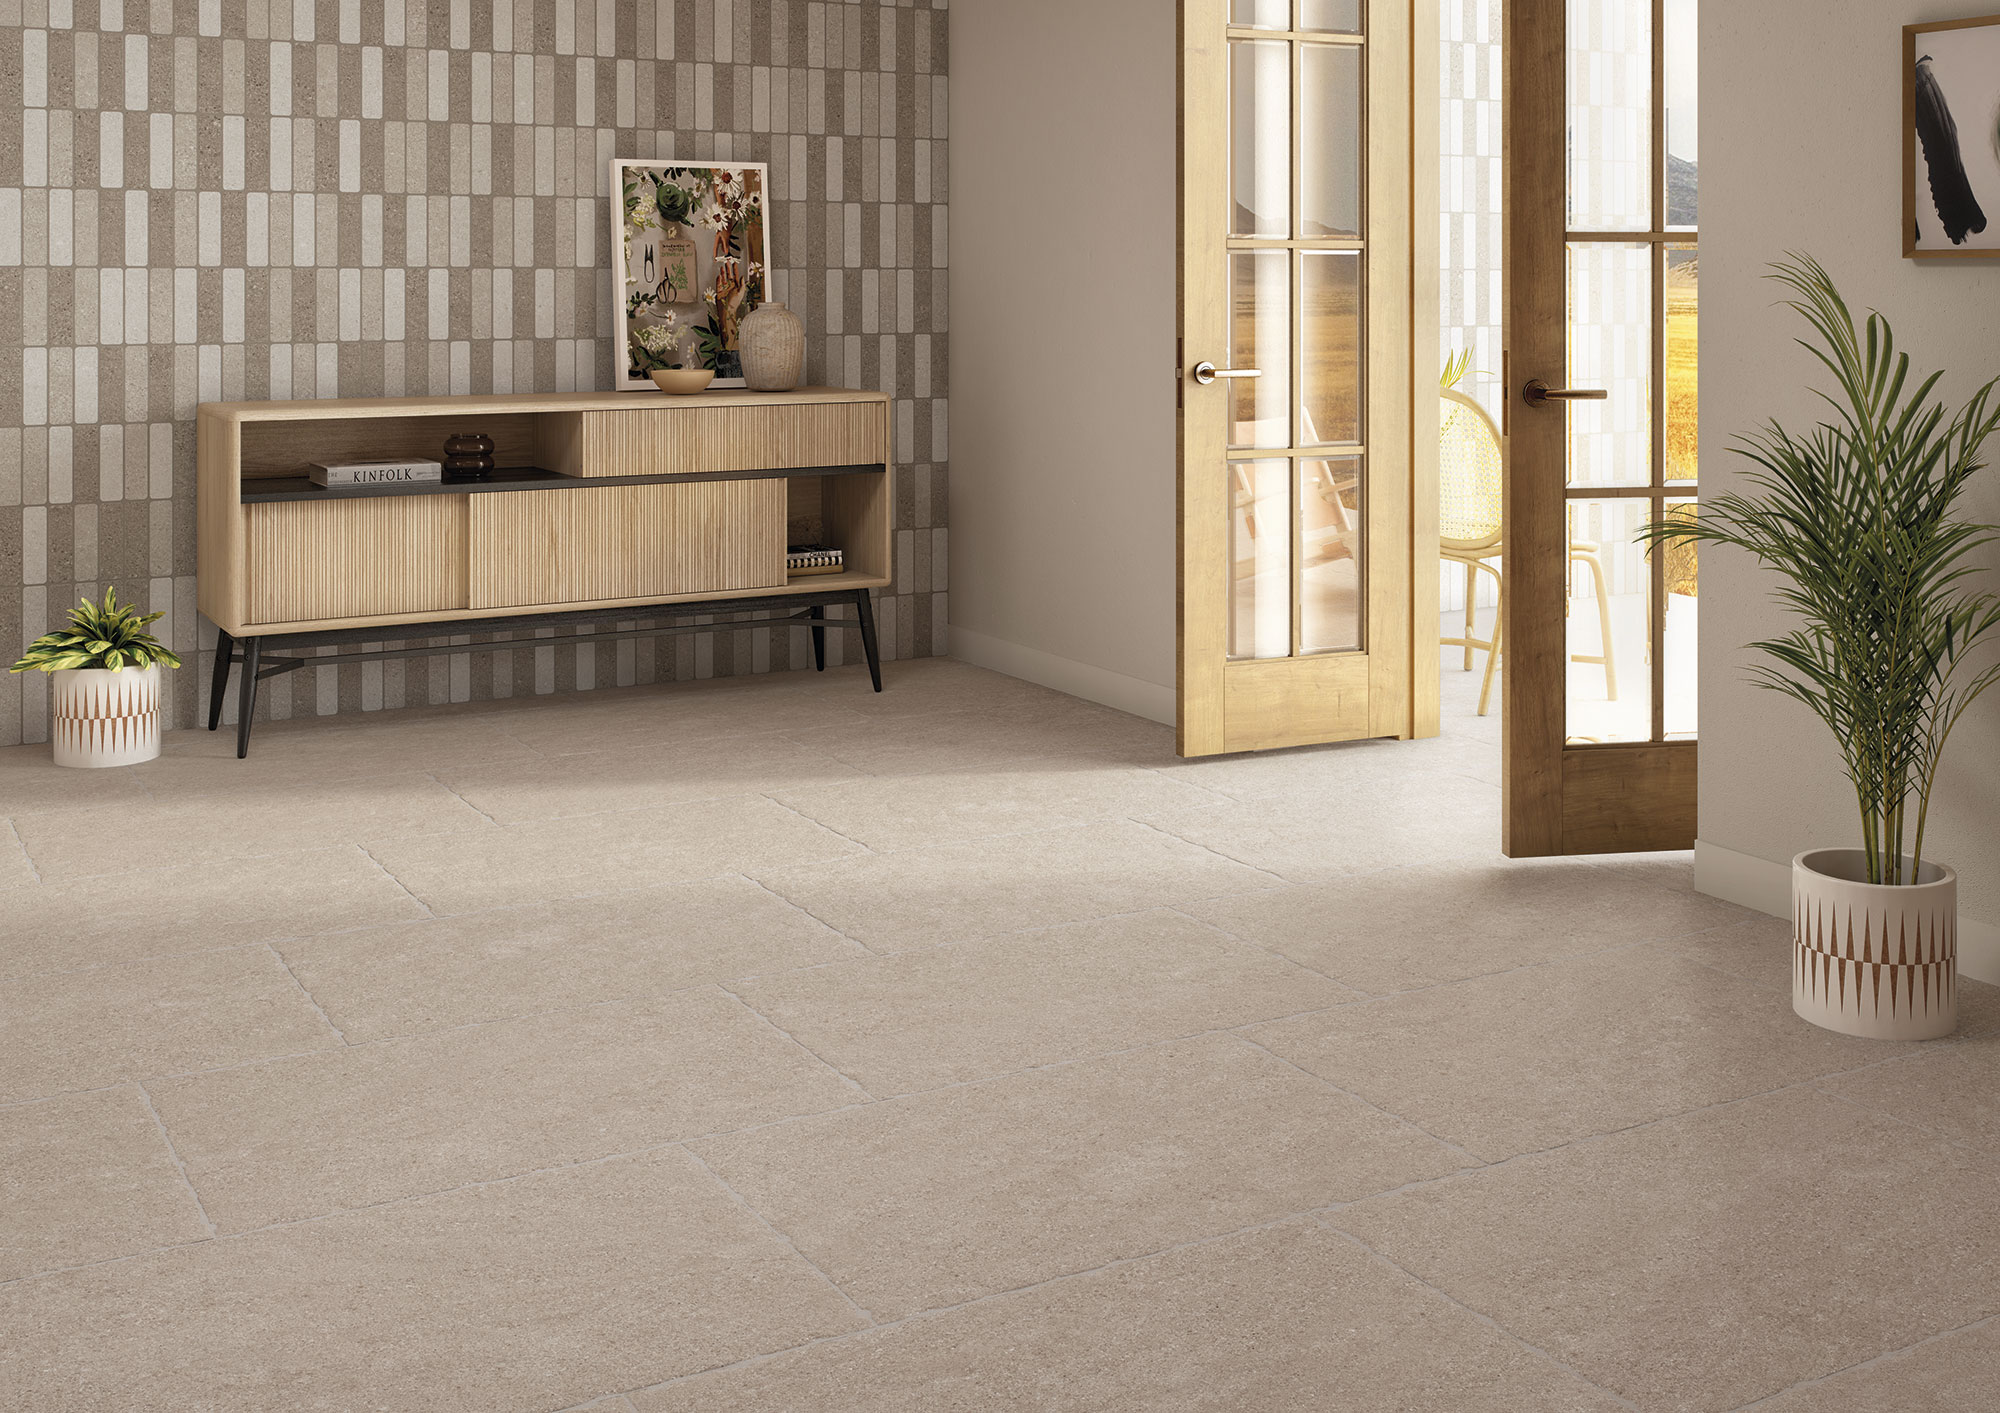
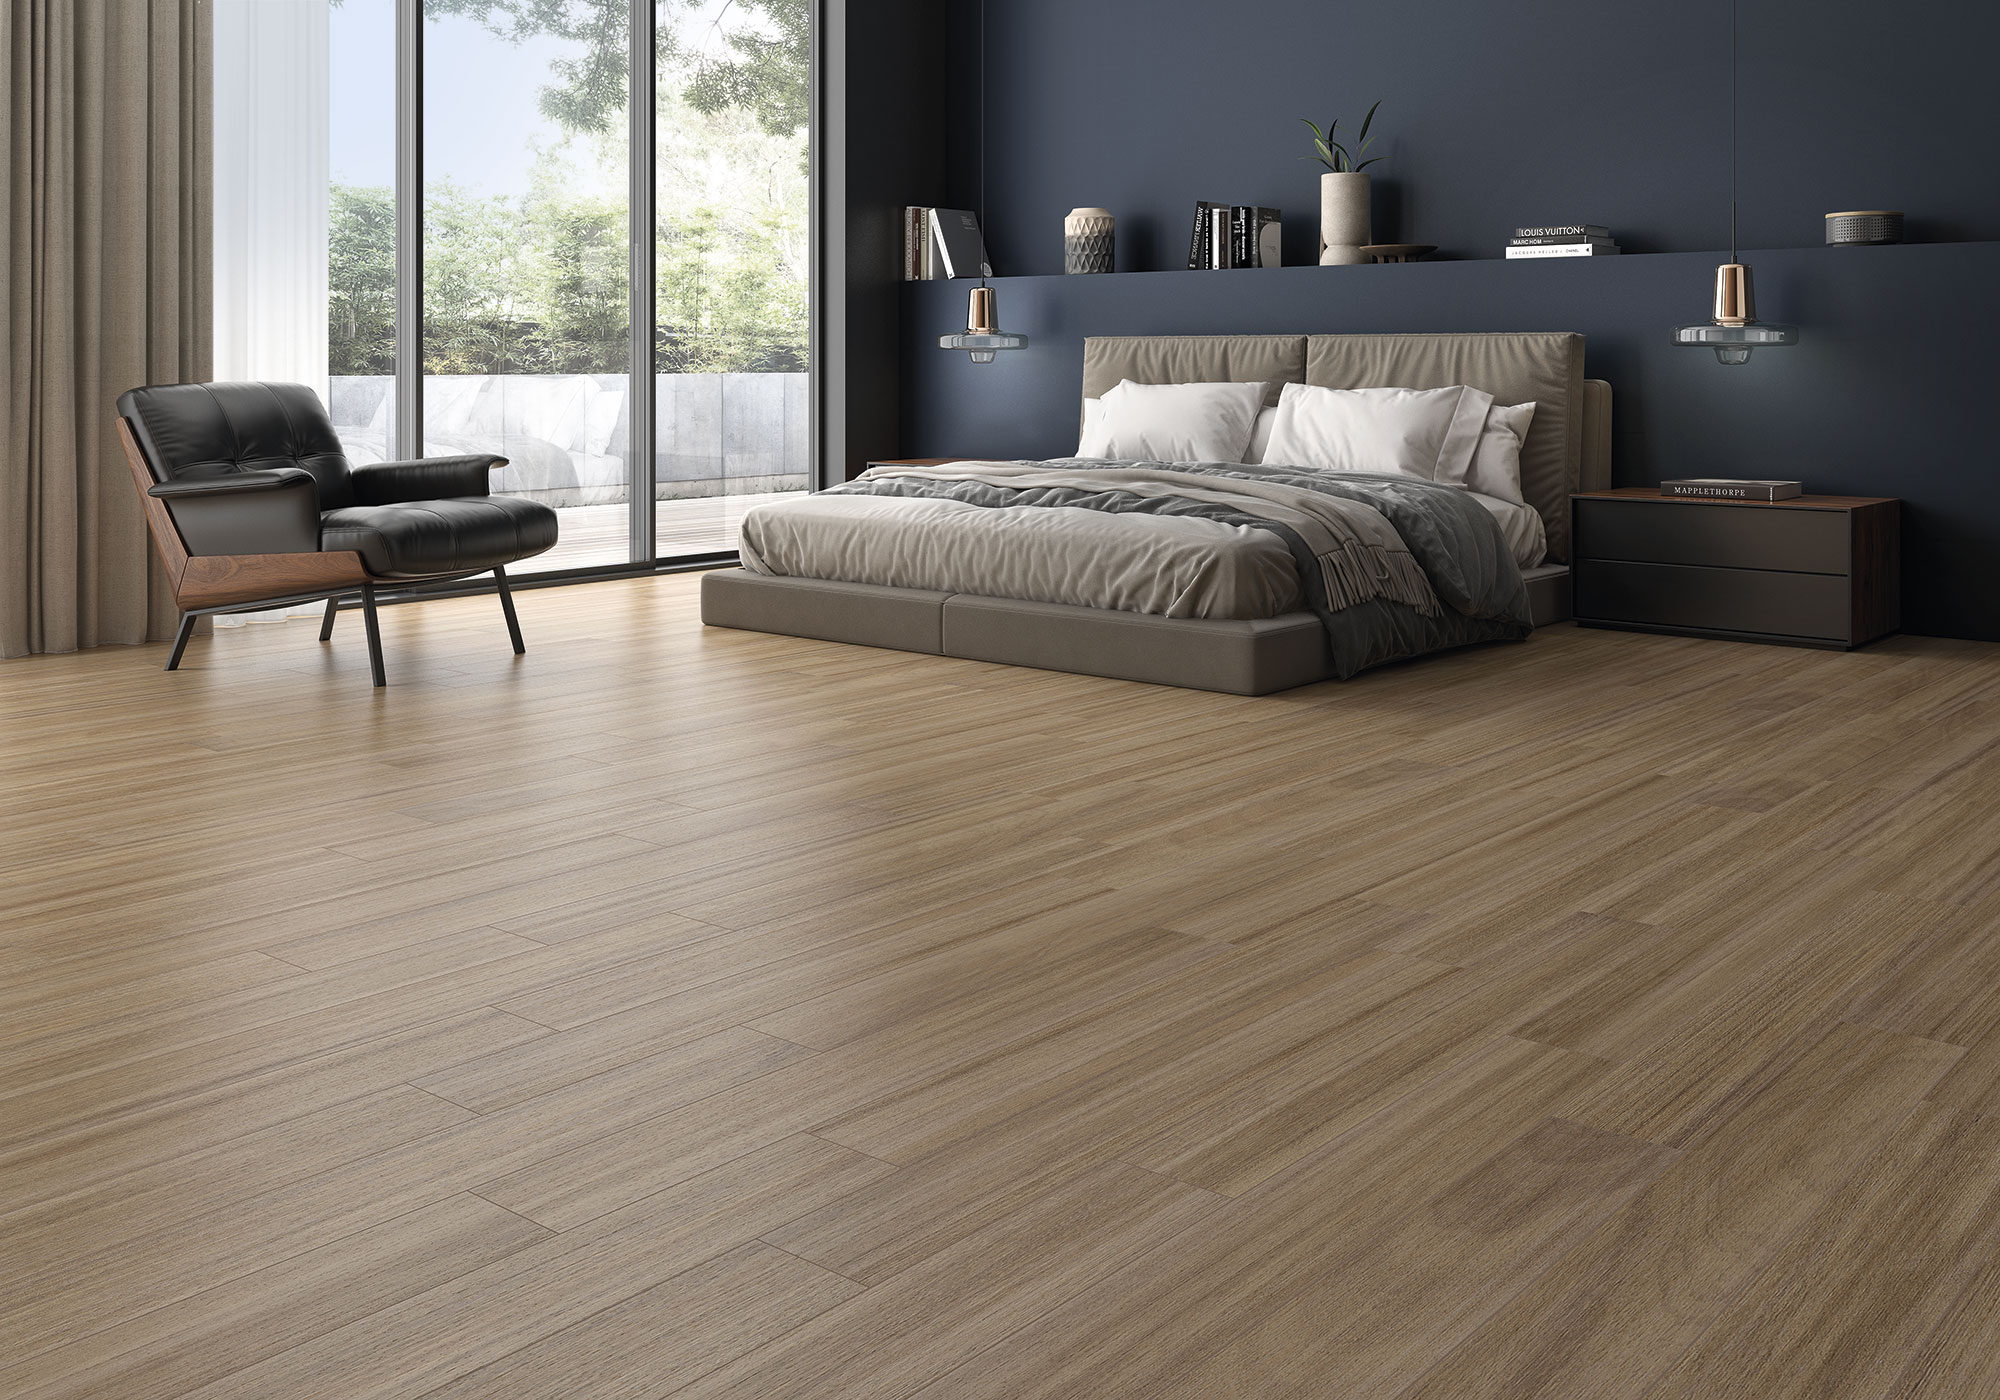
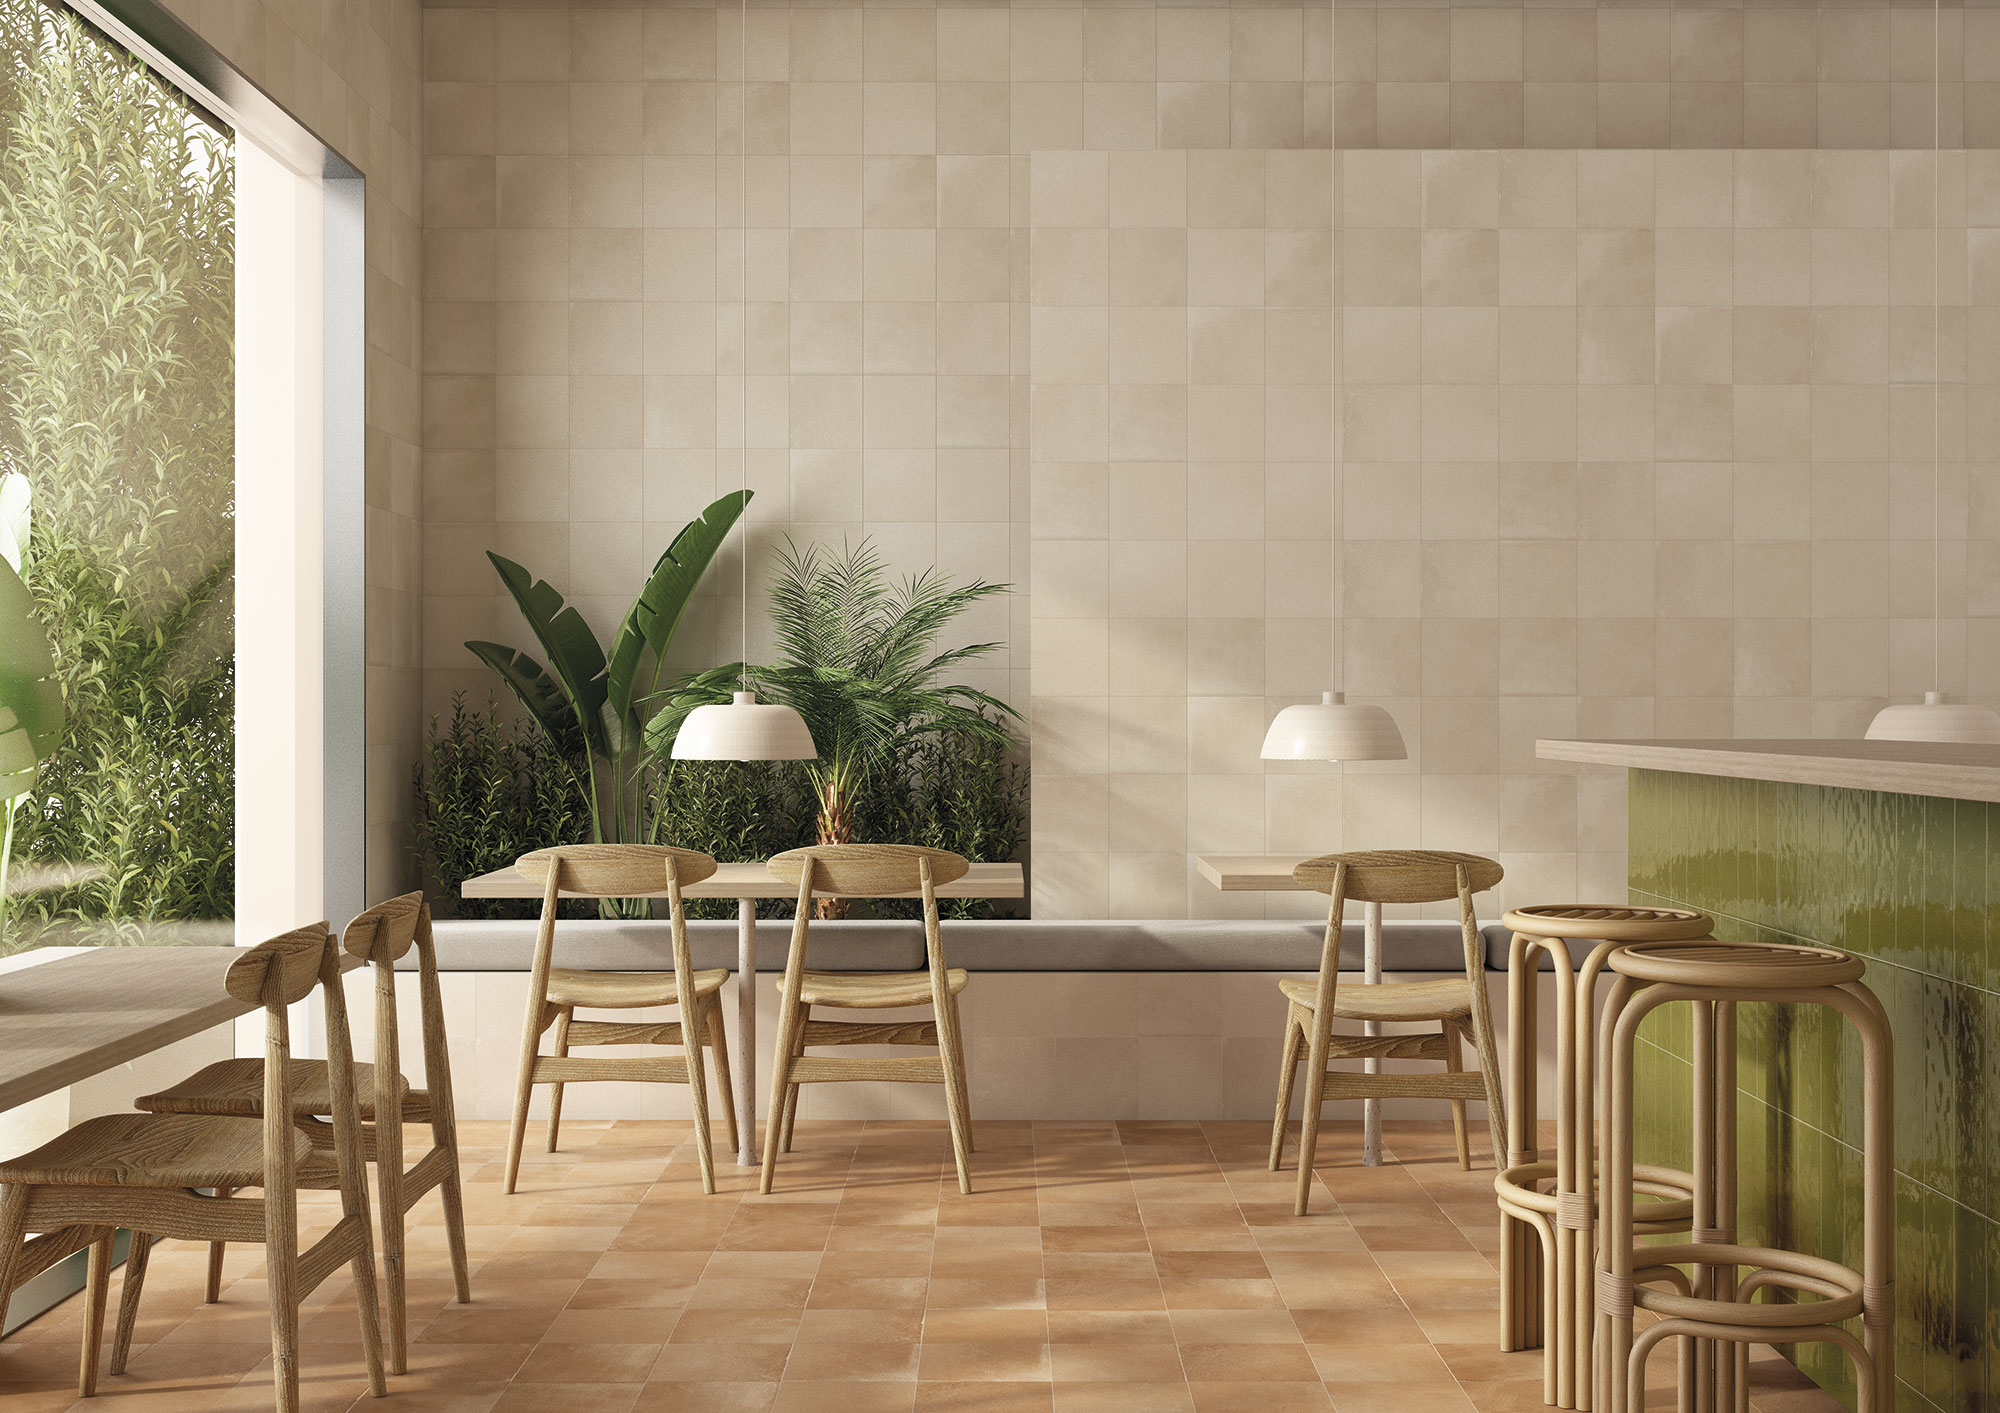
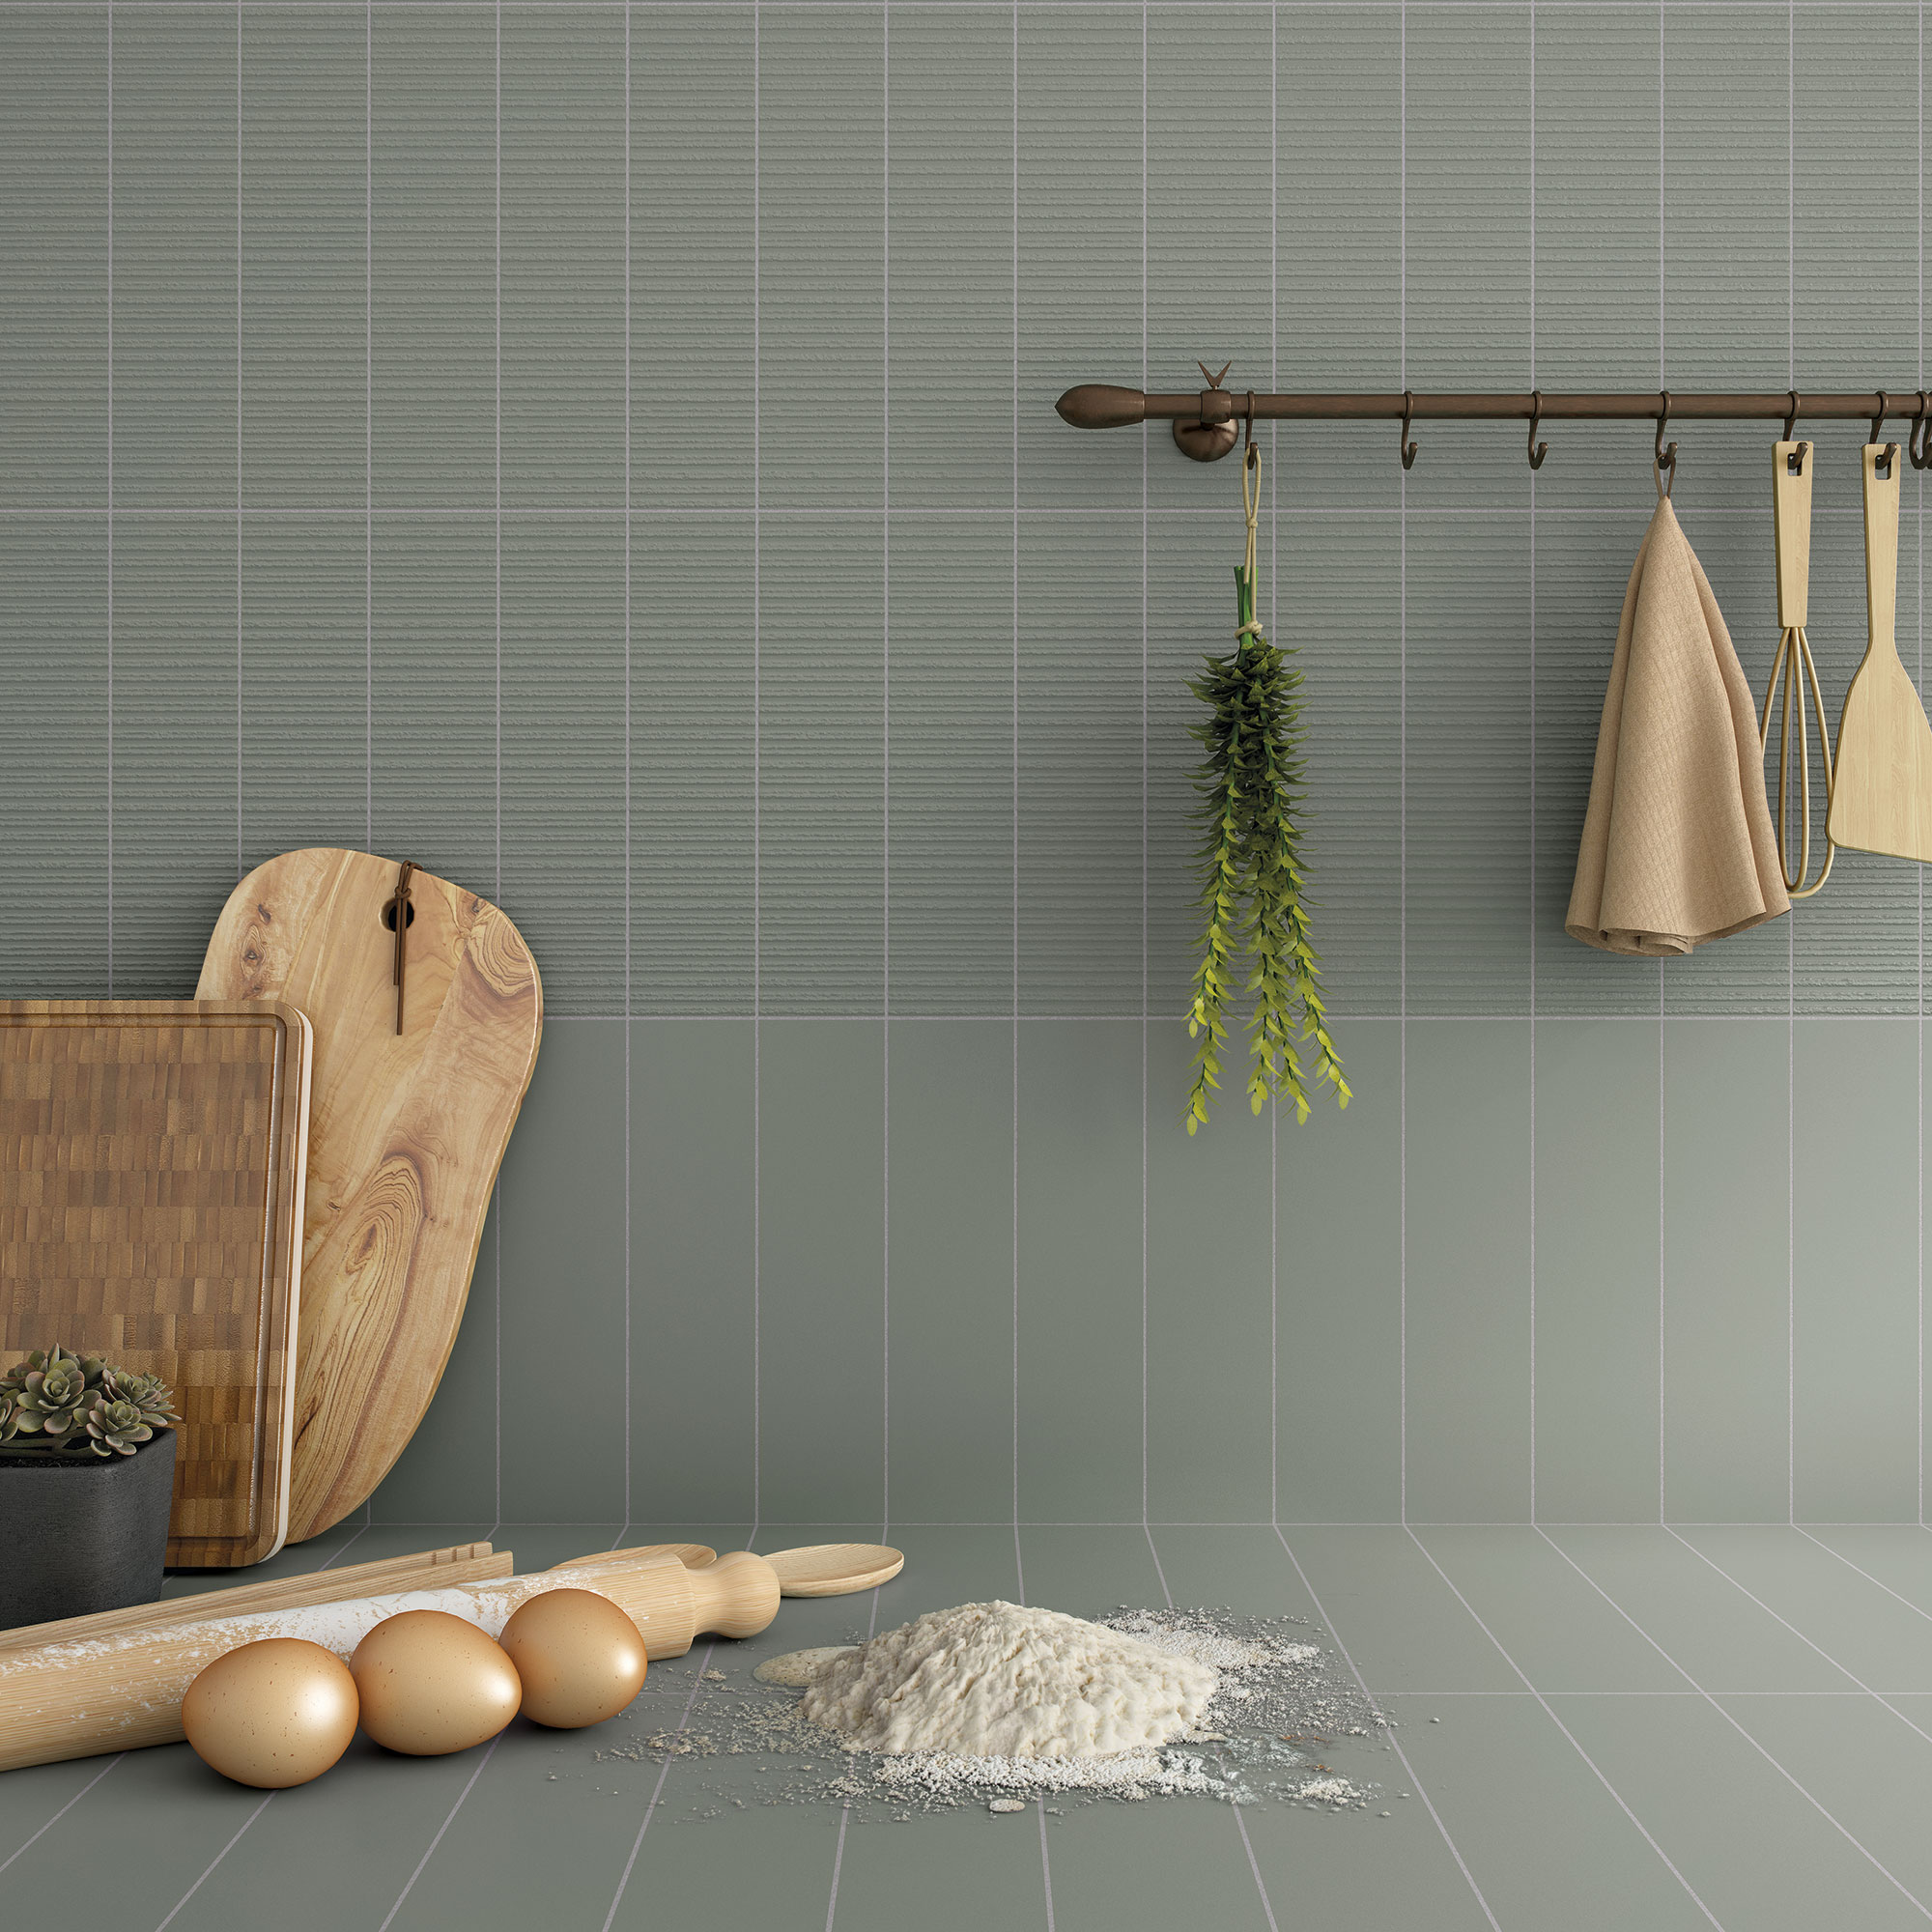
From the heart of ceramics, in Bestile we create surfaces that connect design, emotion, and functionality. Each collection is born to transform spaces into unique places, with a wide variety of formats and thicknesses designed for interiors and exteriors. We develop exclusive projects and unique pieces that bring personality, calidad and value to every environment because we believe that every space deserves to be lived in a special way.
Collections


OUR COMMITMENT TO
SUSTAINABILITY
COMMITMENT TO QUALITY AND EFFICIENT MANAGEMENT THROUGHOUT THE PRODUCTION PROCESS
Our production process is certified according to UNE EN ISO 9001 standards, guaranteeing high-quality levels throughout production, from raw materials to the finished product.
PRODUCTION PROCESSES MINIMIZE ENVIRONMENTAL IMPACT
We maintain our commitment to environmental protection through the international standard UNE EN ISO 14001 for the management of environmental risks associated with our activity.
SOCIAL RESPONSIBILITY IN THE WORKPLACE
Certification of labor standards both internal and external, demonstrating our commitment to ethically evaluate ourselves and assess our suppliers to ensure all agents involved in our business are fair and socially responsible.
Technical information

Wall Tiles

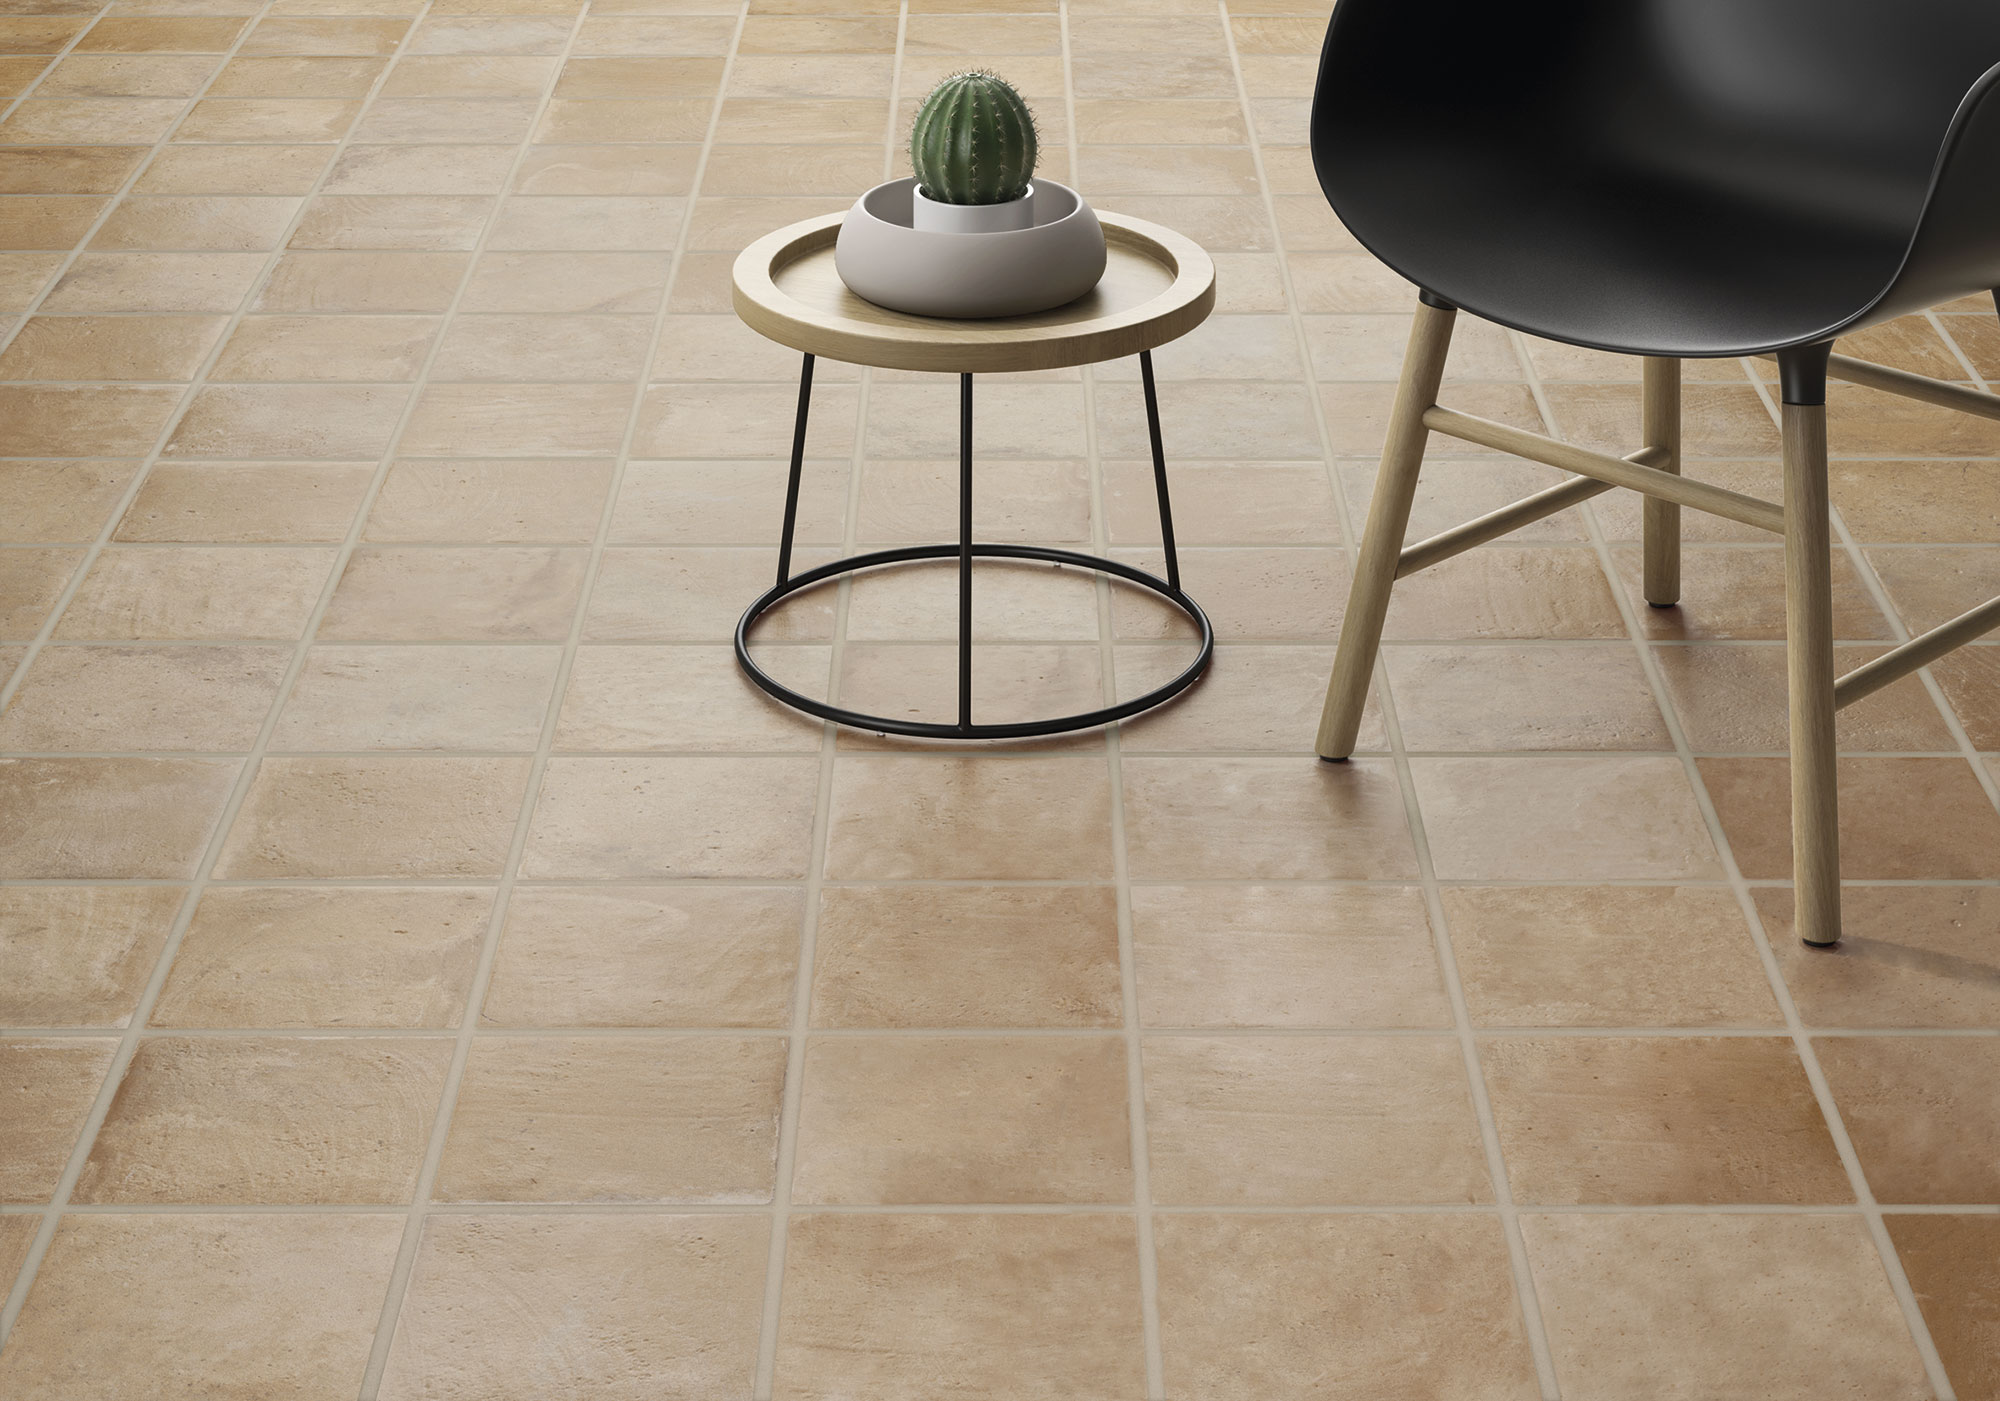
Flooring

Matte Finish

Glossy Finish

Matte Finish_Gloss

Non-slip C2

Uniform appearance

Light variation

Moderate variation

Substantial variation

Rectified Parts

White Body

Glazed Porcelain Tiles

Normal thickness

Thickness 14 mm

Thickness 20 mm
Here are shown some examples of placement, according to the tile format.
RECTANGULAR FORMAT, DECORATIVE PIECES
2”x9,8” / 2,6”x7,9” / 2,9×11,8” / 3,9”x11,8”
5×25 cm / 6,5×20 cm / 7,5×30 cm / 10×30 cm

Traditional horizontal rectangular format placement

Stuck placement

Placement in herringbone 90°

Placement in zigzag two 90° pieces

Traditional vertical rectangular format placement

Vertical placement moved 50%

Vertical placement moved 50%

Placement in spike 45°
RECTANGULAR FORMAT PIECES 60×120 cm_23.6″x47.2″

Traditional horizontal rectangular format placement

Traditional vertical rectangular format placement

Placement rectangular format with continuous joint

Pairwise placement in rectangular format
ESQUEMAS FORMATO 20×20 cm y 20×30 cm

1m2
20x30cm_7,8”x11,8” – 0% m2
20x20cm _7,8”x7,8” – 100% m2

1m2
20x30cm_7,8”x11,8” – 0% m2
20x20cm_7,8”x7,8” – 100% m2

1m2
20x30cm_7,8”x11,8”- 72,7% m2
20x20cm_7,8”x7,8” – 27,3% m2

1m2
20x30cm_7,8”x11,8” – 44,7% m2
20x20cm_ 7,8”x7,8” – 55,3% m2

1m2
20x30cm_7,8”x11,8” – 63,8% m2
20x20cm_7,8”x7,8” – 36,2% m2

1m2
20x30cm_7,8”x11,8” – 62,8% m2
20x20cm_7,8”x7,8” – 37,2% m2

1m2
20x30cm_7,8”x11,8” – 77,8% m2
20x20cm_ 7,8”x7,8” – 22,2% m2

1m2
20x30cm_7,8”x11,8”- 72,7% m2
20x20cm_7,8”x7,8” – 27,3% m2

1m2
20x30cm_7,8”x11,8”- 64,7% m2
20x20cm_7,8”x7,8” – 35,3% m2

1m2
20x30cm_7,8”x11,8”- 64,7% m2
20x20cm_7,8”x7,8” – 35,3% m2

1m2
20x30cm_7,8”x11,8” – 64,7% m2
20x20cm_7,8”x7,8” – 35,3% m2

1m2
20x30cm_7,8”x11,8” – 61,9% m2
20x20cm_7,8”x7,8” – 38,1% m2

1m2
20x30cm_7,8”x11,8” – 100% m2
20x20cm_7,8”x7,8” – 0% m2

1m2
20x30cm_7,8”x11,8” – 100% m2
20x20cm_7,8”x7,8” – 0% m2

1m2
20x30cm_7,8”x11,8”- 100% m2
20x20cm_7,8”x7,8” – 0% m2

1m2
20x30cm_7,8”x11,8”- 60% m2
20x20cm _7,8”x7,8” – 40% m2

1m2
20x30cm_7,8”x11,8” – 55,1% m2
20x20cm_7,8”x7,8” – 44,9% m2

1m2
20x30cm_7,8”x11,8” – 64,7% m2
20x20cm_7,8”x7,8” – 35,3% m2

1m2
20x30cm_7,8”x11,8”- 70,1% m2
20x20cm_7,8”x7,8” – 29,9% m2

1m2
20x30cm_7,8”x11,8”- 61,9% m2
20x20cm_7,8”x7,8” – 38,1% m2

1m2
20x30cm_7,8”x11,8” – 76,1% m2
20x20cm_7,8”x7,8” – 23,9% m2

1m2
20x30cm_7,8”x11,8”- 26% m2
20x20cm_7,8”x7,8” – 74% m2

1m2
20x30cm_7,8”x11,8”- 61,9% m2
20x20cm_7,8”x7,8” – 38,1% m2

1m2
20x30cm_7,8”x11,8”- 58,1% m2
20x20cm_7,8”x7,8” – 41,9% m2

1m2
20x30cm_7,8”x11,8” – 42,5% m2
20x20cm_7,8”x7,8” – 57,5% m2

1m2
20x30cm_7,8”x11,8” – 47,9% m2
20x20cm_7,8”x7,8” – 52,1% m2

1m2
20x30cm_7,8”x11,8” – 58,1% m2
20x20cm_7,8”x7,8” – 41,9% m2

1m2
20x30cm_7,8”x11,8” – 87,2% m2
20x20cm_7,8”x7,8” – 12,8% m24m2

1m2
20x30cm_7,8”x11,8”- 0% m2
20x20cm_7,8”x7,8” – 100% m2
RECTANGULAR WOODEN FORMATS

Stuck placement (up to 12 cm)

Regular placement (maximum separation 12 cm)

Regular placement

Placement in herringbone 90°

Placement in spike 45°

Ejemplo de colocación Multi 1
CERAMIC TILES
1. The installation of ceramic requires qualified personnel, with demonstrated experience and suitable tools and equipment: notched trowels, crosses, rubber mallets, suction cups for placement and rubber floats, sponges and buckets for grouting. Review the information contained in the packaging beforehand and scrupulously respect the manufacturer's recommendations.
2. Check that the surface to be tiled is stable and the placement background suitable for ceramic installation: a rough, non-disintegrating texture, perfectly leveled, and without flatness defects. Waterproofing humid environments is recommended.
3. The surface to be tiled must be completely clean of dust or any other substance that may impair adhesion of the tiles. For specific applications (underfloor heating systems, facades with mechanical anchors, ceramic on roofs or particular project parameter solutions), request additional specific information for each situation.
4. The workplace lighting must be sufficiently intense to easily detect any placement defects, especially “eyebrows” between tiles. It is recommended to use electric spotlights and lighting that is brighter than usual.
5. Choose the adhesive type according to the environment and tile to be covered. The choice of tile and adhesive is critical in the posterior behavior of the set. Factors to consider are: ceramic material type, tile format, placement support, and intended use (traffic it will be subjected to, safety requirements against falls, …).
6. The only placement system recommended is thin-layer, toothed, flat placement. On tiles with a surface area greater than 1,000 cm2, the double-adhesive technique is recommended, applying adhesive both to the substrate and to the back of the ceramic tile.
It is essential to remove any adhesive residue that may remain on the tile surface before it sets, ensuring that the joint is clean to facilitate grouting work. Do not use metal tools or blunt objects in cleaning operations that may damage the tile surface.
7. All ceramic tiles and especially rectified ones, must be handled with the utmost care to avoid scratching, chipping or flaking. Before starting installation, check that the tile is free from any defects. Verify tone and calibrate before installing.
8. Installation joints shall be at least 1.5 mm in interior placements and 5 mm in exterior pavements. In tongue-and-groove installations, the placement shall be made 3/4 of the piece. The use of self-leveling crosses is recommended.
*Before using the anti-leveling wedge system, perform a preliminary test with the type of wall tiles or pavement to be installed and verify that during the separator breaking process, the tile is not damaged, especially with relief or rectified tiles without bevel. Consult national installation standards and respect the minimum joint width indicated for the tile type and installation to be performed.*
9. Respect the manufacturer's recommendations for the preparation and use of adhesives. Do not apply the adhesive in a final thickness greater than indicated on the bag, check the adhesive's moisture-wicking capacity, and press the ceramic onto the gripping material with a back-and-forth motion.
Distribute the adhesive evenly under the tile. Different thicknesses may produce “eyebrow” defects due to differential shrinkage of the adhesive material. When continuing an installation from previously placed ceramic, estimate possible shrinkage and use a level to compensate for it.
10. Edge joints will be present at corners, changes in pavement layout, and material changes. It is recommended to cover with the plinth or the tile itself and seal with elastic sealant. Minimum joint width: 8mm.
11. Respect structural joints. Make movement joints according to the technician's indications. In general, do not design areas larger than 50-70 m2 indoors and half that size outdoors. Minimum joint width: 8 mm.
12. Both during the placement phase and before finishing the shift, check the quality of the work done before the adhesive material completes its setting time and correct any issues using suction cups and rubber mallets.
13. Before proceeding with grouting, check that the adhesive material has hardened. Remove the remains of the crosses, clean the placement joints along their entire length, width, and depth, and finally, verify that no moisture remains inside the joint.
14. Grout filling should be carried out when tiles are perfectly adhered to the substrate. In the case of flooring, the adhesive manufacturer's recommendations must be respected in order to allow sufficient time to pass before being walked upon or subjected to any type of load. This will help prevent premature detachment or breakage.
15. Respect the manufacturer's recommendations in the preparation and use of sealing materials. Verify that the chosen material and tool do not damage the ceramic surface. The grout material will be applied with a rubber float.
16. In water areas, epoxy-based grout material must be used, and joints with bathtubs or showers must be sealed with silicone to prevent water leaks that cause absorption issues, potential color changes, and expansion due to moisture.
17. Protect the pavement against premature loads, other construction work, and adverse weather conditions. It is recommended to cover pavements with sheets or panels that prevent dirt accumulation and protect against scratches, abrasion, and impacts.
18. In the cleaning of the work, use products compatible with the chemical resistance of the tiles. Avoid the use of solid detergents with abrasive particles, as well as cleaning agents containing hydrofluoric acid (HF). This acid attacks the enamel and causes irreparable damage to the ceramic.
CERAMIC TILES
1. HYGIENIC BEHAVIOR OF CERAMIC TILES
The manufacturing process of ceramic tiles includes, among its stages, a high-temperature firing (in the order of 1100ºC-1200ºC), and even higher temperatures in the case of porcelain. This temperature produces chemical reactions between the different components of the dough and decoration, as well as physical transformations whose main consequences are the formation of a hard, compact, and resistant structure, and the reaction and immobilization of heavy metals by forming compounds characterized by their high chemical inactivity. Therefore, the presence of any microorganism is ruled out, as the product is subjected during manufacturing to temperature regimes that make survival impossible.
Ceramic wall and floor coverings, if properly installed (with adhesives and grouts appropriate for their intended use), represent the most effective, comfortable, and safe alternative for maintaining adequate hygiene and cleanliness conditions. Their impermeable surface prevents the intrusion of liquids, vapors, toxic substances, or other contaminants; it also prevents the generation of reactions, putrefactions, efflorescences, or organic growth due to their non-porous characteristics. Moreover, their chemical resistance makes them capable of withstanding, without alteration, aggressive detergents and disinfectants, which are difficult to use on other wall and floor covering materials.
Likewise, due to their electrical equipotentiality and lack of predisposition to electrostatic charge accumulation, ceramic wall tiles contribute to physiological comfort and prevent the capture of electrically active environmental dust. The nature of the ceramic surface avoids any adhesion phenomena, and if this occurs through an intermediate vehicle (grease, mud, etc.), it is easily removable. The same reasoning applies to highlight the positive hygienic properties of ceramic products regarding the deposition, accumulation, and nesting of microorganisms and pathogenic and allergenic substances.
2. PRECAUTIONS DURING INSTALLATION
a) The removal of grout residue must be carried out using a sponge moistened with clean water. This operation should not be prolonged, as excessive contact time with the glazed surface makes subsequent removal difficult, especially models with raised surfaces.
b) It becomes essential, in the placement of the pavement, to protect the material already laid with suitable systems, to prevent possible damage until the completion of the work, due to the presence of abrasive material and continuous movement of tools. In this way, in addition to protecting the ceramic surface, subsequent cleaning tasks are also facilitated.
c) Cleaning agents containing hydrofluoric acid (HF) and solid detergents containing particles susceptible to abrasion of the material should be avoided. Hydrofluoric acid would completely eliminate the glazed surface of the material, thus causing irreparable damage.
3. MAINTENANCE TIPS
Porous glazed ceramic flooring and wall coverings, as well as unglazed non-porous ones, require no maintenance after all installation operations are complete. Among all materials and products used as flooring and wall coverings, ceramic offers the lowest maintenance requirements in this regard. Independently from the glaze characteristics, intrinsic features such as surface abrasion resistance or scratch resistance are directly related to the abrasive agent placed between the flooring and the sole of footwear. To prevent premature wear, it is recommended to keep floors properly clean, which is greatly aided by placing rugs at entrances to premises with direct access from the street or garden. To restore the original surface appearance to glazed flooring and wall coverings, a single pass with a damp mop or sponge in neutral detergent water is sufficient.
If, over time, a plastic-like surface is observed, becoming increasingly difficult to clean, this is generally due to the formation of a surface layer. This layer is difficult to remove with conventional mops. To remove it and restore the original surface, a slightly acidic solution should be used (add Salfuman at a proportion of 5% in water), applying more intense scrubbing (plastic-bristle brush). Rinse afterward with plenty of water to remove the dislodged dirt. For regular cleaning, it is recommended to use a damp mop or sponge. It is necessary to change the cleaning water frequently to avoid redepositing previously removed dirt onto the surface. It is advisable to use cleaning products with a neutral pH.
The use of a microfiber mop and very hot water will favor the drying of the surface and minimize the creation of a surface layer on the tile, which facilitates the subsequent marking of footprints and a greater tendency to attract dirt. It is not advisable to use cleaning agents that contain waxes in their composition, since they end up forming a film on the ceramic tile that favors the absorption and retention of foreign substances, causing stains that are easily detectable and more difficult to remove with ordinary cleaning operations. If it is the case of a bathroom, where soap or water carbonate deposits tend to form, periodic cleaning with a suitable detergent product is advisable, allowing it to sit for a few minutes before proceeding with its removal.
EXTRAORDINARY REMOVAL OF STAINS AND INCORPORATED DEPOSITS
For extraordinary cleanings, such as those necessary on surfaces that have been left without cleaning for a long time, powdered or liquid detergents should be used, applied by rubbing with a sponge or scouring pad. Special attention should be paid to the grout between tiles, which should be restored if integrity or watertightness is lacking, with appropriate sealants. The use of metal blades or spatulas on glazed surfaces is not recommended, nor is the use of concentrated products when there is no certainty about the chemical resistance class of the wall tiles or flooring. Accidentally, we may find that the ceramic flooring or wall tiles has been stained by one or more substances of various natures. There are physical and chemical procedures for removing stains and incrustations, and the most suitable one should be adopted according to the tile type and stain nature. Physical methods are based on the use of detergents or very fine abrasives, whose function is the physical detachment of the stain and its removal from the ceramic surface.
Chemical methods are based on the chemical reaction between the stain or deposit and the detergent that dissolves or decolorizes it. In glazed tiles, it is not advisable to use concentrated acids of unknown nature, which may attack the surface, as their chemical resistance is unknown. In the table at the end, and as an example, some products suitable for treating specific stains are shown. When the nature of the stain is unknown, it is advisable to carry out tests with different detergents, rinsing the surface with water and drying it after each test. In other cases, repeating the treatment several times or using hot water may be effective to favor the reaction. In any case, and in the face of even the slightest doubt, it is advisable to consult the product's technical specifications. Silicone residue: Blade for cleaning ceramic glass on smooth surfaces that are not susceptible to scratching.
For surfaces with relief or delicate glossy finishes prone to scratching, a mixture of acetone and ether in equal parts can be used, applying it to the silicone and waiting for it to detach. Rib marks (back of the piece) on the ceramic surface: alumina powder dissolved in water, using a rotary machine with a 3M disc. The characteristics of the disc should be chosen according to the surface resistance. Rotary or mechanical systems with abrasives of different nature should not be used in regular cleaning, as they may alter the initial gloss to varying degrees, depending on the intensity of the treatment and, in extreme conditions, pressure and abrasive used, damaging the ceramic surface. Likewise, when carrying out any cleaning method that deviates from the conventional one, it is advisable to perform a prior test in a specific area before applying the treatment to the entire surface. Thus, we will ensure the inertia or reactivity of the ceramic surface towards such method.
Cement adhesive
Acid detergent
Coffee, tea, food, fruit, juice or cosmetics
Normal detergent dissolved in hot water
Fats
Baking soda and water, neutral soap (use a soft sponge)
Pencil marks
Soft eraser
Organic stains
Alkaline detergent
Marker painting
Solvent (fusel oil, acetone, ethanol)
Rubber remnants
Alkaline detergent, solvent
Leftovers from meeting
Acid detergent
Silicone residue
Hydrogen peroxide or diluted bleach solution
(on smooth surfaces that cannot be scratched, use a ceramic glass scraper)
Blood
Hydrogen peroxide or diluted bleach solution
The black cat is sleeping in the window.
Diluted bleach solution
Iodine or bromine
Acid detergent, hydrogen peroxide, diluted bleach solution, ammonia
Technical Building Code. CTE
The CTE, Technical Building Code, within its Basic Document for Use Safety 1 “DB SU 1 – safety against the risk of falls”, defines the requirements that a floor must meet in order to be used as a pavement in buildings or sanitary, teaching, commercial, administrative, parking and public access areas (excluding restricted-use areas). For this purpose, the pavement must comply with a minimum value for sliding “Rd”. The value of resistance to sliding “Rd”, is determined by the pendulum test described in Annex C of the UNE EN 16165: 2022 standard.
The following table establishes the classification of soils according to their slipperiness:
SLIDING RESISTANCE RD
CLASS
Rd < 15
0
15 < Rd < 35
1
35 < Rd < 45
2
Rd > 45
3
EXIGIBLE CLASS OF FLOORS ACCORDING TO THEIR LOCATION
LOCATION AND SOIL CHARACTERISTICS
CLASS
SURFACES WITH A SLOPE LESS THAN 6%
SURFACES WITH A SLOPE EQUAL TO OR GREATER THAN 6% AND STAIRWAYS
1
2
INTERIOR WET ZONES, SUCH AS BUILDING ENTRANCES FROM
THE EXTERIOR (1), COVERED TERRACES, LOCKERS, BATHROOMS, TOILETS, KITCHENS, ETC.:
SURFACES WITH A SLOPE LESS THAN 6%
SURFACES WITH A SLOPE EQUAL TO OR GREATER THAN 6% AND STAIRWAYS
–
_
2
3
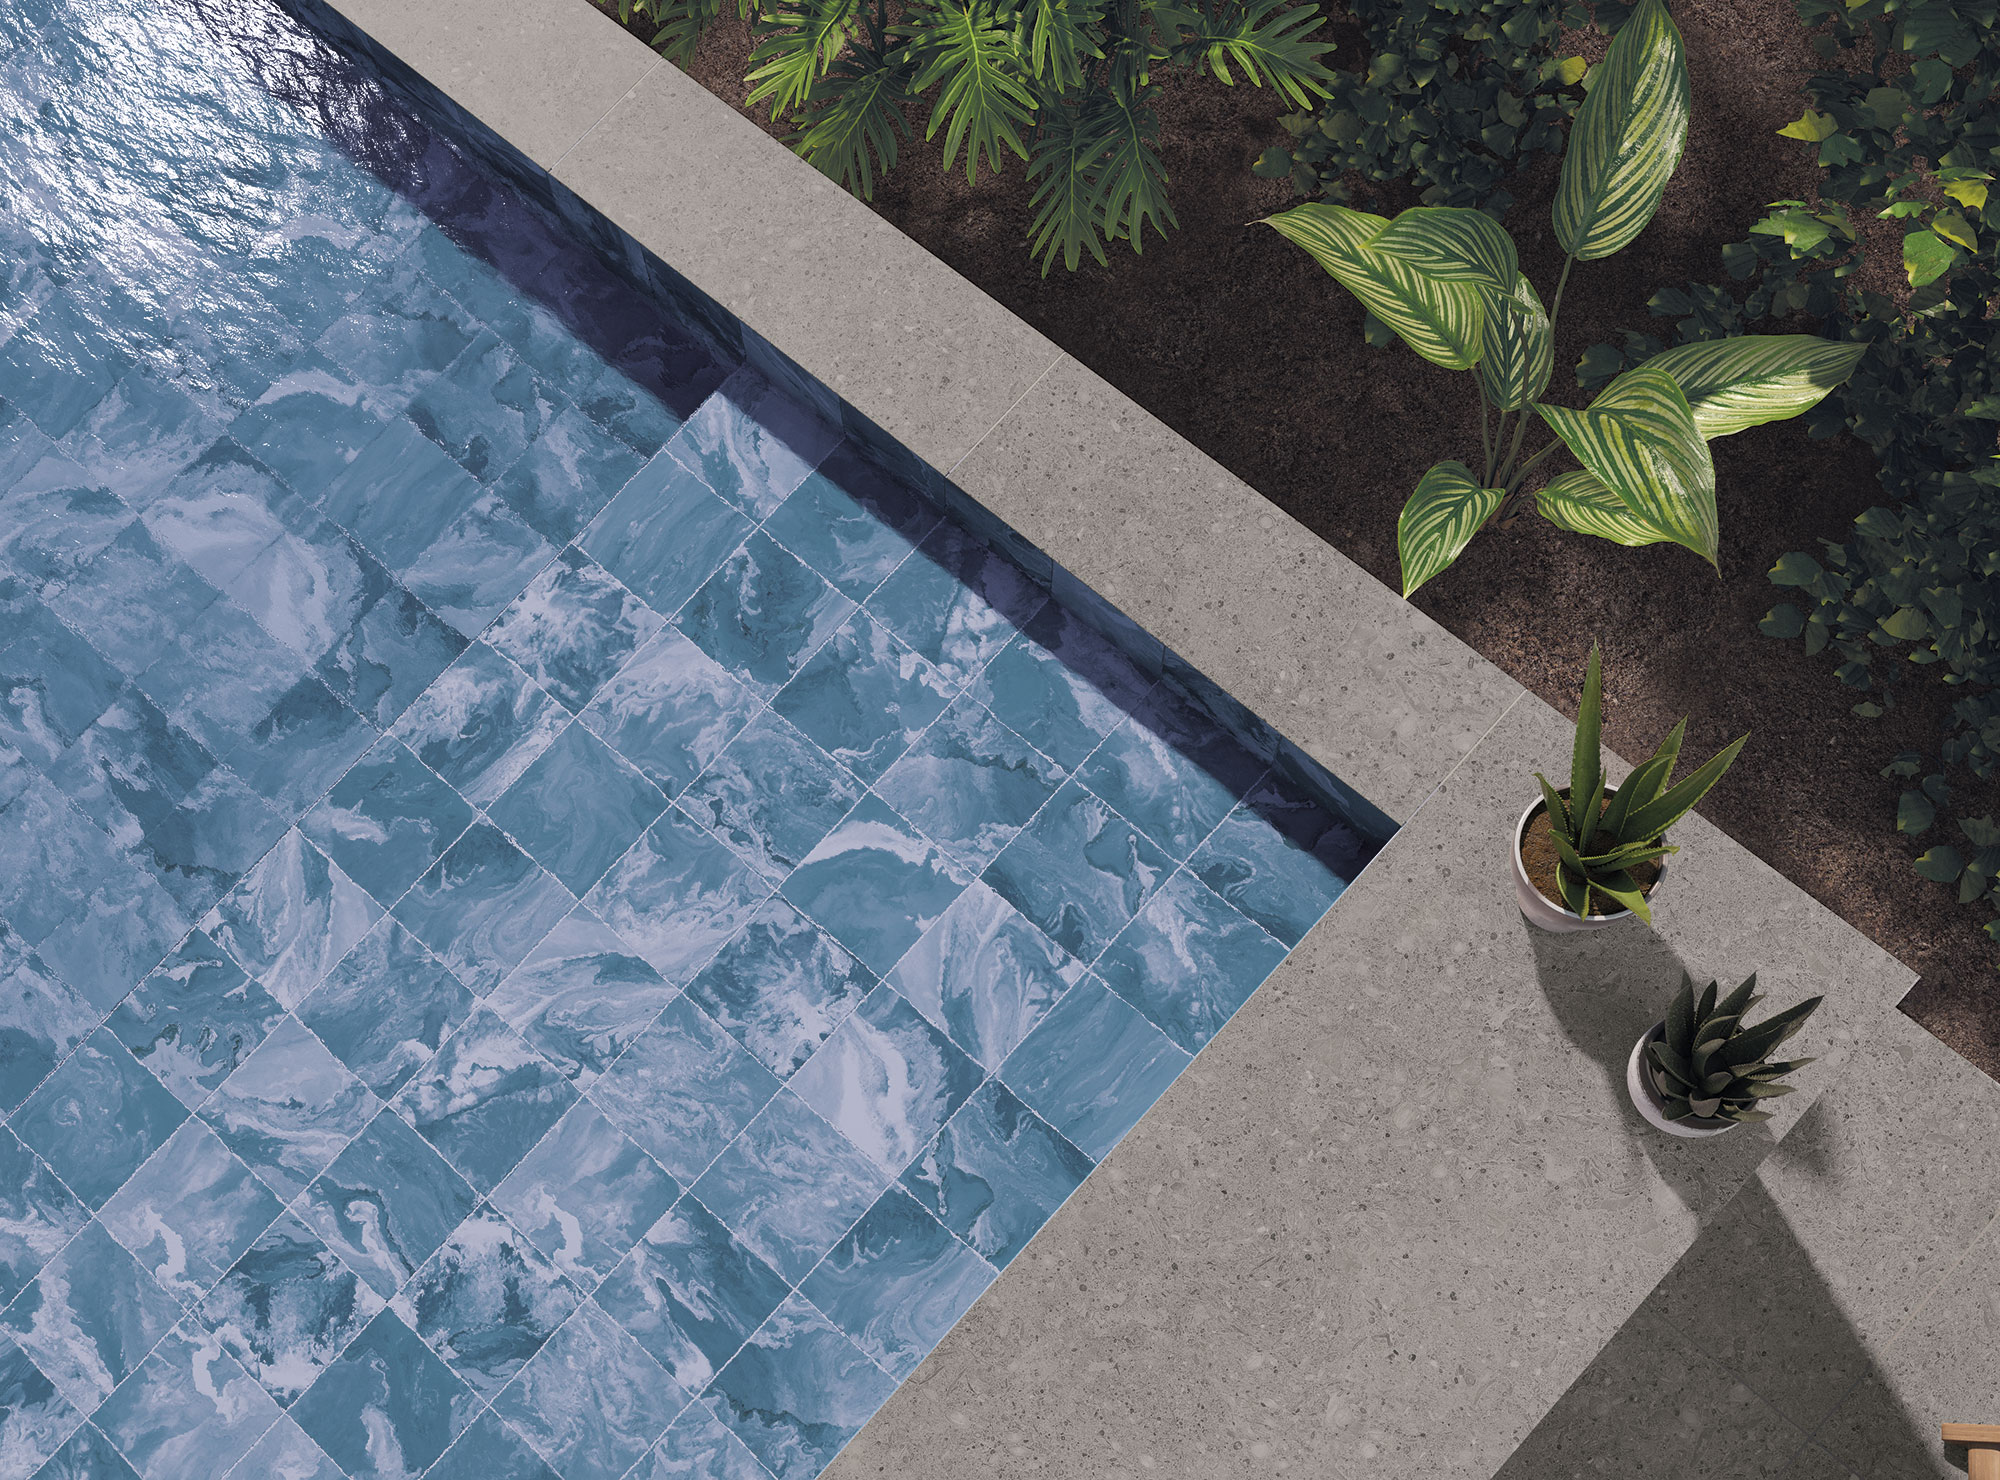
OUTDOOR AREAS. POOLS. SHOWERS (2)
3
Except when dealing with direct access to restricted-use areas.
In areas designated for barefoot users and at the bottom of vessels, in zones where the depth does not exceed 1.50 meters.
This class will be maintained for the entire useful life of the pavement.
DYNAMIC FRICTION COEFFICIENT (DCOF)
The assessment of the slip-resistant performance in the American market is carried out through a mobile robot (bot 3000).
This equipment moves across the surface to be tested (previously wetted) and determines its resistance to the movement of the equipment.
Regulations in the United States (ANSI standard) require a DCOF ≥ 0.42 for surfaces that may be wet.
ANNEX B OF THE STANDARD EN 16765:2022
Many European flooring manufacturers use ramp-type tests to classify their products according to the degree of slip resistance.
These tests are generally carried out using Annex B of the EN 16165: 2022 standard. The method involves subjects walking back and forth across a wetted flooring surface, used as a ramp test bench. The ramp's tilt angle is gradually increased until the test subject slips. The average tilt angle at which the subject slips is used to calculate the CoF (Coefficient of Friction). Annex B of the EN 16165: 2022 standard specifies safety boots and engine oil as the substance to wet the test surface, as described in the standard itself.
AVERAGE TOTAL FALL ANGLE VALUE
GROUP CLASSIFICATION
6º <= Ángulo <= 10º
R9
10° < Ángulo <= 19°
R10
19° < Angle ≤ 27°
R11
27° < Ángulo <= 35°
R12
35º <= Ángulo
R13
RISK ASSESSMENT TABLE FOR LANDSLIDES
WORKPLACES AND WORK AREAS
APPROXIMATE VALUE
ENTRANCES
STAIRS
COMMON AREAS (WASHROOMS, SINKS, ETC.)
MEETING ROOMS
SANITARY USE AREAS
R9
R9
R10
R9
R9
KITCHENS, DINING ROOMS
GOURMET KITCHENS (RESTAURANTS AND HOTELS)
UP TO 100 COVERS PER DAY
MORE THAN 100 COVERS PER DAY
COOPERATIVE KITCHENS IN RESIDENCES, SCHOOLS, SANATORIUMS
COOPERATIVE KITCHENS IN HOSPITALS AND CLINICS
LARGE COOPERATIVE KITCHENS FOR FAIRS, CAFETERIAS AND MOBILE UNITS
FAST FOOD KITCHENS
KITCHENS FOR REHEATING PREPARED FOODS
COFFEE AND TEA ROOMS
DINING ROOMS, CUSTOMER ROOMS, CAFETERIAS INCLUDING SERVICE HALLWAYS
–
R11
R12
R11
R12
R12
R12
R10
R10
R9
–
HEALTH SERVICES LOCATIONS
THERMAL BATHS, HYDROTHERAPY AND MUD PACKS
SWIMMING AREAS
SANITARY AREAS, BATH STATIONS
MEDICAL DIAGNOSTIC AND THERAPEUTIC ZONES, MASSAGE ROOMS
PLANTS WITH PATIENT ROOMS AND HALLWAYS
MEDICAL OFFICES, AMBULATORY
PHARMACIES
LABORATORIES
–
R11
R10
R10
R9
R9
R9
R9
–
GARAGES
GARAGES (IN BUILDINGS OR UNDERGROUND) NOT AFFECTED BY WEATHER
OPEN-AIR PARKING
–
R10
R11
SCHOOLS AND DAYCARES
ENTRANCES, HALLWAYS, REST AREAS
CLASSROOMS, GROUP ROOMS
STAIRS
RESTROOMS
OUTDOOR TRAFFIC AREAS
R9
R9
R9
R10
–
R11
* THE ENTRANCES REFER TO THOSE ZONES TO WHICH ONE CAN ACCESS DIRECTLY FROM THE EXTERIOR AND WHERE MOISTURE CAN REACH OR BE INTRODUCED FROM OUTSIDE.
** LADDERS REFER ONLY TO THOSE THAT MOISTURE CAN REACH OR INTO WHICH MOISTURE CAN BE INTRODUCED FROM THE OUTSIDE, SUCH AS THOSE LOCATED
DIRECTLY ADJACENT TO EXTERIOR ACCESS ENTRANCES.
WHITE BODY WALL TILES
GLAZED PORCELAIN TILES
STANDARD
EN 14411: ISO 13006 Group BIII.
STANDARD
EN 14411: ISO 13006 GROUP BIb
STANDARD
EN 14411: ISO 13006 Group BIa
TECHNICAL SPECIFICATIONS
VALUE OF THE STANDARD
VALUE OF THE STANDARD
VALUE OF THE STANDARD
LENGTH AND WIDTH
(ISO 10545-2)
Unrectified +- 0.6% / Max +- 2 mm
Rectified +- 0.3% / Max +- 1 mm
ORTHOGONALITY
(ISO 10545-2)
Unrectified + – 0.5% / Max + – 2 mm
Rectified + – 0.3% / Max + – 1.5 mm
STRAIGHTNESS OF SIDES
(ISO 10545-2)
Unrectified + – 0.5% / Max + – 1.5 mm
Rectified + – 0.3% / Max + – 0.8 mm
THICKNESS
(ISO 10545-2)
+ – 10%
(Max + – 0.5 mm)
+ – 5%
(Max + – 0.5 mm)
+ – 5%
(Max + – 0.5 mm)
SURFACE FLATNESS
(ISO 10545-2)
Unrectified + – 0.5% / Max + – 2 mm
Rectified + – 0.4% / Max + – 1.8 mm
SURFACE QUALITY
(ISO 10545-2)
Surface quality is expressed as the percentage of tiles with no defects. A minimum of 95% of the tiles must be free of visible defects. They should be examined from a distance of 1m and with an illumination of 300 lux.
WATER ABSORPTION
(ISO 10545-3)
E >10%
Minimum individual 9%
0.5 < E ≤ 3%
Maximum individual 3.3%
≤ 0.5
Maximum individual 0.6%
STRENGTH
RUPTURE FORCE
(Thickness) < 7.5 mm Min. 200N
(Thickness) ≥ 7.5 mm Min. 600N
(Thickness) < 7.5 mm Min. 700N
(Thickness) ≥ 7.5 mm Min. 1100N
(Thickness) < 7.5 mm Min. 700N
(Thickness) ≥ 7.5 mm Min. 1300N
RESISTANCE
TO BENDING
(Thickness) < 7.5 mm 15N/mm2
(Thickness) ≥ 7.5 mm 12N/mm2
≥ 30 N/mm2
Minimum individual 27
≥ 35 N/mm2
Minimum individual 32
THERMAL SHOCK
(ISO 10545-9)
PASSES SUCCESSFULLY THE TEST
RESISTANCE TO INTERLAYING
(ISO 10545-11)
PASSES SUCCESSFULLY THE TEST
STAIN RESISTANCE
(ISO 10545-14)
MÍNIMO CLASE 3
ACIDS AND BASES
(ISO 10545-13)
INSURED VALUE
ACCORDING TO FORM
RESISTANCE TO CLEANING PRODUCTS AND
POOL CHEMICALS (ISO 10545-13)
MINIMUM CLASS B
Abrasion Resistance
(ISO 10545-7)
INDICATED BY THE MANUFACTURER
SLIDING RESISTANCE
(UNE 16165 ANNEX A/B/C)
INDICATED BY THE MANUFACTURER